Artemis Development with the Arduino IDE
 Liquid Soulder, Member #1571936
Status LED: Blink
The status LED is great for troubleshooting and debugging code. For all of our boards with an Artemis module, the status LED can be accessed in the Mbed-CLI with the variable LED1. However, we have already linked the LED_BUILTIN variable to the Blink example built into the Arduino IDE.
Blink
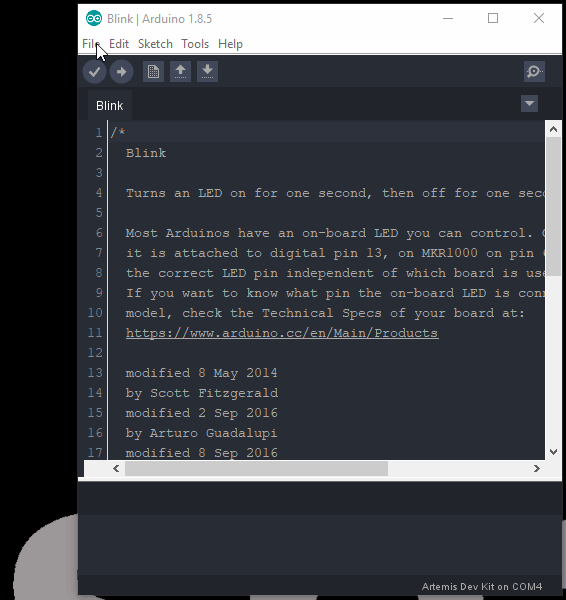
With full Arduino support, users will be able to implement the built-in examples of the Arduino IDE on the Artemis DK. To begin, let's start with the most basic example: Blink. From the drop down file menu, pull up the script:

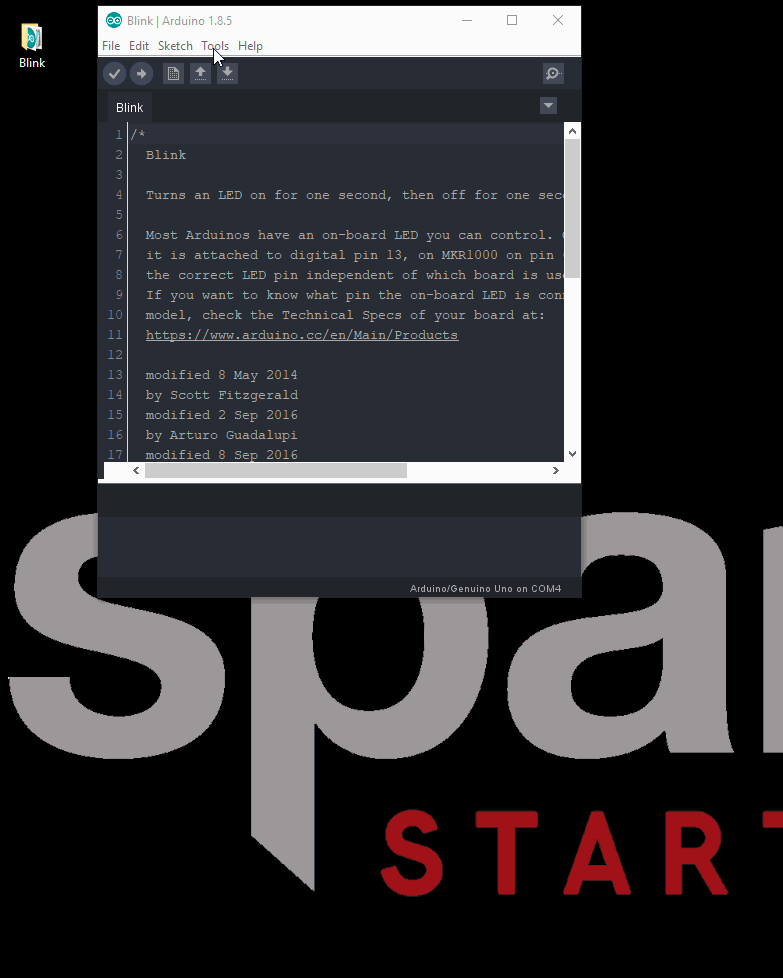
Note: Users who need the compiled binary code in order to program the Artemis DK, save this example somewhere that is easily accessible; the desktop is a good option. (*Remember to use Save As, so that you retain the original example within the Arduino IDE.)
Blink example being saved to the Desktop.
Next, you will want to select the appropriate board from the tools drop down menu: Tools > Board: > Select a Board
The last step is to program your board. Use the programming method associated with your board.
Operation
This example is very fundamental and should result in the LED blinking on and then off, with a period of a second. Follow the steps for programming the associated board to see the code in action.
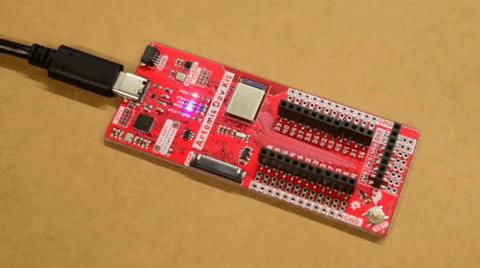
STAT LED blinking.