Arduino Wireless Communication via the Electric Imp
 jimblom
Imp and Agent Code
The Electric Imp serves as an intermediary between the hardware world and the Internet. It can easily manage I/O pins and the UART, and it can also share data with an agent. The agent is a separate piece of server-side code, which does the higher-level "Internet-land" stuff.
Code for both the Imp and the agent is written in Squirrel, a very JavaScript-esque high-level, object-oriented programming language. For help learning Squirrel, check out these resources. For guidance more specific to the Imp, check out their Dev Center.
Before you can add code, you'll need to BlinkUp your Imp (to connect it to your WiFi), and assign your Impee. Check out the Electric Imp Hookup Guide for help there. We'll be creating a model called Serial Pipeline to house the Agent and Imp code.
The Imp Code
The code on the Imp needs to accomplish two primary tasks:
- When serial data comes in, from the Arduino, the Imp needs to pass that data up to the agent.
- When data comes down from the agent, the Imp needs to pass it through the serial port to the Arduino.
The Arduino and the agent are both, essentially, using the Imp as a pipeline to pass data.
Here is the code we came up with to accomplish that. Copy this code into the Device section of your Imp IDE:
language:c
/* Imp Serial Pipeline Device
    by: Jim Lindblom
    SparkFun Electronics
    date: March 24, 2014
    license: Beerware. Use, reuse, and modify this code however you see fit.
    If you find it useful, buy me a beer some day!

    The Serial Pipeline model is designed to pass serial data from one imp to
    another, anywhere across the world. Data transfers look like this:

    Arduino 1 Serial Out to Imp 1 -> Imp 1 passes serial data to Agent 1 ->
    Agent 1 passes data to Agent 2 -> Agent 2 passes data to Imp 2 -> Imp 2
    passes data to Arduino 2 over serial. Whew.

    A second Serial Pipeline model should be created to be a near exact
    copy of this, except the agentURL variable (on the agent code) should be
    modified to the URL of this device's agent.

    The device must accomplish two tasks:
        1. On serial data in, send it off to the agent. The agent will send that
        data off to the other agent.
        2. On data coming in from the agent, send it through the serial port.

    Resources:
    http://electricimp.com/docs/api/hardware/uart/configure/
    http://natemcbean.com/2014/03/imp-to-imp-communication/
*/

////////////////////////////////////////
// Global Variables                   //
////////////////////////////////////////
local rxLEDToggle = 1;  // These variables keep track of rx/tx LED state
local txLEDToggle = 1;
arduino <- hardware.uart57;
rxLed <- hardware.pin8;
txLed <- hardware.pin9;

////////////////////////////////////////
// Function definitions               //
////////////////////////////////////////
// initUart() will simply initialize the UART pins, baud rate, parity, and
//  callback function.
function initUart()
{
    hardware.configure(UART_57);    // Using UART on pins 5 and 7
    // 19200 baud works well, no parity, 1 stop bit, 8 data bits.
    // Provide a callback function, serialRead, to be called when data comes in:
    arduino.configure(19200, 8, PARITY_NONE, 1, NO_CTSRTS, serialRead);
}

// serialRead() will be called whenever serial data is passed to the imp. It
//  will read the data in, and send it out to the agent.
function serialRead()
{
    local c = arduino.read(); // Read serial char into variable c
    while(c != -1) // Loop until no valid characters are read:
    {
        // Send 'c' to the agent, under the label "impSerialIn":
        agent.send("impSerialIn", c);
        toggleRxLED();  // toggle the RX LED indicator
        c = arduino.read(); // Read more, just in case.
    }
}

// agent.on("dataToSerial") will be called whenever the agent passes data labeled
//  "dataToSerial" over to the device. This data should be sent out the serial
//  port, to the Arduino.
agent.on("dataToSerial", function(c)
{
    arduino.write(c.tointeger()); // Write the data out the serial port.
    toggleTxLED(); // Toggle the TX LED indicator
});

// initLEDs() simply initializes the LEDs, and turns them off. Remember that the
// LEDs are active low (writing high turns them off).
function initLEDs()
{
    // LEDs are on pins 8 and 9 on the imp Shield. Configure them as outputs,
    //  and turn them off:
    rxLed.configure(DIGITAL_OUT);
    txLed.configure(DIGITAL_OUT);
    rxLed.write(1);
    txLed.write(1);
}

// This function turns an LED on/off quickly on pin 9.
// It first turns the LED on, then calls itself again in 50ms to turn the LED off
function toggleTxLED()
{
    txLEDToggle = txLEDToggle?0:1;    // toggle the txLEDtoggle variable
    if (!txLEDToggle)
    {
        imp.wakeup(0.05, toggleTxLED.bindenv(this)); // if we're turning the LED on, set a timer to call this function again (to turn the LED off)
    }
    txLed.write(txLEDToggle);  // TX LED is on pin 8 (active-low)
}

// This function turns an LED on/off quickly on pin 8.
// It first turns the LED on, then calls itself again in 50ms to turn the LED off
function toggleRxLED()
{
    rxLEDToggle = rxLEDToggle?0:1;    // toggle the rxLEDtoggle variable
    if (!rxLEDToggle)
    {
        imp.wakeup(0.05, toggleRxLED.bindenv(this)); // if we're turning the LED on, set a timer to call this function again (to turn the LED off)
    }
    rxLed.write(rxLEDToggle);   // RX LED is on pin 8 (active-low)
}

///////////
// Setup //
///////////
server.log("Serial Pipeline Open!"); // A warm greeting to indicate we've begun
initLEDs(); // Initialize the LEDs
initUart(); // Initialize the UART
// From here, all of our main action will take place in serialRead() and the
// agent.on functions. It's all event-driven.
Check out the code comments for a line-by-line examination of what's going on. Most of the action takes place in the serialRead() and agent.on("dataToSerial") functions. The former reads data in from the Arduino and passes it to the agent, the latter takes data from the agent and passes it to the Arduino.
In addition to sending data between devices, the Imp code also implements some visual debugging with LEDs. A pair of LEDs are used to indicate RX and TX bursts of data. Those LEDs are connected to Imp pins 8 and 9.
The Agent Code
Like the Imp, the agent has two main tasks:
- When data comes up from the Imp, post it over to the agent of the second Imp.
- When data comes in from another agent, send it down to this agent's Imp.
And here's the code that accomplishes that. Copy and paste into the Agent half of the IDE:
language:c
/*  Imp Serial Pipeline Agent
    by: Jim Lindblom
    SparkFun Electronics
    date: March 24, 2014
    license: Beerware. Use, reuse, and modify this code however you see fit.
    If you find it useful, buy me a beer some day!

    The Serial Pipeline model is designed to pass serial data from one imp to
    another.  A second Serial Pipeline model should be created to be a near exact
    copy of this, except the agentURL variable should be  modified to the URL of
    this agent.

    The agent must accomplish two tasks:
        1. On data in from the imp, post it to another agent. This is the
        agentURL variable at the top of the code.
        2. On data from another agent, send that through to the imp.

    Resources:
    http://electricimp.com/docs/api/hardware/uart/configure/
    http://natemcbean.com/2014/03/imp-to-imp-communication/
*/

// The URL of the other Imp's agent:
const agentURL = "https://agent.electricimp.com/Agent2URLHERE";

// When the imp sends data to the agent, that data needs to be relayed to the
// other agent. We need to construct a simple URL with a parameter to send
// the data.
device.on("impSerialIn", function(char)
{
    // Construct the URL. The other agent will be looking for the key "data".
    // Value will be the byte-value of our serial data.
    local urlSend = format("%s?data=%d", agentURL, char);
    // HTTP get the constructed URL.
    http.get(urlSend).sendasync(function(resp){});
});

// The request handler will be called whenever this agent receives an HTTP
// request. We need to parse the request, look for the key "data". If we
// found "data", send that value over to the imp.
function requestHandler(request, response)
{
    try
    {
        // Check for "data" key.
        if ("data" in request.query)
        {
            // If we see "data", send that value over to the imp.
            // Label the data "dataToSerial" (data to serial output).
            device.send("dataToSerial", request.query.data);
        }
        // send a response back saying everything was OK.
        response.send(200, "OK");
    }
    catch (ex)  // In case of an error, produce an error code.
    {
        response.send(500, "Internal Server Error: " + ex);
    }
}

// Register our HTTP request handler. requestHandler will be called whenever
// an HTTP request comes in.
http.onrequest(requestHandler);
There are two, separate event handlers that accomplish our agent's two goals. The device.on() function acts on data coming in from the imp, and sends it off to another agent. The requestHandler() function reacts to an HTTP request, and sends data from that down to the Imp.
You must edit the agentURL variable before running the code. Set that to your second agent's URL (look at the top of the Agent window to find that).
To test out the setup with a single Imp, you can point your browser to https://agent.electricimp.com/Agent2URLHERE?data=! (making sure to fill it in with your agent's URL. That should trigger an HTTP request in your agent; it should read in the "!" and pass it through to the Imp (your Arduino will need the sketch from the next page to complete the test). This is powerful in-and-of-itself -- you can use a web browser to send data to your Arduino!
To communicate between a pair of Imp/agent's you'll need two separate active models. So create a second model (we named ours "Serial Pipeline 2") and copy the same two pieces of code into that, except set the agentURL variable in the second agent to that of the first.
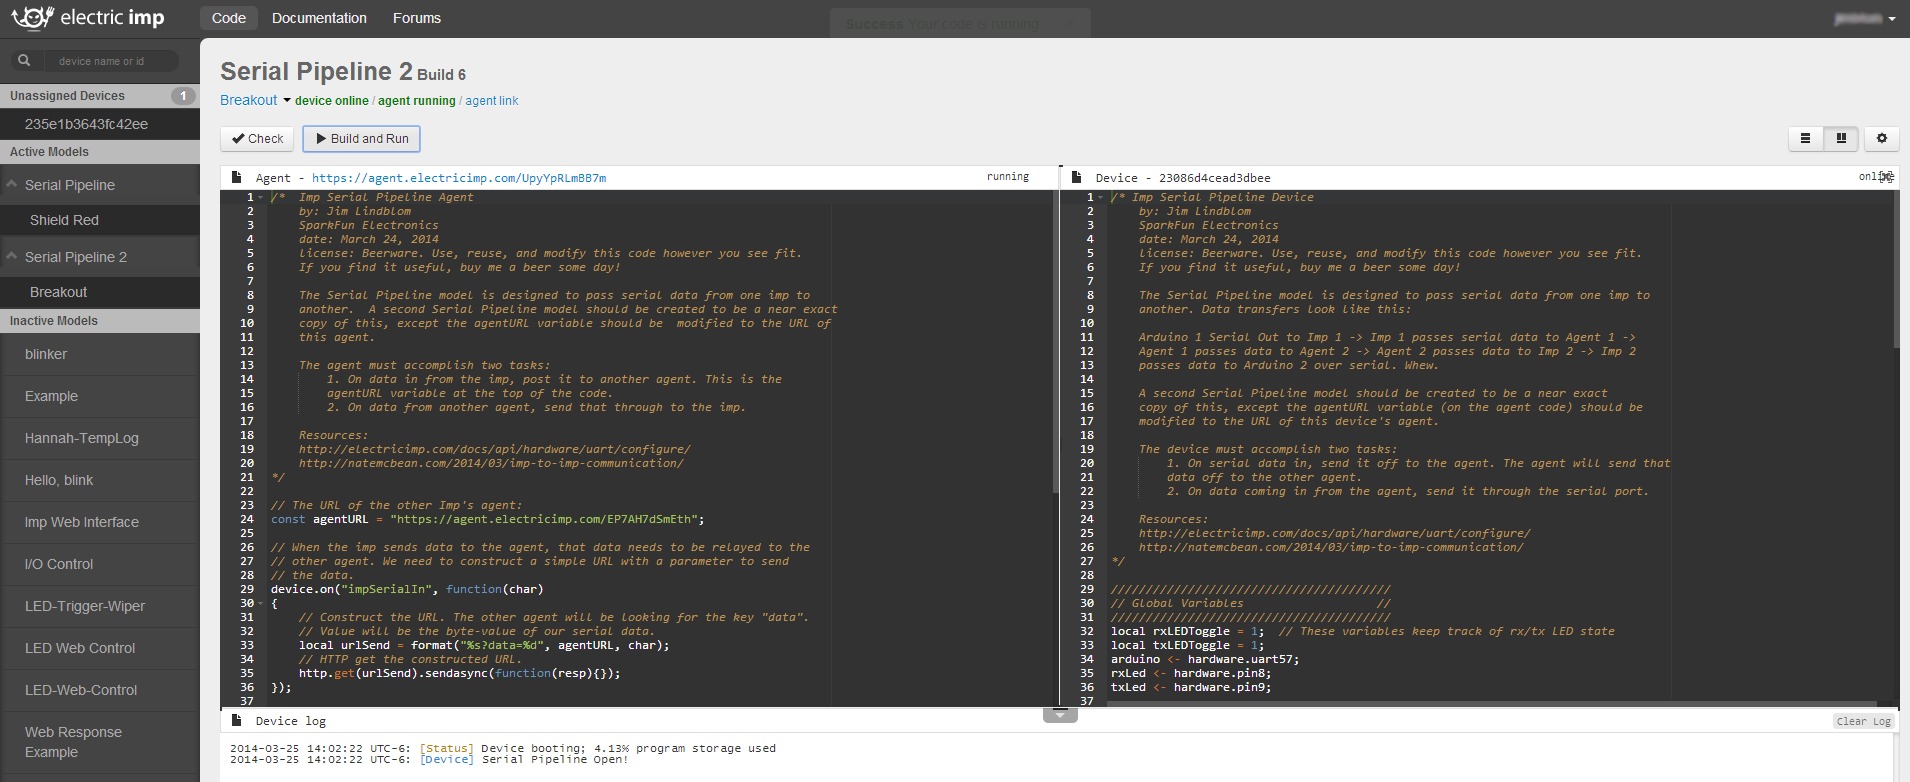
Click the example image above to see our example setup. Note there are two active models -- "Serial Pipleine" and "Serial Pipeline 2" -- and two separate Imp devices under those.