Arduino Wireless Communication via the Electric Imp
Arduino Sketch
Our Arduino sketch will set up something of a terminal chat program. Any data sent to the Arduino from the Serial Monitor, will be read by the Arduino and sent out a second, software, serial port to the Imp. Serial data sent from the Imp to the Arduino is read and sent out to the Serial Monitor.
Here's the example sketch. Feel free to copy/paste, or click here to download a full copy:
language:c
/* Electric Imp-to-Arduino Serial Pipeline
  by: Jim Lindblom
  SparkFun Electronics
  date: March 24, 2014
  license: Beerware. Use, reuse, and modify this code however you see fit.
  If you find it useful, buy me a beer some day!

  This sketch is part of the Electric Imp Serial Pipeline code.
  This is a simple, SoftwareSerial-to-hardware serial sketch.
  Anything piped through the hardware serial port will be routed
  out the software serial. And vice-versa for software-to-
  hardware.

  Hardware Hookup:
  Arduino -------- Imp
    GND ---------- GND
    3.3V --------- 3V3
    8 ------------  5 (Imp Tx)
    9 ------------  7 (Imp Rx)
  Imp also has two LEDs (optionally) tied to pins 8 and 9, which
  indicate serial RX's and TX's. LEDs are connected to be active-
  low (anode connected to 3.3V).

  Same as shield schematic:
http://cdn.sparkfun.com/datasheets/Dev/Arduino/Shields/electric-imp-shield-v11.pdf

*/

#include <SoftwareSerial.h>

const int IMP_SERIAL_RX = 8;
const int IMP_SERIAL_TX = 9;

// Create an instance of software serial.
SoftwareSerial impSerial(IMP_SERIAL_RX, IMP_SERIAL_TX);

void setup()
{
 // Open the hardware serial port
  Serial.begin(19200);

  // set the data rate for the SoftwareSerial port
  impSerial.begin(19200);
}

void loop() // run over and over
{
  // Send data from the software serial
  if (impSerial.available())
    Serial.write(impSerial.read());  // to the hardware serial
  // Send data from the hardware serial
  if (Serial.available())
    impSerial.write(Serial.read());  // to the software serial
}
The software serial library (included with Arduino) is used is setup pins 8 and 9 as Arduino's RX and TX, respectively. Those pins come pre-wired on the Imp Shield. Using the RedBoard, we have to use SoftwareSerial because the hardware serial port is connected to the USB-to-Serial chip, which we'll need for the Serial Monitor.
Testing Out the Chat
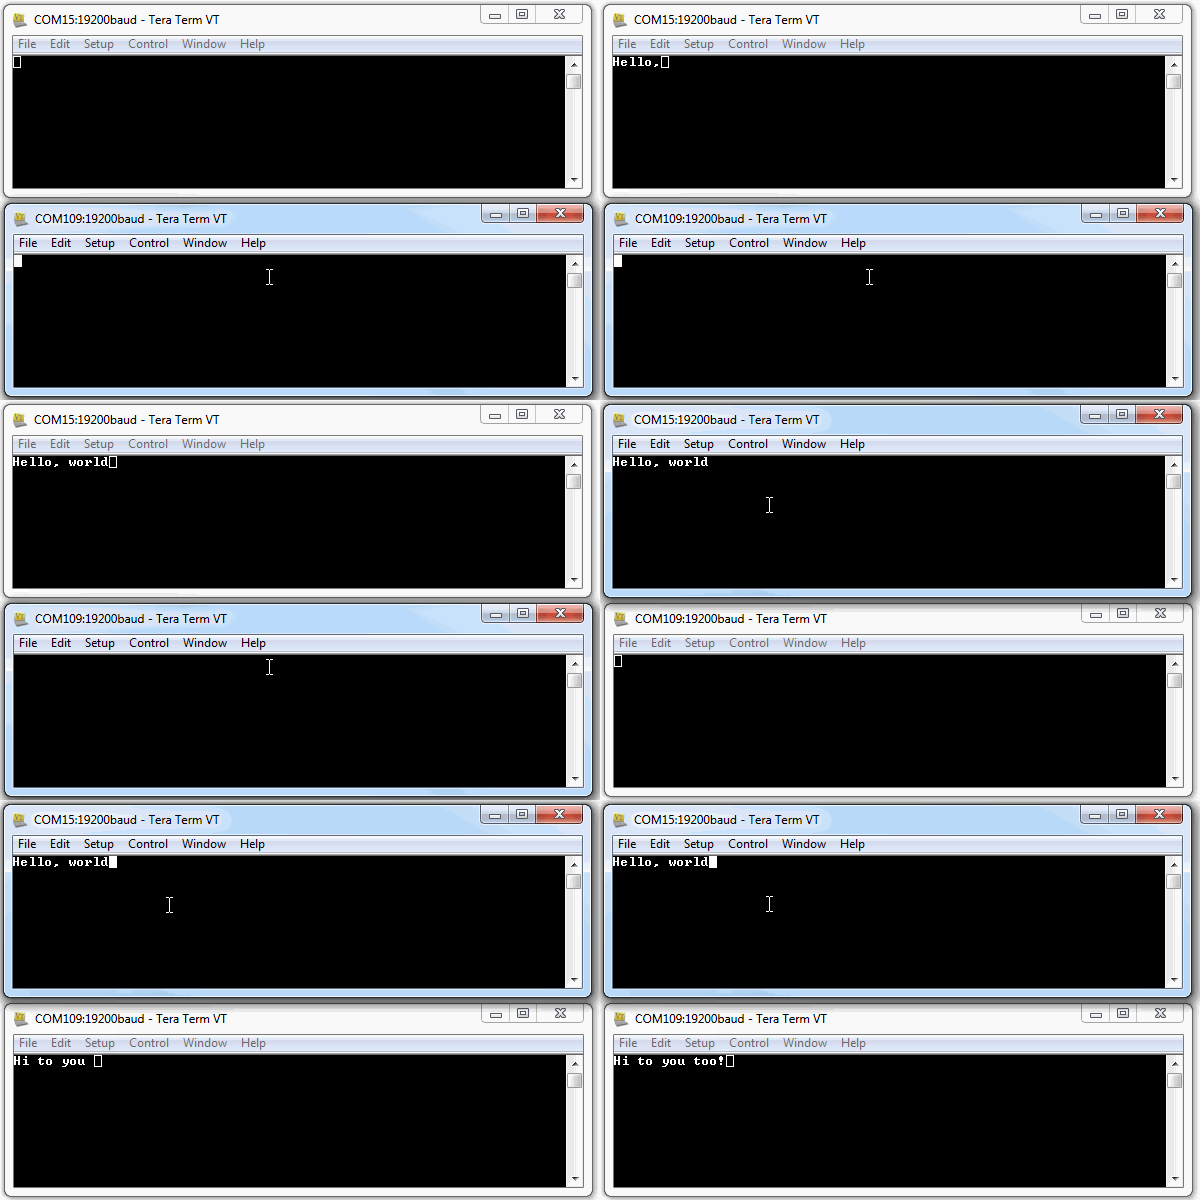
Now all that's left is testing the chat system out. Open up terminals for each of the Arduinos. You may need to use a terminal program (like HyperTerminal, TeraTerm, etc.) in addition to the Serial Monitor, as it seems you can't open up Serial Monitors on multiple ports.
Try sending something to your Arduino. Pretty instantaneously you should see the TX then RX LEDs blink on the shields, and whatever you typed should end up in the other terminal window!
Okay, we can admit this is a little silly. Just think about the journey that “Hello, World” had to take just to get from one serial port to the other. It went through the Imp, out your WiFi, into a magical cloud on a server far far away, then it completed the round trip back to your WiFi and into the other Imp. We've come a long way from null-modem serial cables.
But, just imagine what this could be! All you need is an internet-connected WiFi. There's nothing that says these Imps have to be on the same WiFi network, or even in the same country. You could have an Arduino/Imp combo connected to a coffee shop WiFi in Seoul, seamlessly passing data to an Arduino/Imp combo sitting here connected to the SparkFun WiFi. Even chatting with an Arduino 10 miles away at my house seems pretty darn cool.
