Arduino Weather Shield Hookup Guide V12
Introduction
Heads up! This is for the Arduino Weather Shield v12 [DEV-13956] that uses the Si7021. If you are looking at the older version of the weather shield, you should check out the older tutorial for DEV-12081 that uses the HTU21D.
Updated Content: This guide was updated on 7/5/23.
- The Weather Station and Weather Station with GPS firmware were modified to utilize our new SparkFun Weather Meter Kit Arduino library
- A few of the parts and instructions, were also updated to account for any retired components, outdated information, etc.
- Please note, this shield is currently not compatible with the new Arduino Uno (R4). There is an issue with the values returned from the Arduino libraries for the I2C sensors (temperature, humidity, and pressure).
Library Versions:
While this tutorial and its example code were recently updated, this was before the lastest release of the SparkFun Si7021 Arduino library. The latest release is not backwards compatible and will create compilation issues with the existing example code for this hookup guide. Therefore, we recommend users only utilize these specific version of these libraries, until we have a more permanent fix:
- SparkFun Si7021 Arduino Library v1.0.5
- SparkFun External MPL3115A2 Arduino Library v1.2.4
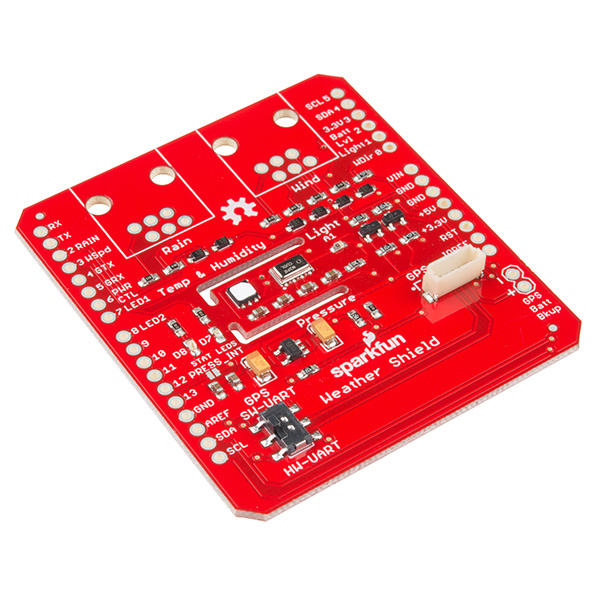
The Arduino Weather Shield from SparkFun is an easy-to-use Arduino shield that grants you access to barometric pressure, relative humidity, luminosity, and temperature. There are also connections to optional sensors such as wind speed/direction, rain gauge, and GPS for location and super accurate timing.
SparkFun Weather Shield
DEV-13956Things you should know about this shield:
- Uses the Si7021 sensor, MPL3115A2 barometric pressure sensor, and ALS-PT19 light sensor.
- Has a 6-pin JST connector for the GP-735 compact GPS module
- Has optional RJ11 connector footprints to connect the SparkFun weather meter kit
- Weather shield can operate from 3V to 10V and has built in voltage regulators and signal translators
- When utilized with the Weather Meter Kit, the shield must be used with a 5V board (i.e. RedBoard, Arduino Uno (R3), etc.) for compatibility with the wind vane data.
- The new Arduino Uno (R4) is not compatible with the Arduino libraries of the I2C sensors and is not recommended to use with the shield.
- Typical humidity accuracy of ±2%
- Typical pressure accuracy of ±50Pa
- Typical temperature accuracy of ±0.3C
Required Materials
To get up and running with the Weather Shield you'll need the following parts:
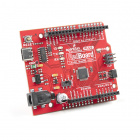
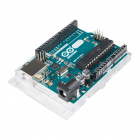
- Arduino Uno (R3), RedBoard, or other compatible board
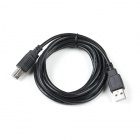
- Compatible USB cable
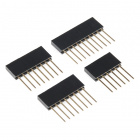
- Arduino Stackable Headers
- Soldering Tools
Related Accessories
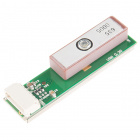
- GP-735 GPS Module and
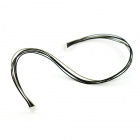
1.75" mating cable- The shorter 1.75" JST cable has been retired; however, our 1ft. 6-pin JST cable is still available
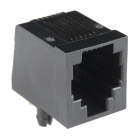
- Two RJ11 6-pin Connectors
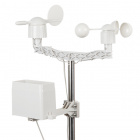
- Weather Meter Kit
Suggested Reading
If you are unfamiliar with any of the concepts below, we suggest checking out these tutorials.
How to Solder: Through-Hole Soldering
Serial Communication
Installing an Arduino Library
Arduino Shields v2
Check out our hookup guides for more information about the temperature/humidity and pressure sensors on the shield. If you intend to collect wind and rain data, assembly instructions for the Weather Meter Kit can be found in our Weather Meter Assembly Guide.
GPS Basics
MPL3115A2 Pressure Sensor Hookup Guide
Si7021 Humidity and Temperature Sensor Hookup Guide
Weather Meter Hookup Guide
To understand how the libraries of the associated sensors work, we recommend the following tutorials.
