Wireless Glove Controller
Contributors:
 bboyho
bboyho Introduction
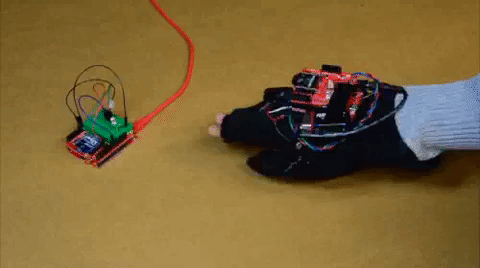
In this tutorial, we will build a wireless glove controller with Arduino to trigger an LED remotely using XBees!
Required Materials
To follow along with this tutorial, you will need the following materials. You may not need everything though depending on what you have. Add it to your cart, read through the guide, and adjust the cart as necessary.
Tools
You will need wire, wire strippers, a soldering iron, solder, and general soldering accessories.


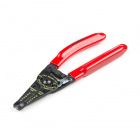
Wire Strippers - 20-30AWG
TOL-14763You Will Also Need
- Glove
- Scissors
- Non-Conductive Thread
- Tape
Suggested Reading
If you aren’t familiar with the following concepts, we recommend checking out these tutorials before continuing.
How to Solder: Through-Hole Soldering
This tutorial covers everything you need to know about through-hole soldering.
LDK Experiment 5: Make Your Own Switch
Learn to create and integrate your own handmade switch into an e-textile circuit.
XBee Shield Hookup Guide
How to get started with an XBee Shield and Explorer. Create a remote-control Arduino!
Exploring XBees and XCTU
How to set up an XBee using your computer, the X-CTU software, and an XBee Explorer interface board.
LilyPad Basics: E-Sewing
Learn how to use conductive thread with LilyPad components.