Wireless Glove Controller
Contributors:
 bboyho
Configuring XBees
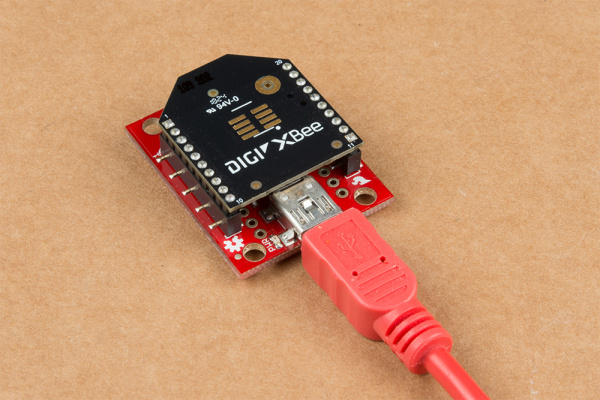
To configure the XBees, we will be using the XBee Series 1 firmware. It is recommended to configure each XBee using the XBee Explorer USB.
If you have not already, check out the Starting with XCTU section under Exploring XBees and XCTU to configure your XBees. If you are using an XBee 3, make sure to configure the firmware with the Series 1 firmware to follow along with this tutorial.
Exploring XBees and XCTU
How to set up an XBee using your computer, the X-CTU software, and an XBee Explorer interface board.
Point-to-Point Configuration
For simplicity, we will be sending commands with the XBees in transparent mode set for a point-to-point configuration. Make sure to configure each XBee with a unique MY address if there are more than two XBees in your CH and PAN ID. You will then need to adjust the DL address for each respective XBee.
| Setting | Acronym | Transmitting XBee Node 1 (Wireless Glove Controller) | Receiving XBee Node 2 (i.e. LED/Robot/Dance Suit) |
|---|---|---|---|
| Channel | CH | C | C |
| PAN ID | ID | 3333 | 3333 |
| Destination Address High | DH | 0 | 0 |
| Destination Address Low | DL | 1 | 0 |
| 16-bit Source Address | MY | 0 | 1 |
