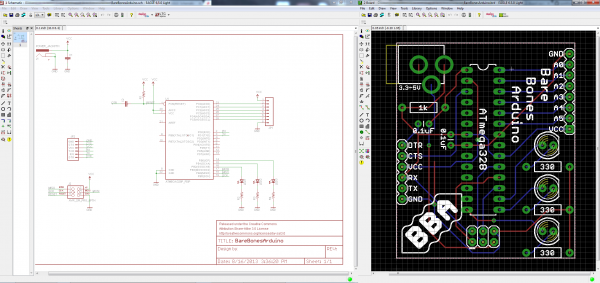
Using EAGLE: Schematic
Introduction
PCB design in EAGLE is a two-step process. First you design your schematic, then you lay out a PCB based on that schematic. EAGLE's board and schematic editors work hand-in-hand. A well-designed schematic is critical to the overall PCB design process. It will help you catch errors before the board is fabricated, and it'll help you debug a board when something doesn't work.
This tutorial is the first of a two-part Using EAGLE series, and it's devoted entirely to the schematic-designing side of EAGLE. In part 2, Using EAGLE: Board Layout, we'll use the schematic designed in this tutorial as the basis for our example board layout.
Suggested Reading
If you'd like to follow along with this tutorial, make sure you've installed and setup the EAGLE software. Our How to Install and Setup EAGLE tutorial goes over this process step-by-step, and it also covers the basics of what EAGLE is and what makes it great. It also covers how to download and install the SparkFun EAGLE libraries we'll be using in this tutorial. Definitely read through that tutorial before you continue on.
We'd also recommend you read and understand the concepts behind these tutorials:
