Twinkling Trick or Treat Bag
 Gella
Gella 
Step 7: Insulate
Once the front of your project is decorated, it's time to insulate the conductive thread so that stitches won't accidentally touch each other and short circuit when the fabric moves. Isolating conductive thread also protects it from wear and tear and will prolong the life of your project. These methods are shown for the inside of your project, the paint and glue methods also work well on the outside.
Some ways to insulate conductive thread (choose one):
- Use acrylic or fabric paints to paint over the stitching.
- Use fabric glue to cover the stitches.
- Use iron-on interfacing to cover the stitches (on the back of your project) - be careful not to iron directly on any LilyPad components, they could melt.
- Attach a piece of fabric on the inside of the tote to protect the stitches.
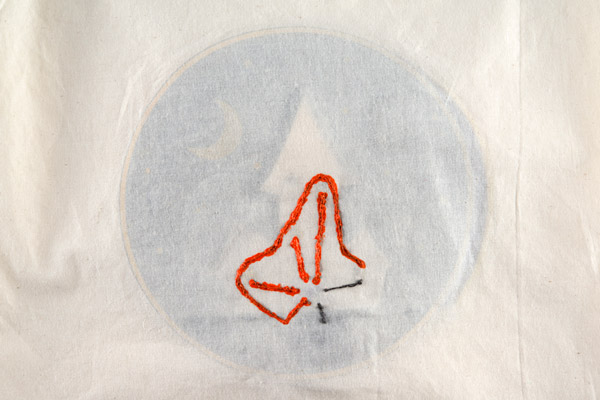
Example of painted insulation - the orange is the paint and grey is the conductive thread. Tip: Use a paintbrush to paint accurate lines. 3D puff paint in squeezable containers also works well.
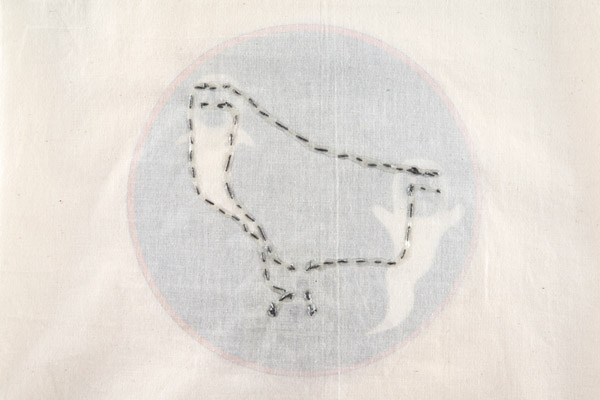
Example of fabric glue insulation - clear fabric glue lets the stitching show through while still protecting it. Tip: Rub a tiny bit of baby powder or flour over the glue if it is still tacky after drying.
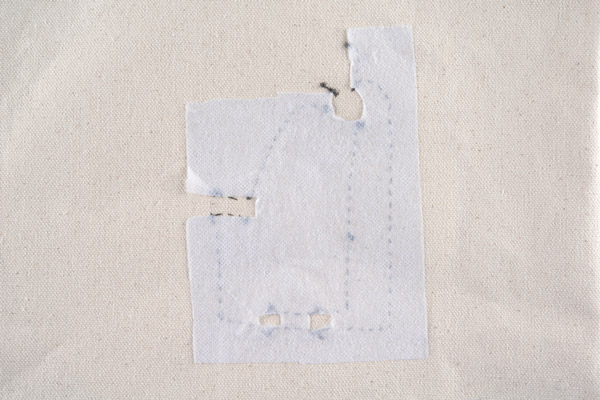
Example of interfacing insulation - cut interfacing to cover stitches only. Tip: Use a craft iron to get into small spaces.
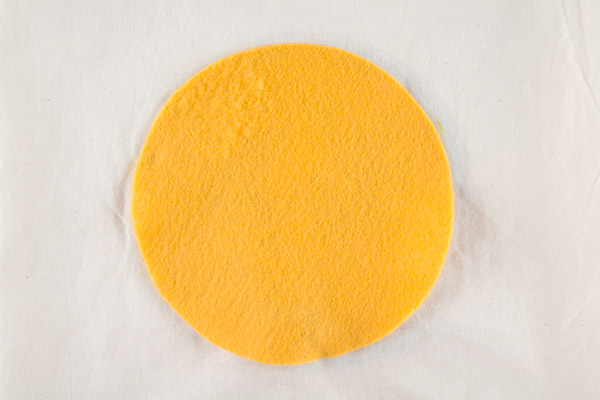
Example of fabric insulation - glue or stitch over the conductive thread. Tip: Use the backing from your iron-on as a template to trace onto felt/fabric.
Other Insulation Techniques:
Kobakant's wearables website has a great overview of different insulation/isolation methods: How To Get What You Want: Isolating Traces