Twinkle Zodiac Constellation
 Feldi
Feldi 
Stitching It Together
If you need help sewing with conductive thread, this tutorial covers the basics.
STEP 1:
Cut a long piece of conductive thread and thread the needle with it. Tie a knot at the end. Begin to connect sewable tabs with the thread according to the circuit diagram provided above.

STEP 2:
When you are finished, making sure your fabric is taut. To test the circuit, pop a battery inside your holder and turn it on to troubleshoot. If any of your LEDs are not working, this is the time to figure out why and fix it based on information provided from the tutorial in the suggested reading.
If you are satisfied and your circuit works well, use hot glue or clear nail polish to seal knots and frayed thread to avoid shorts. For more information about insulation techniques for e-textiles, check out this tutorial.

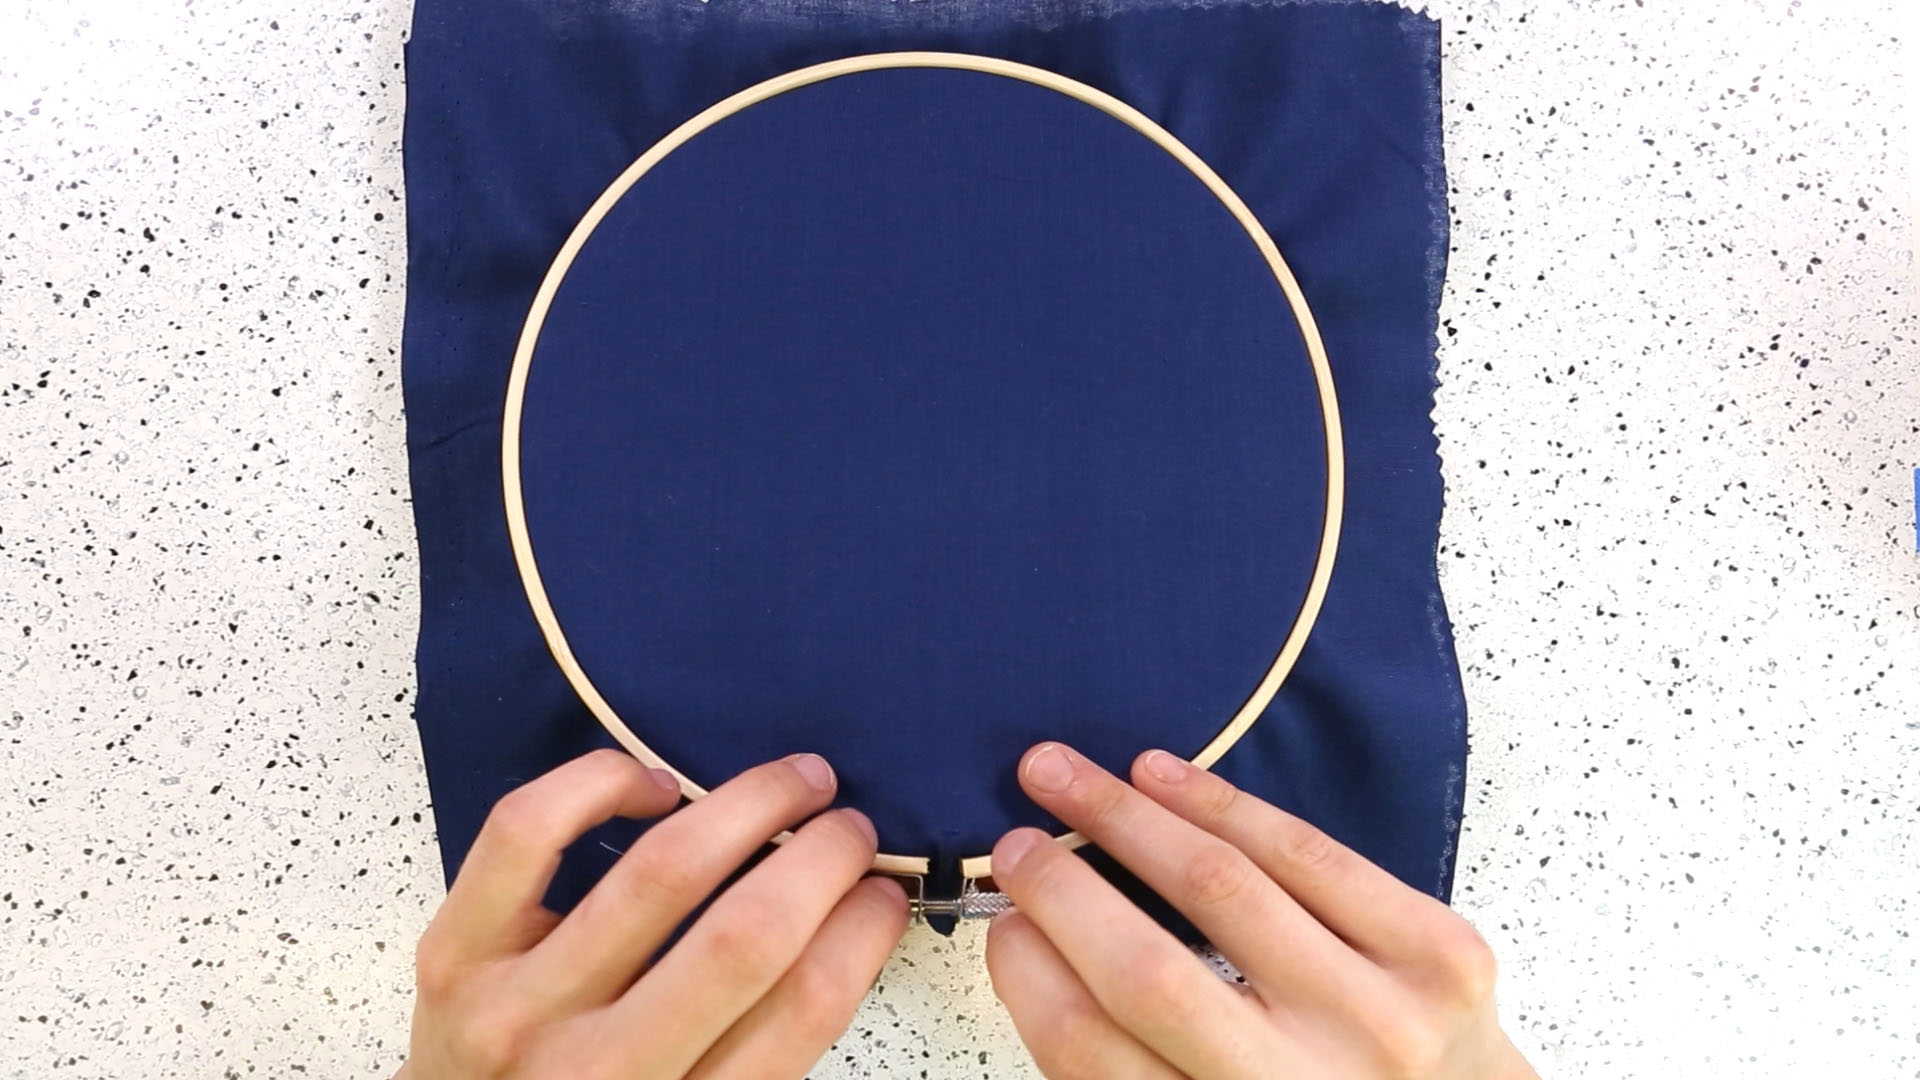
STEP 3:
Use the shearing scissors to cut out a second piece of fabric, the same size as the first. With your hoop laying on a flat, clean surface, gently unscrew the the fastener at the top of the embroidery hoop and remove the outer circle. Place your second sheet of fabric directly on top of the piece of fabric with your LEDs, and stretch them together in the hoop.
STEP 4:
Turn the battery switch to the 'ON' position so that you can see the LEDs through the top piece of fabric. Using a straight edge and white pencil, begin to draw lines connecting each LED according the pattern.

STEP 5:
Cut a piece of silver embroidery floss and thread the needle with it. Turn the battery switch off and begin to sew the silver embroidery floss over the drawn lines using a backstitch. During this step, you will essentially sew the two pieces of fabric together. Make sure by this point that the circuit is working without any issues because you will not be able to make adjustments or access the LEDs after.

STEP 6:
Take your pattern and cut the bottom quarter (with the text) off. Then, loosen your hoop again and fold back the bottom most piece of fabric (the one with the electronics attached) where the text should go. Tighten the hoop back up with the fabric bent back like the picture below, and place the bottom part of you pattern behind the top sheet.

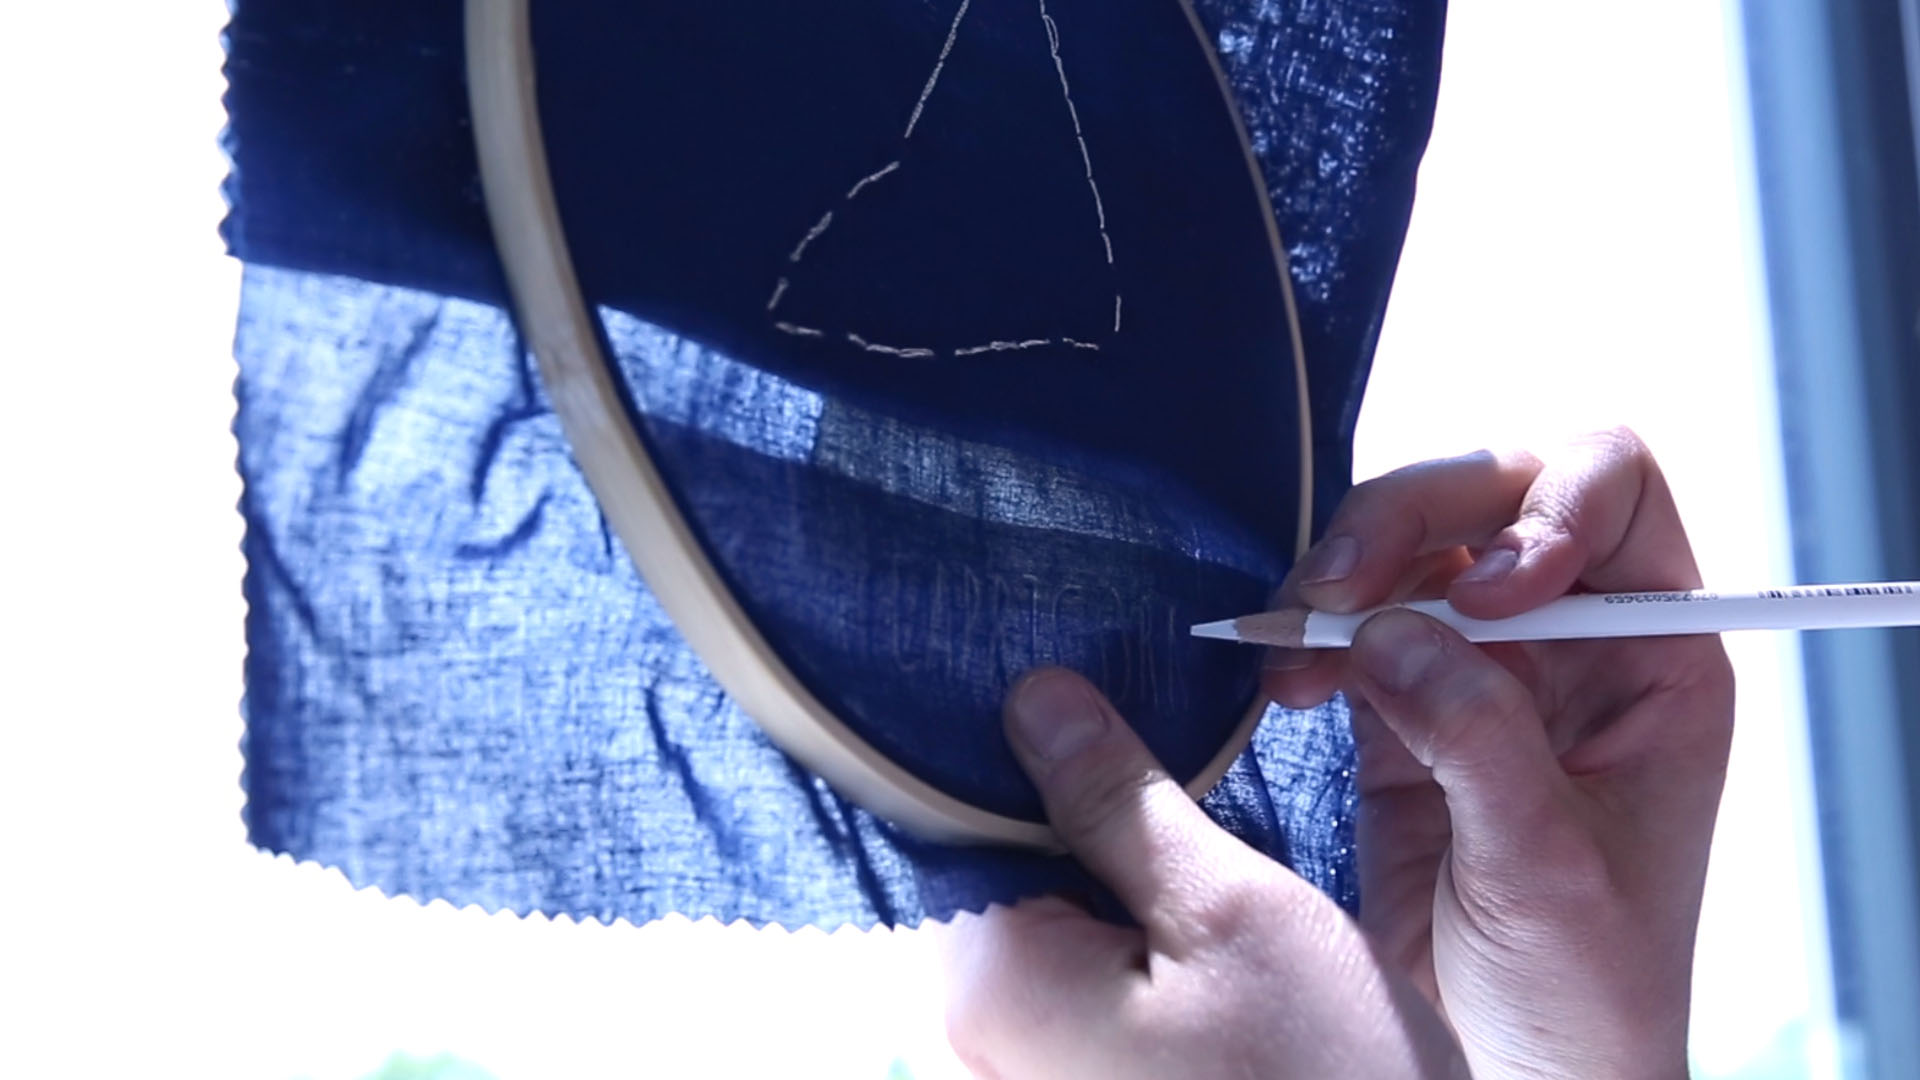
STEP 7:
Bring this to a window or other light source and trace the letters from the pattern. Then replace the folded piece of fabric back to the original position. Make sure to stretch the fabric again every time you loosen and tighten your hoop.
STEP 8:
Stitch over the letter traces using the silver embroidery floss.

STEP 9:
Make sure your fabric is nice and taut with your hoop. Once the fabric is tight in the hoop, cut away the excess fabric around the hoop.

STEP 10:
Turn the power on, hang up, and enjoy!
