Twinkle Zodiac Constellation
 Feldi
Feldi 
Arranging Your Circuit
Each circle you marked when tracing the pattern represents where a single LilyPad LED should go. These LEDs should be facing up as seen in the image below.
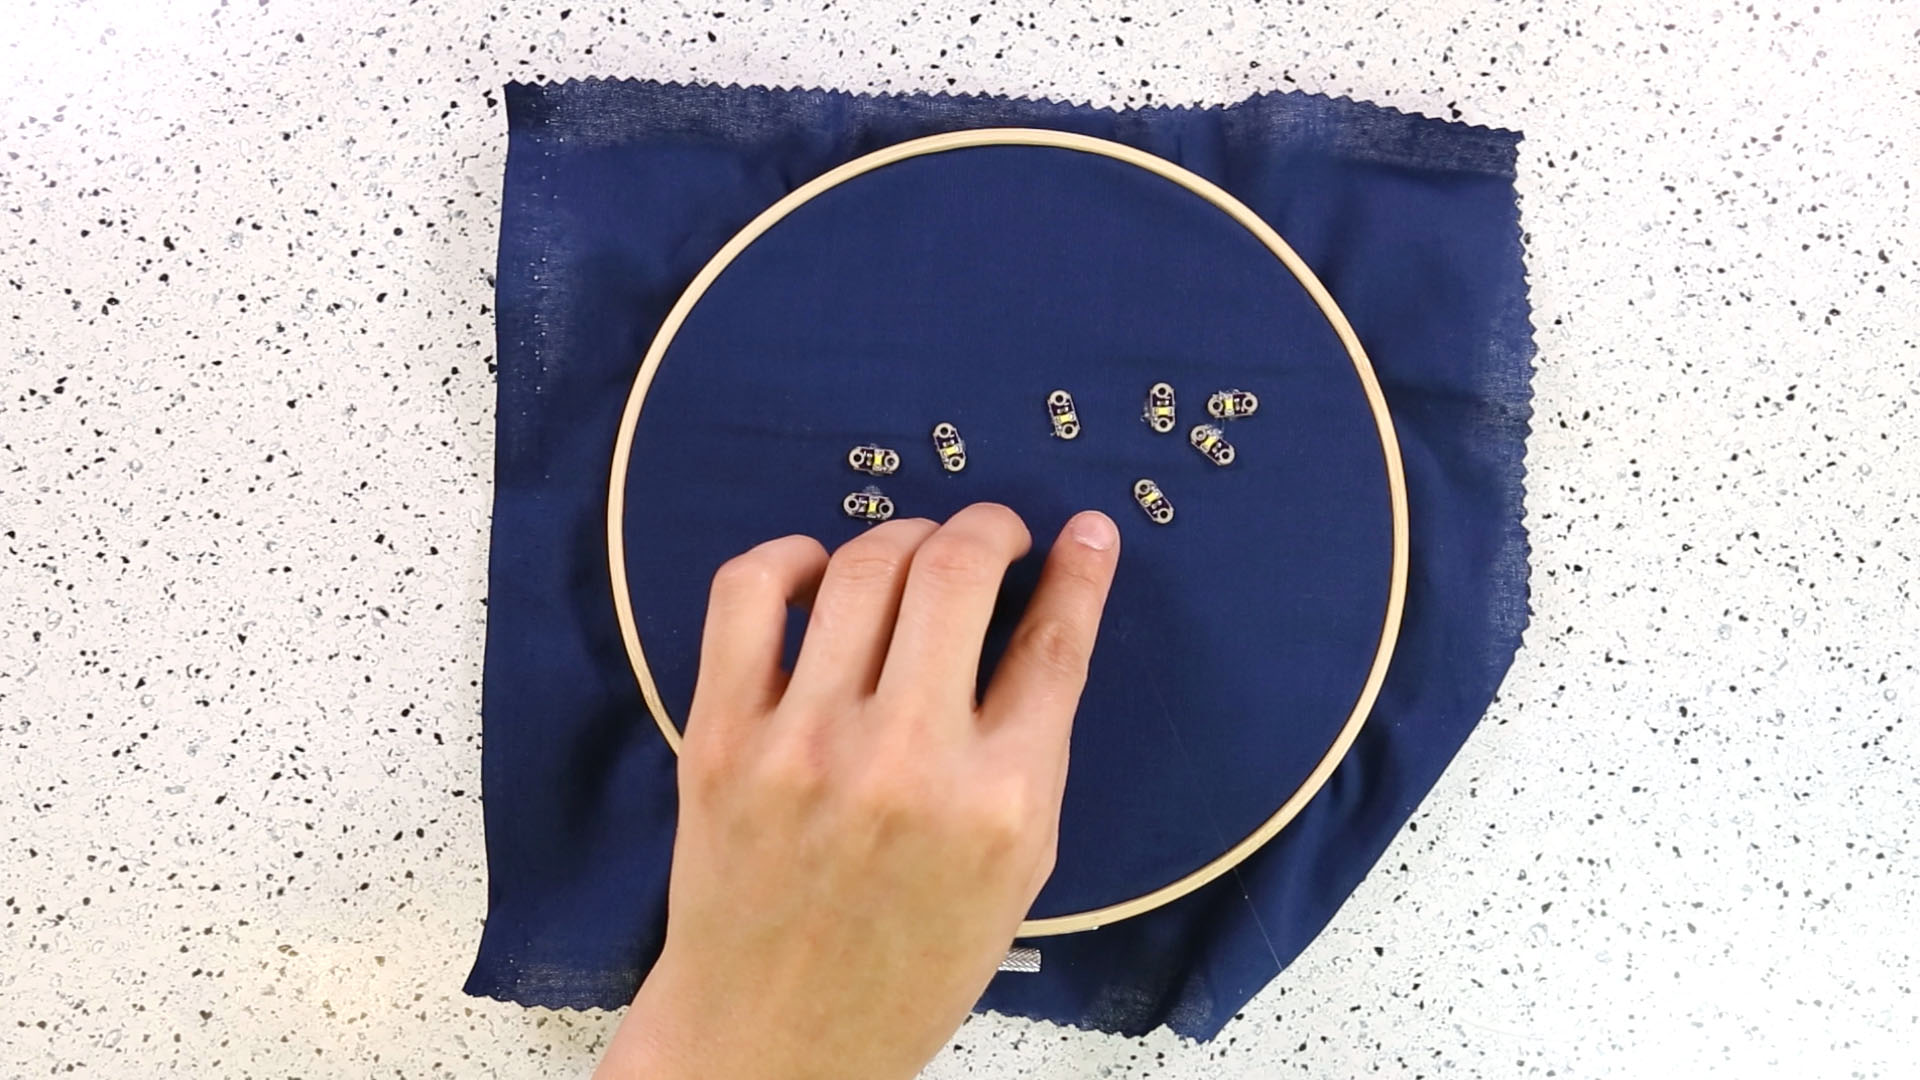
The LilyTiny and LilyPad Battery holder should both be positioned on the opposite side (or back side) as the LEDs. Make sure the components are facing away from the fabric. Please refer to the circuit diagram above for a detailed illustration.
Pins 0, 1, and 3, are connected to 3 LEDs in parallel. You can increase or decrease the number of LEDs in parallel attached to any given pin depending on your constellations pattern and component count. The maximum LEDs I have connected to a single pin for this project is 6.
Plot your LEDs, LilyTiny, and battery holder in an arrangement on the fabric that allows you to sew the parts together according to the circuit diagram provided above, and glue them down with hot glue.