STM32 Thing Plus Hookup Guide
Contributors:
 Alex the Giant, Ell C
Alex the Giant, Ell C 
Example - I2C Scanner
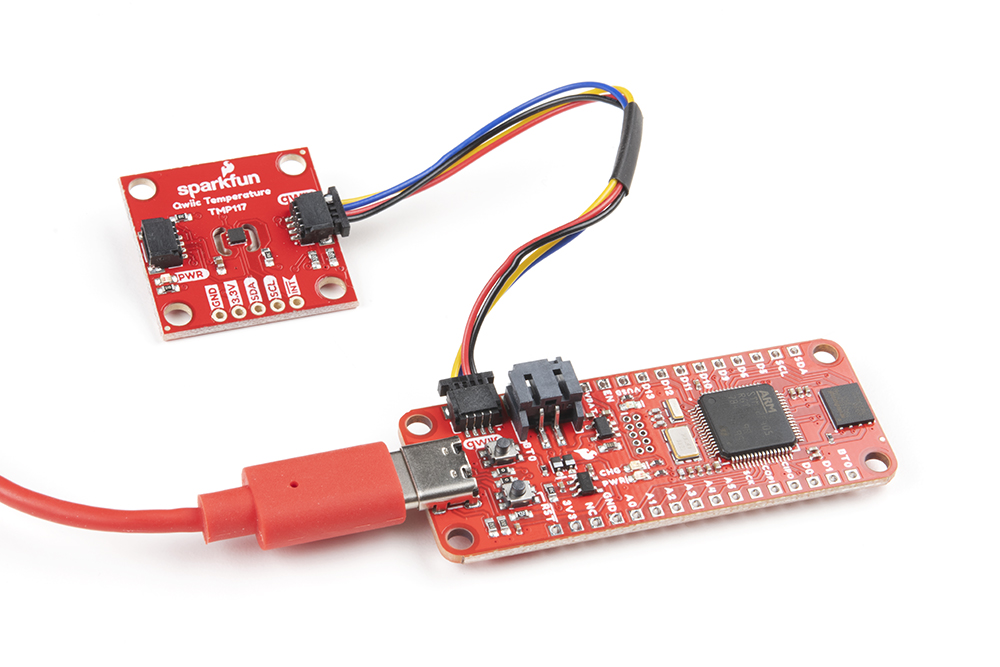
The Qwiic Connect Ecosystem makes attaching sensors a breeze. That said, sometimes it's nice to be able to scan your I2C connections to find out the address of your sensor. That's what we'll do here!
Grab your STM32 Thing Plus and attach a Qwiic Sensor to the Qwiic port on the Thing Plus like so:
Copy and paste the code below into a new Arduino sketch.
language:c
// --------------------------------------
// I2C Scanner example using Wire1
//
//
// This sketch tests the standard 7-bit addresses
// Devices with higher bit address might not be seen properly.
//

#include <Wire.h>

TwoWire Wire1(SDA1,SCL1); //Intialize Wire1 class

void setup()
{
  Wire1.begin();

  Serial.begin(115200);
  while (!Serial);             // Leonardo: wait for serial monitor
  Serial.println("\nI2C Scanner");
}


void loop()
{
  byte error, address;
  int nDevices;

  Serial.println("Scanning...");

  nDevices = 0;
  for(address = 1; address < 127; address++ )
  {
    // The i2c_scanner uses the return value of
    // the Write.endTransmisstion to see if
    // a device did acknowledge to the address.
    Wire1.beginTransmission(address);
    error = Wire1.endTransmission();

    if (error == 0)
    {
      Serial.print("I2C device found at address 0x");
      if (address<16)
        Serial.print("0");
      Serial.print(address,HEX);
      Serial.println("  !");

      nDevices++;
    }
    else if (error==4)
    {
      Serial.print("Unknown error at address 0x");
      if (address<16)
        Serial.print("0");
      Serial.println(address,HEX);
    }
  }
  if (nDevices == 0)
    Serial.println("No I2C devices found\n");
  else
    Serial.println("done\n");

  delay(5000);           // wait 5 seconds for next scan
}
Make sure your options are all set up correctly in the Tools menu, and make sure you put the Carrier Board into Boot Mode in order to upload the code.
- Press and hold down the Boot button
- Press and release the Reset button while continuing to press the Boot button
- Release the Boot button and press the Upload button in your Arduino IDE
After uploading, open the Serial Monitor and set the baud to 115200. You should see something similar to the printout below.