SparkPunk Sequencer Hookup Guide
Introduction
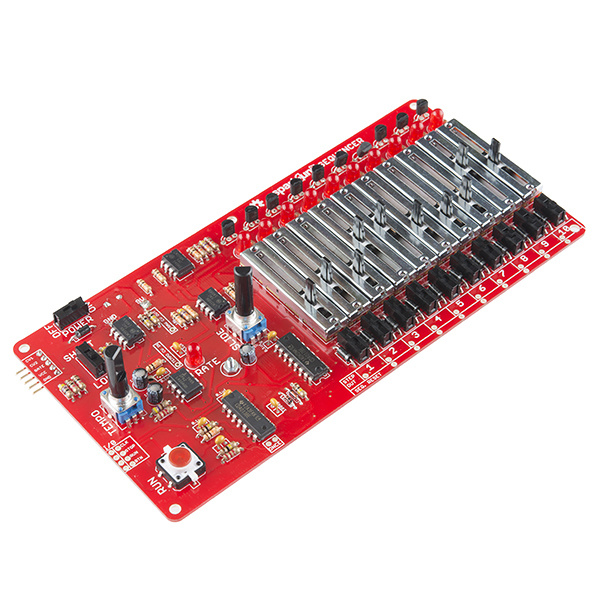
In this tutorial, we will assemble and use the SparkPunk Sequencer kit.
SparkFun SparkPunk Sequencer Kit
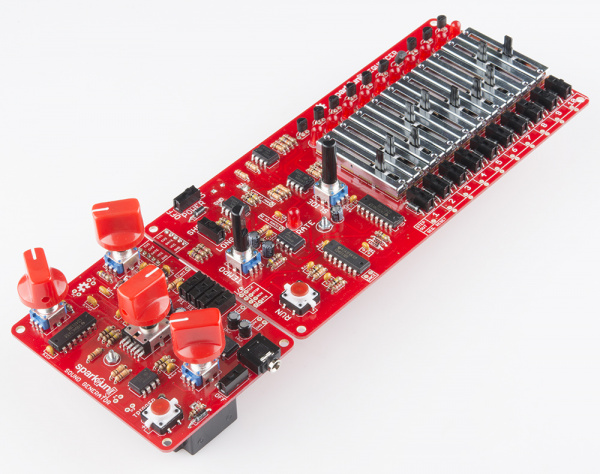
KIT-12707The SparkPunk Sequencer kit is an analog control voltage sequencer designed to drive the SparkPunk Sound Generator.
An Abbreviated History Of Sequencers
In general, a sequencer is a device that produces timed control signals in a particular order. These signals are used for many purposes - for instance, the electronic module that operates a set of traffic signals is one type sequencer, the control system that runs an elevator is another. Both have to produce the correct signals, in the proper order, with the right timing (such as stopping east-west traffic when north-south traffic is moving, then making sure the yellow light is illuminated for the correct period when the light changes).
Musical sequencers are used to control musical instruments. They generate signals to control performance parameters such as pitch and timbre, with specific rhythmic timing. The original sequencers, such as Raymond Scott's circle machine, were capable of generating short, repeating musical phrases. More recently, sequencers have evolved into large software packages running on computers, generating MIDI and audio events, capable of creating complete musical compositions.
The SparkPunk Sequencer is reminiscent of its analog forebears. It cycles among ten steps, reading the slider and switch for each, producing corresponding analog voltages on the output pins. It offers hands-on control, with its array of knobs, sliders, and switches. It seamlessly integrates with the SparkPunk Sound Generator for your creative musical enjoyment.
This tutorial will guide you through the assembly and testing of the SparkPunk Sequencer.
Before We Begin
The SparkPunk Sequencer is more complex than most SparkFun soldering kits. It has a greater variety of components, mounted on a larger board. If you're new to soldering kits, or need some practice with component identification, we can recommend a number of simpler kits to help you get up to speed.
The sequencer is intended to control the SparkPunk Sound Generator. If you have purchased both kits together, we recommend that you start by assembling and testing the sound generator, then build the sequencer. In later steps, we'll be using the sound generator to test the sequencer, and that process will be smoother if you're confident that the sound generator is functional.
SparkPunk Hookup Guide
Necessary Tools
- Soldering Iron
- Lead-based or Lead-free solder
- Diagonal or Flush cutters
- Small Philips Screwdriver
Additional Tools and Supplies
- Safety Glasses
- Magnifying glass or Loupe
- PCB Vise or Third Hand
- Volt Meter
- Removable tape, such as painter's or gaffer's tape
Suggested Reading
- How to Solder - Through-hole Soldering
- Switch Basics
- Understanding Component Polarity
- Decoding Resistor Markings
- Digital Logic
- How To Use A Multimeter

