SparkPunk Hookup Guide
 Byron J.
Testing
With the assembly complete, we'll move on to testing your new SparkPunk. We will test it in a couple of stages.
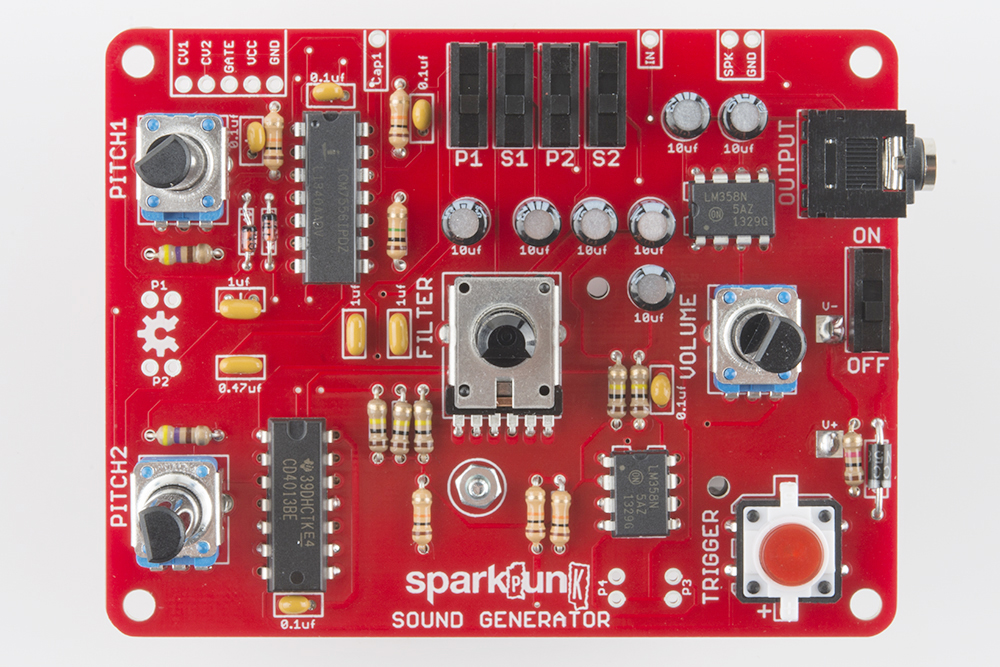
You'll notice that as the board got assembled, a lot of the text and legends in the silkscreen got covered up by the components. The remaining text explains the function of the nearby controls. We'll denote those labels using text in boxes, like this.
Initial Testing
The first test is just a smoke test.
Install the battery in the battery compartment. There are a small "+" and "-" embossed in the box that will match the corresponding marks on the battery. The battery should slide into the holder, and be held in place by the tab at the back end. If it doesn't fit easily, make sure that you've got it aligned properly.
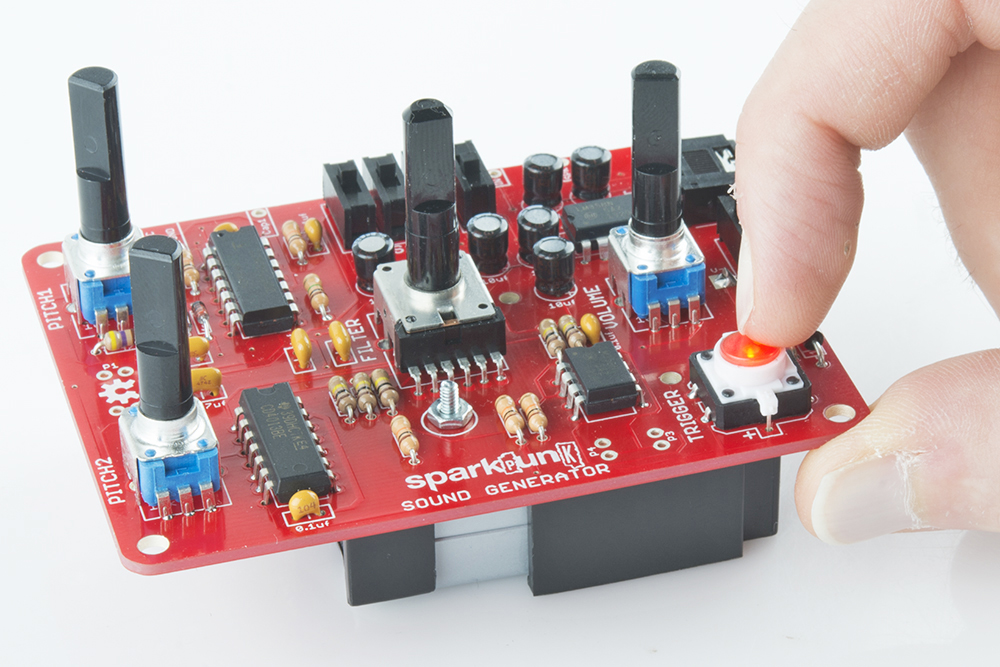
Turn the power switch on, then press the TRIGGER button. The button should light up while you are pressing it. If it doesn't light, check the troubleshooting suggestions below.
Sound Testing
Once the button is working, we can move on to checking the sound output. To configure the test, we'll need to set all of the controls. Moving from left to right across the unit, configure the controls as follows:
- Turn
PITCH1andPITCH2pots fully counterclockwise - Turn on the
P1switch by sliding it upward - Turn off the
S1,P2andS2switches by sliding them downward - Put the
FILTERpot at the center of it's rotation - Turn the
VOLUMEpot all the way down (counterclockwise) - Connect headphones to the
OUTPUTjack - Turn the unit
ON
Now press and hold the TRIGGER button, while slowly turning up the VOLUME control. You should hear a tone that gets louder as the volume control turns. If so, congratulations! But if not, don't worry - just skip ahead to the troubleshooting section.
More Detailed Testing
Now we'll check that all of the controls are are functional.
Turning the PITCH1 potentiometer should change the frequency that you are hearing.
Turn the filter knob back and forth. The pitch will stay the same, but the tone will vary. The filter has a similar effect to a wah-wah pedal for electric guitar. You'll probably find that the effect is more audible for the upper half (12 o'clock to 5 o'clock) of the pot rotation.
Now turn off P1 and turn on P2. The PITCH2 control should change the frequency.
Next, work your way across the P1, S1, P2 and S2 switches, trying each in turn. Each should produce a different sound. You can also turn on more than one at a time to produce various combinations.
All Done?
When all of the controls check out, you have a functional SparkPunk!
But, it doesn't end there. In the next section, we'll explain in higher detail exactly what all these controls do and how the underlying circuit works.
You can also modify and extend the SparkPunk - it's a great platform to start modifying or circuit bending. We describe a few mods you can start with in the Modifications section.
Troubleshooting
The first step in general troubleshooting is to doublecheck your work.
- Check that the polarized components are in correctly. These include:
- The diodes
- The pushbutton
- Each IC chip
- The electrolytic capacitiors
- The battery
- Make sure that all of the solder connections have flowed correctly, with just the right amount of solder - not too little or too much.
- Verify you have your headphones or speaker connected.
- Make sure that the battery isn't dead, and the power switch is turned on. You can do so with a multimeter.
If things still aren't working, try contacting Sparkfun's friendly customer support team.