SparkPunk Hookup Guide
Introduction
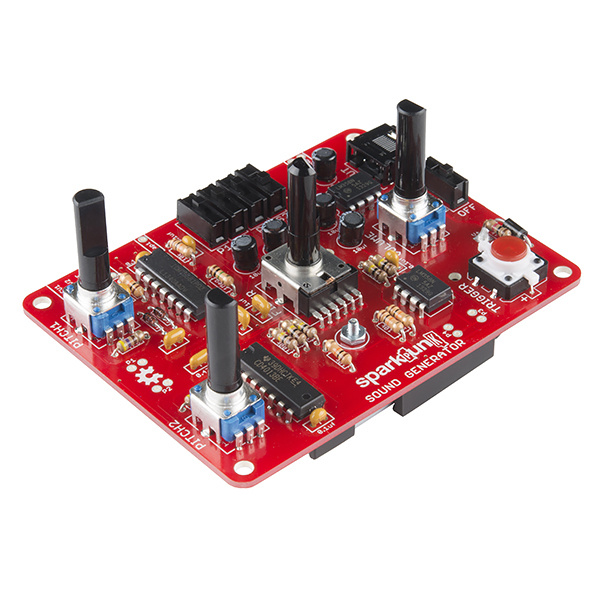
The SparkPunk kit is a sound generator in the spirit of the Atari Punk Console.
SparkFun SparkPunk Sound Kit
KIT-11177The Atari Punk Console is a circuit that was originally designed by Forrest M Mims III, originally called the Stepped Tone Generator (seen on Page 26 in his book Timer, OpAmp & Optoelectronic Circuits & Projects). It caught on with indie, lo-f, and noise musicians as a DIY project that can be played as a very simple synthesizer.
Rather than simply recreating the Atari Punk, the SparkPunk is a new design that springs from a similar foundation. It starts with a dual 555 timer IC, then adds a second tone source, sub-octaves, and a bandpass filter. With all of the knobs and switches, a lot of tonal variations are possible. As a through-hole kit, the SparkPunk can also be easily extended and modified, expanding the palette of tones even further.
This tutorial will guide you through the assembly, testing, and modification of the SparkPunk.
Necessary Tools
- Soldering Iron
- Lead-based or Lead-free solder
- Diagonal or Flush cutters
- Small Philips Screwdriver
You'll also need a set of headphones or a small speaker to test the output once the kit is complete.
Additional Tools and Supplies
- Safety Glasses
- Magnifying glass or Loupe
- PCB Vise or Third Hand
Suggested Reading
- How to Solder - Through-hole Soldering
- Understanding Component Polarity
- Decoding Resistor Markings
- Digital Logic
