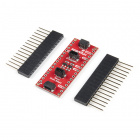
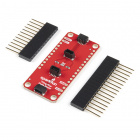
Contributors:
 El Duderino
,
 Englandsaurus
 Introduction
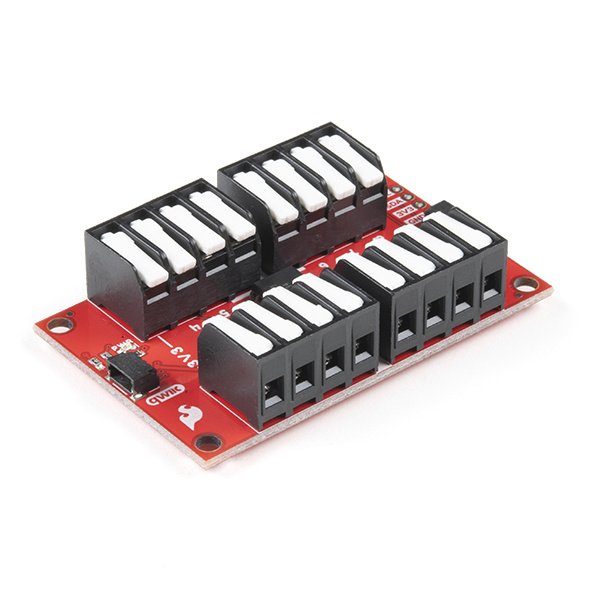
The SparkFun Qwiic GPIO is an I2C device aimed at simplifying adding extra GPIO pins to a microcontroller. The board uses the TCA9534U I/O Expander IC from Texas Instruments to add up to 8 digital inputs and outputs controlled via an I2C interface. The TCA9534U features three address select pins that can be set to configure eight unique addresses meaning you can have up to 64 I/O pins controlled from a single I2C bus!
DEV-17047
The Qwiic GPIO, based on the TCA9534 I/O Expander IC adds an additional 8 IO pins which you can read and write just like any …
To simplify wiring everything up, we've broken out all eight of the general-purpose I/O pins on the TCA9534U along with several power rail pins to latch terminals and, as you would expect from a Qwiic board, the I2C interface is broken out to a pair of Qwiic connectors.
Controlling the TCA9534 is relatively straightforward but to make things even easier, we've written an Arduino Library and a Python Package for the Qwiic GPIO to make writing code for it as easy as possible.
In this guide we'll go over everything you need to know about the Qwiic GPIO so you can add those extra I/O pins to your circuit with ease!
Required Materials
In order to follow along with this tutorial you'll need a few items along with your Qwiic GPIO. First, you'll need a microcontroller to communicate with the board. Below are a few options that come Qwiic-enabled out of the box:
WRL-15663
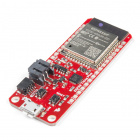
The SparkFun ESP32 Thing Plus is the next step to get started with Espressif IoT ideations while still enjoying all the ameni…
DEV-15123
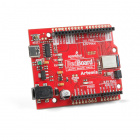
The SparkFun RedBoard Qwiic is an Arduino-compatible development board with a built in Qwiic connector, eliminating the need …
DEV-15444
The RedBoard Artemis takes the incredibly powerful Artemis module from SparkFun and wraps it up in an easy to use and familia…
DEV-15423
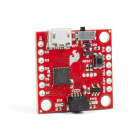
The SparkFun Qwiic Micro is molded to fit our standard 1" x 1" Qwiic board size which makes it our smallest SAMD21 micro-cont…
If your preferred microcontroller does not have a Qwiic connector, you can add one using one of the following products:
DEV-14495
The SparkFun Qwiic Adapter provides the perfect means to make any old I2C board into a Qwiic enabled board.
DEV-14352
The SparkFun Qwiic Shield is an easy-to-assemble board that provides a simple way to incorporate the Qwiic Connect System wit…
DEV-16789
The SparkFun Qwiic Shield for Arduino Nano makes it so you can use SparkFun's Qwiic connect ecosystem with development boards…
DEV-16790
The SparkFun Qwiic Shield for Thing Plus makes it so you can use SparkFun's Qwiic connect ecosystem with development boards t…
Finally, you'll need at least one Qwiic cable and possibly some hook up wire or jumper cables. Below are a few options for each of those cable types:
PRT-14427
This is a 100mm long 4-conductor cable with 1mm JST termination. It’s designed to connect Qwiic enabled components together…
Retired
PRT-11375
An assortment of colored wires: you know it's a beautiful thing. Six different colors of stranded wire in a cardboard dispens…
PRT-11026
If you need to knock up a quick prototype there's nothing like having a pile of jumper wires to speed things up, and let's fa…
PRT-14428
This is a 200mm long 4-conductor cable with 1mm JST termination. It’s designed to connect Qwiic enabled components together…
Retired
Suggested Reading
If you aren't familiar with the Qwiic system, we recommend reading here for an overview:
We would also recommend taking a look at the following tutorials if you aren't familiar with the concepts covered in them:
Polarity
An introduction to polarity in electronic components. Discover what polarity is, which parts have it, and how to identify it.
Serial Terminal Basics
This tutorial will show you how to communicate with your serial devices using a variety of terminal emulator applications.
Processor Interrupts with Arduino
What is an interrupt? In a nutshell, there is a method by which a processor can execute its normal program while continuously monitoring for some kind of event, or interrupt. There are two types of interrupts: hardware and software interrupts. For the purposes of this tutorial, we will focus on hardware interrupts.
How to Work with Jumper Pads and PCB Traces
Handling PCB jumper pads and traces is an essential skill. Learn how to cut a PCB trace, add a solder jumper between pads to reroute connections, and repair a trace with the green wire method if a trace is damaged.

