SparkFun Auto pHAT Hookup Guide
Hardware Assembly
Assembly for the Auto pHAT is fairly straight forward. It plugs directly into the GPIO pins of a Raspberry Pi. Most importantly, users need pay attention to the orientation of the pHAT and double check that the pin are lined up properly. below are a few examples for users to follow.
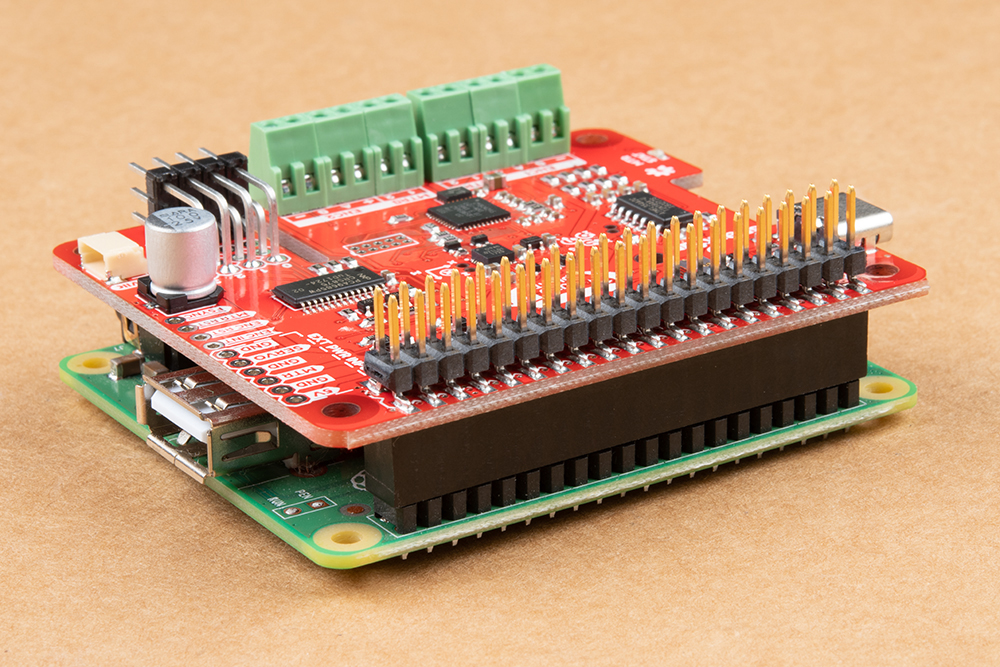
Auto pHAT on Raspberry Pi 3 Model A+.
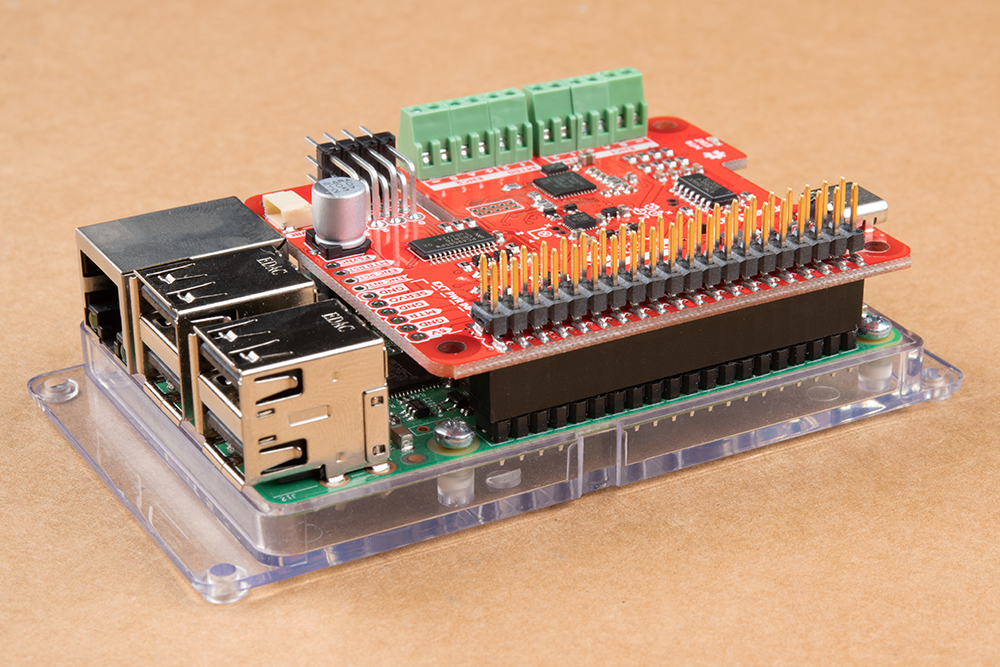
Auto pHAT on Raspberry Pi 3 Model B.
Depending on your motors, you may need to include two power supplies: one for the Raspberry Pi, and one for the motors connected to the Auto pHAT. First connect a power supply to the Raspberry Pi's USB-C connector. Then connect a second power supply to the Auto pHAT through the USB-C connector.
You can also add the second power supply by soldering wire to the PTH pins listed below. Make sure to also connect GND.
- 5V: regulated 5V only. If connecting to this pin, you will want to avoid connecting power to the USB-C connector.
- SERVO: 6V max.
- MTR: 9V max, 11V max with heat sink.
There are reverse current protection cicuitry included on the AutoHAT's 5V line to avoid damage to power sources that are connected to the Raspberry Pi's 5V pin, servo pin (SERVO), and motor pin (MTR).
Attaching Accessories
Users will want to attach additional accessories to the Auto pHAT.
Servos
Servos are attached to the 3x4 right angle header. The channels and pins are indicated on the top and right of the header, when reading the silk screen. Below is an example with servos connected to channels 0 and 3. Users should pay close attention to the orientation of the servo connector, in order to match up the pin connections properly.
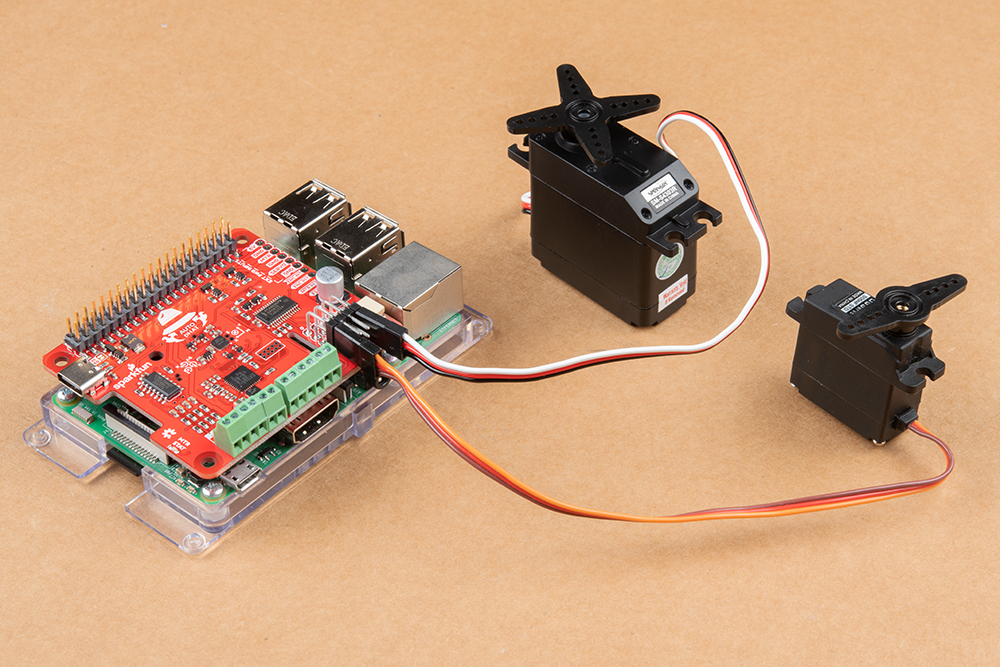
Servos attached to channels 0 and 3.
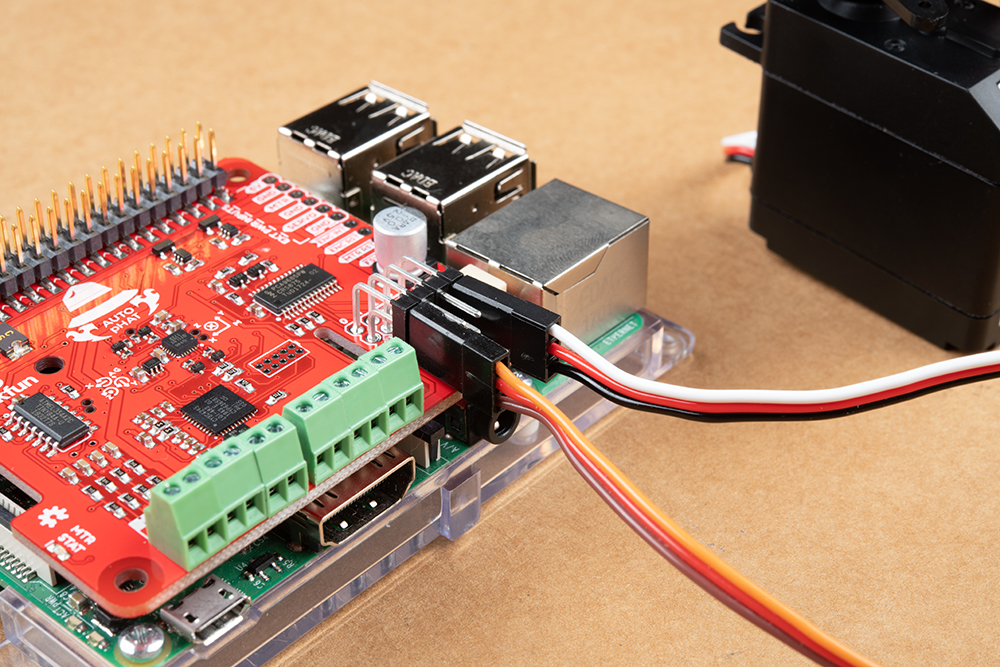
Verify that the connector is in the proper orientation.
(*Hint: The signal wire is the uppermost header.)
Hobby Servo Tutorial
Basic Servo Control for Beginners

Annotated image of servo wiring harness. (Click to enlarge)
Motors
DC motors should be connected to the inner screw terminals indicated by MTRA and MTRB on the silk screen. Below, is an example of a pair of motors connected to the Auto pHAT. The orientation of the wires (between 1 or 2) shouldn't matter as the drive direction can be configured in software.
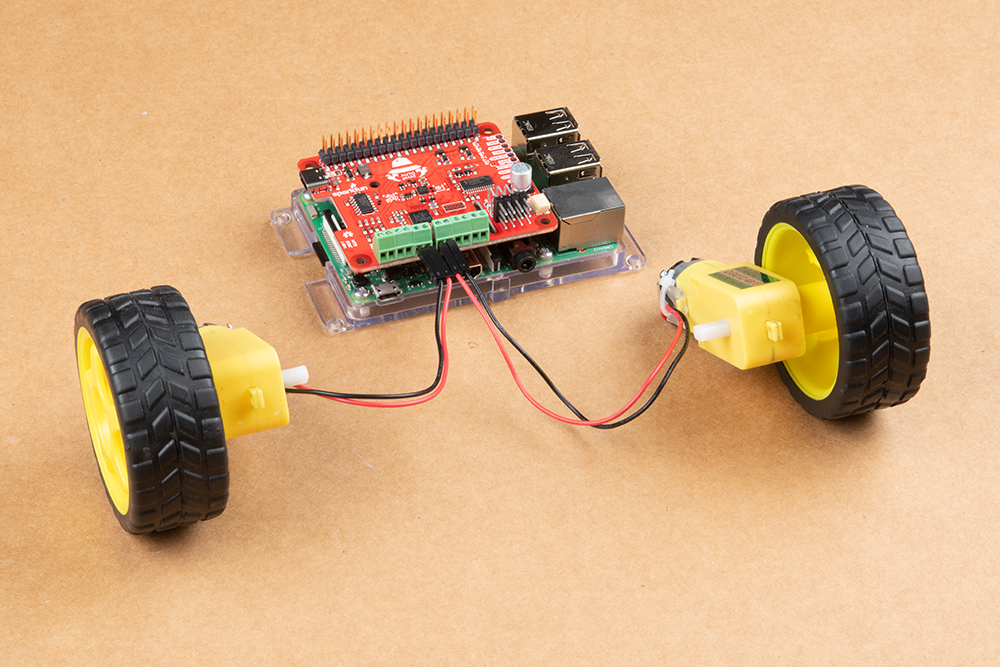
DC hobby motors (with wheels attached) connected to the Auto pHAT.
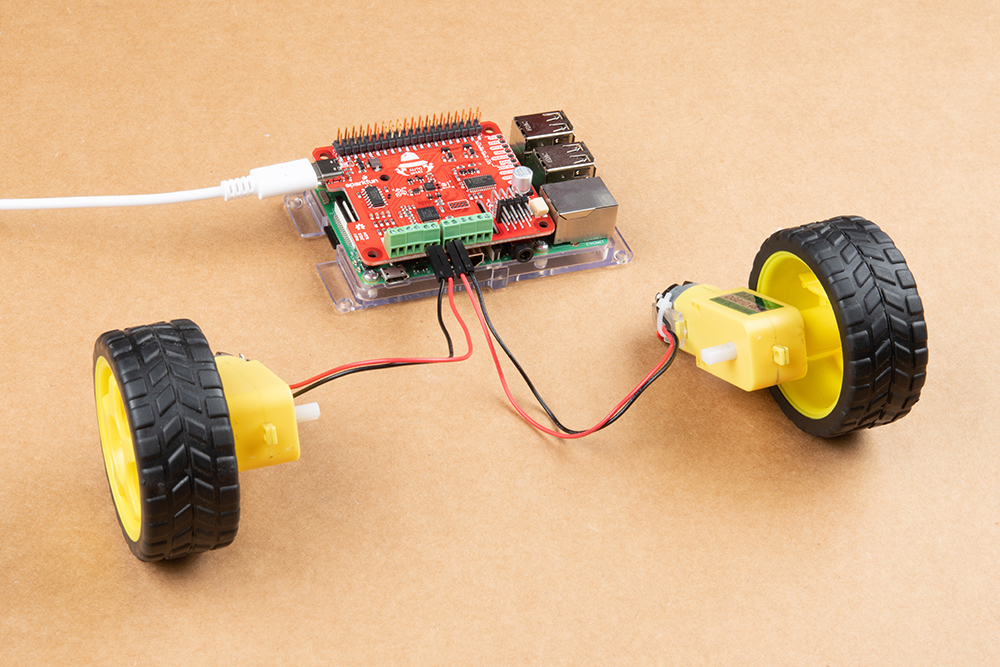
An external power source provided by the USB-C connetor.
Note: Users unfamiliar with DC motors should check out our motors tutorial.
Motors and Selecting the Right One
Quadrature Encoders
Connecting quadrature encoders to the Auto pHAT is relatively simple with the screw terminals. Users should use the silk screen on the board (+, A, B, and -) to match the connections for the encoder. The datasheet for other encoders should be used if the connections aren't apparent or labeled on the product.
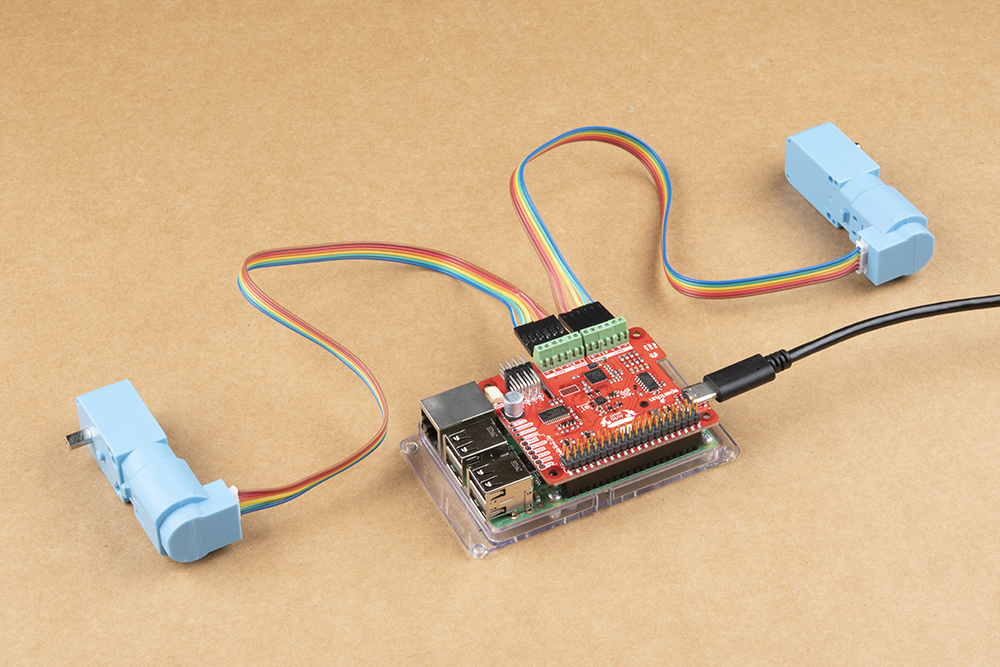

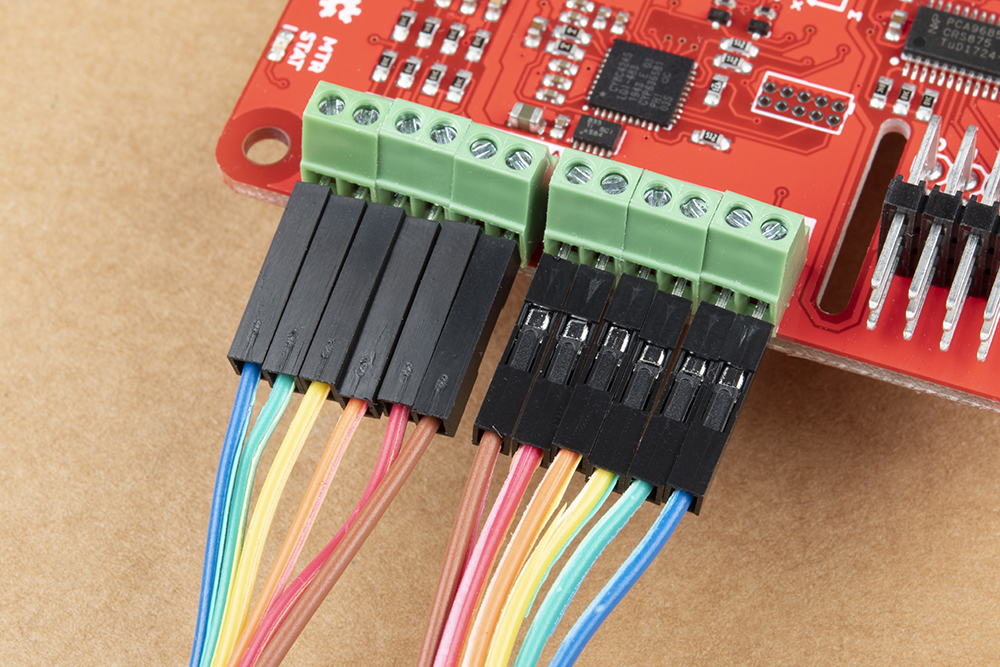
Motor and encoder wiring on the Auto pHAT.
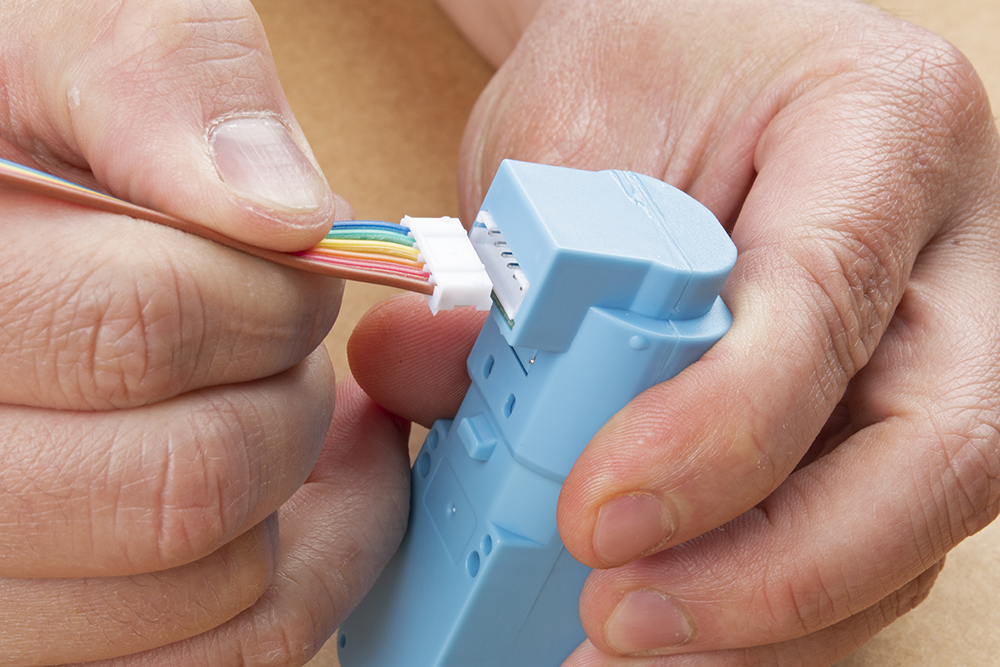
Cable attachment to DC hobby motor with encoder.
(Click images to enlarge)
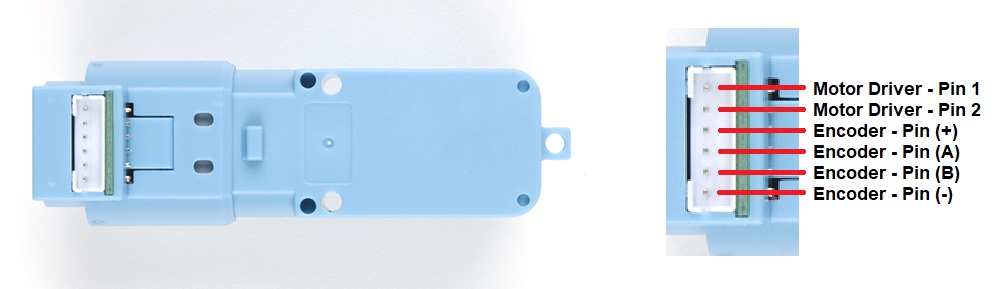
For the hobby motor with encoder, that is offered in our catalog, pin connections match the Auto pHAT screw terminal layout; with the pin map shown below. (For more details, users can check out the datasheet.)
Note: Users who are unfamiliar with quadrature encoders and their operation should check out our Adventures in Science blog post on encoders.
Clearance Issues
Another consideration is the clearance of the pHAT from other components. Users can cover the header and screw terminal through hole pins with an insulator to avoid shorting the pins. Additionally, if the clearance between the pHAT and other components (including things like a the heat sink case for the Raspberry Pi 4) becomes an issue, a header should be used to increase the spacing.
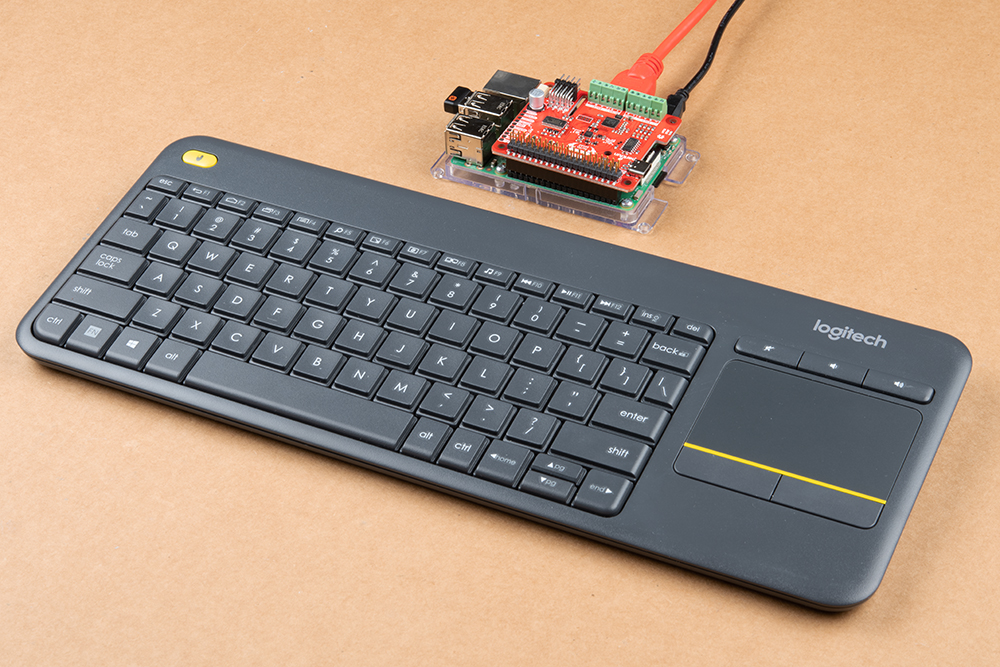
Desktop
To configure the Raspberry Pi for use with the Auto pHAT, the PIXEL desktop is recommended. It will be the most convenient for users, but users can still use other methods like SSH to remotely access the Raspberry Pi. To utilize the desktop, users will need to add peripherals like a monitor and keyboard.