RETIRED - Pi Wedge Hookup Guide
This Tutorial is Retired!
This tutorial covers concepts or technologies that are no longer current. It's still here for you to read and enjoy, but may not be as useful as our newest tutorials.
View the updated tutorial: RETIRED - Pi Wedge B+ Hookup Guide
Introduction
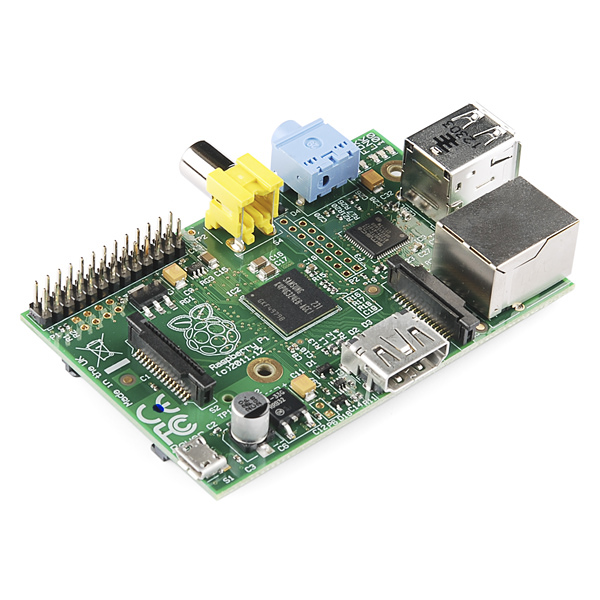
The Raspberry Pi seems to be popping up all over the place. It's a small, inexpensive board with a lot of number-crunching capability. It can run a standard Linux distribution, and supports a lot of common Linux applications, including programming languages like C, C++, and Python. This makes it very useful for tasks that need more horsepower than a small 8-bit microcontroller provides, or that can take advantage of the feature-rich environment that Linux offers.
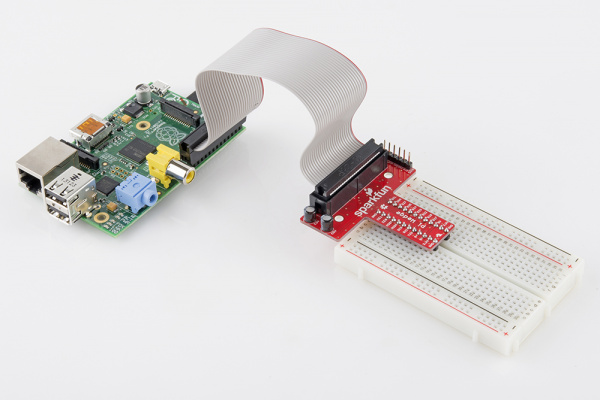
After building several projects using the Raspberry Pi, we found some growing pains in building prototypes that incorporated external hardware. The Pi Wedge is a small board that connects to the GPIO connector, and breaks the pins out into rows that work with solderless breadboards.
This guide will show you how to assemble the Pi Wedge, and start using it with your Raspberry Pi.
Required Materials
- The Pi Wedge kit
- A Raspberry Pi single board computer. The Wedge works with both Model A and Model B
- A Solderless Breadboard
- An FTDI Basic
- Your favorite I2C, SPI or GPIO-based peripherals
- A soldering iron and leaded or lead-free solder

