RedBot Assembly Guide
This Tutorial is Retired!
This tutorial covers concepts or technologies that are no longer current. It's still here for you to read and enjoy, but may not be as useful as our newest tutorials.
 SFUptownMaker,
  HelloTechie
**Wheel Encoder Screws**
We will be placing screws that will later hold the RedBot Sensor - Wheel Encoder to the bottom chassis.
**If you do not have a RedBot Sensor - Wheel Encoder, you will want to skip this section and move on to the Motors section on this Assembly Guide. **
Locate the following:
- 1x Bottom Chassis Piece
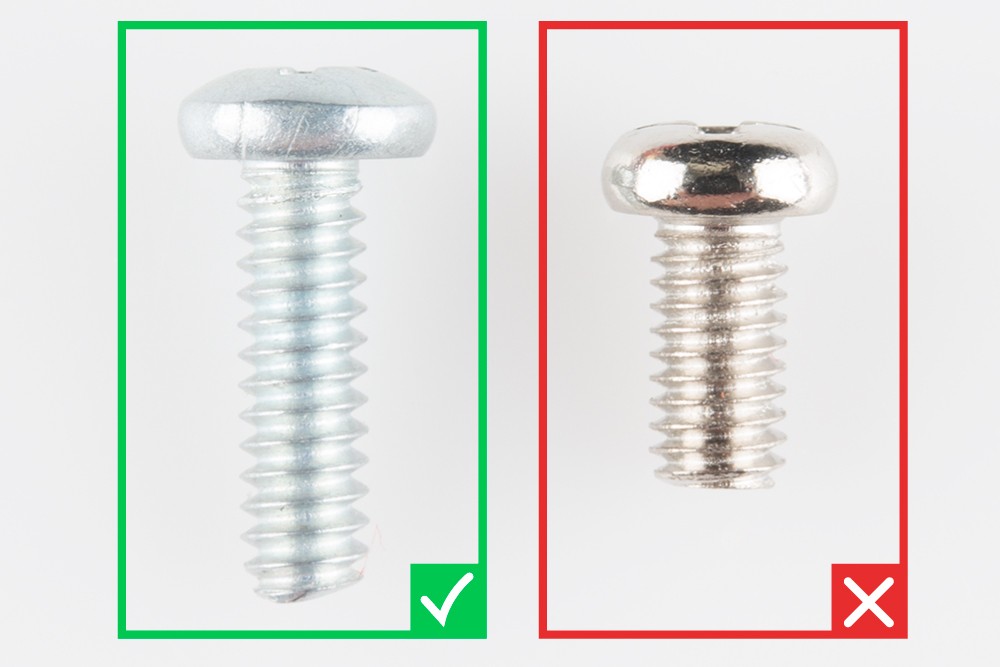
- 2x 4-40 3/8" Phillips Screws
- 2x 4-40 Hex Nuts
There are different types of screws in this kit. Make sure you use the 4-40 screws and nuts for the RedBot Wheel Encoder. The 4-40 screws and nuts are packaged with the RedBot Sensor - Wheel Encoder.
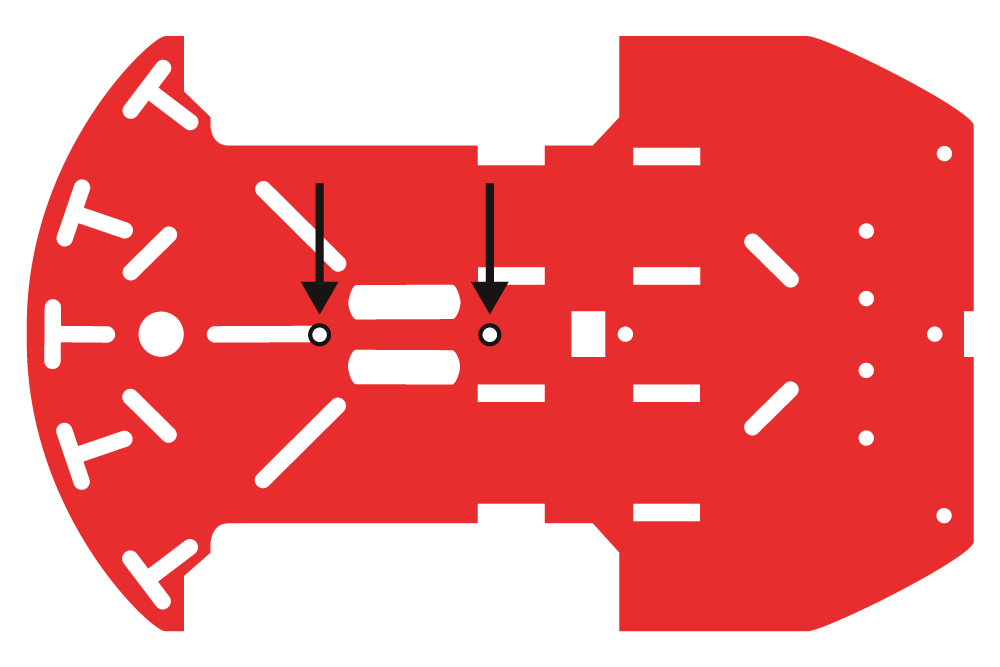
Locate the two positions on the bottom chassis piece where the 4-40 screws will go. In this step, it doesn't matter what side you use, since both sides of the chassis are indential.
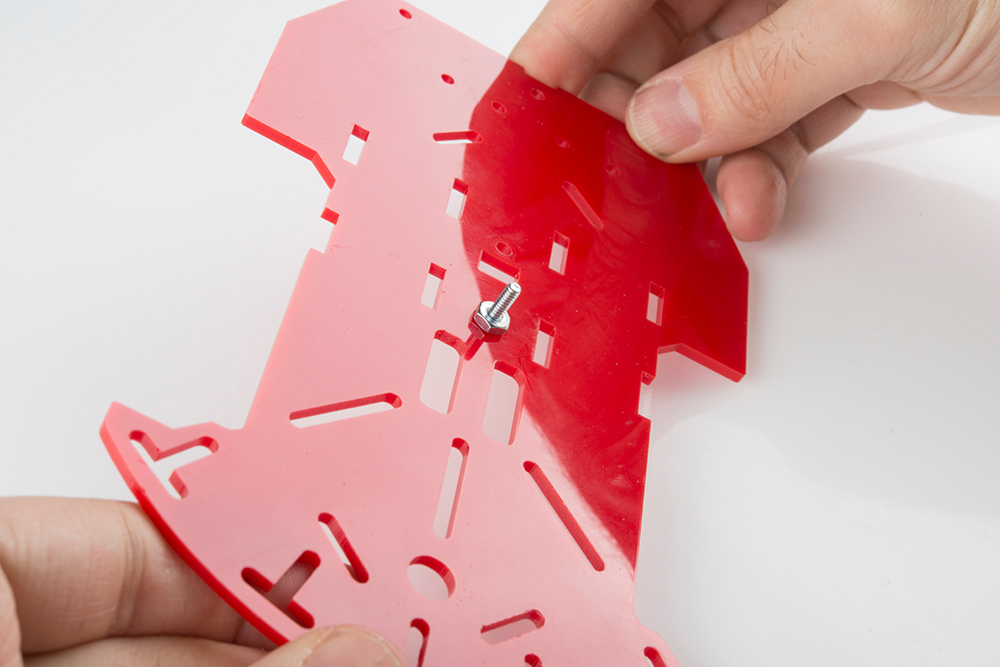
Place one of the 4-40 screw through the chassis piece in the correct location. This side of the chassis piece will now be your bottom side.

Tightly screw down the 4-40 hex nut on the top side of the chassis piece to hold the 4-40 screw down.
Place the second 4-40 screw and nut in the second located position on the chassis piece. You will want to place the 4-40 screw through the bottom side of the chassis. Then screw in the 4-40 nut on the top side of the chassis.
