RedBot Assembly Guide
This Tutorial is Retired!
This tutorial covers concepts or technologies that are no longer current. It's still here for you to read and enjoy, but may not be as useful as our newest tutorials.
 SFUptownMaker,
  HelloTechie
RedBot Line Followers
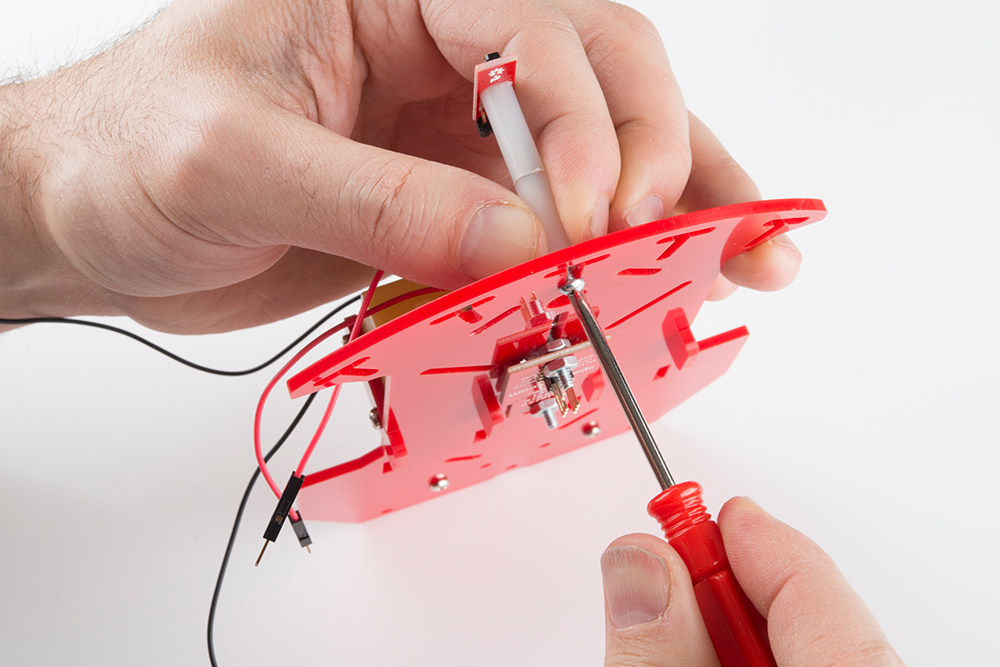
In this section, you will be putting standoffs on the RedBot Sensor - Line Followers. Then you will add the sensors on your chassis.
Locate the following:
- 3x Line Followers
- 3x 4-40 1" Phillips Screw
- 3x 4-40 1/4" Phillips Screw
- 6x 4-40 Nylon Standoffs
Screw a 4-40 1" Phillips screw to the plastic standoff through one of the RedBot Sensor - Line Followers. Make sure to tighten the standoff on the line follower's header side. The top of the screw should be on the same side as the RedBot Sensor - Line Follower's sensor. Do this for the other two RedBot Sensor - Line Followers.
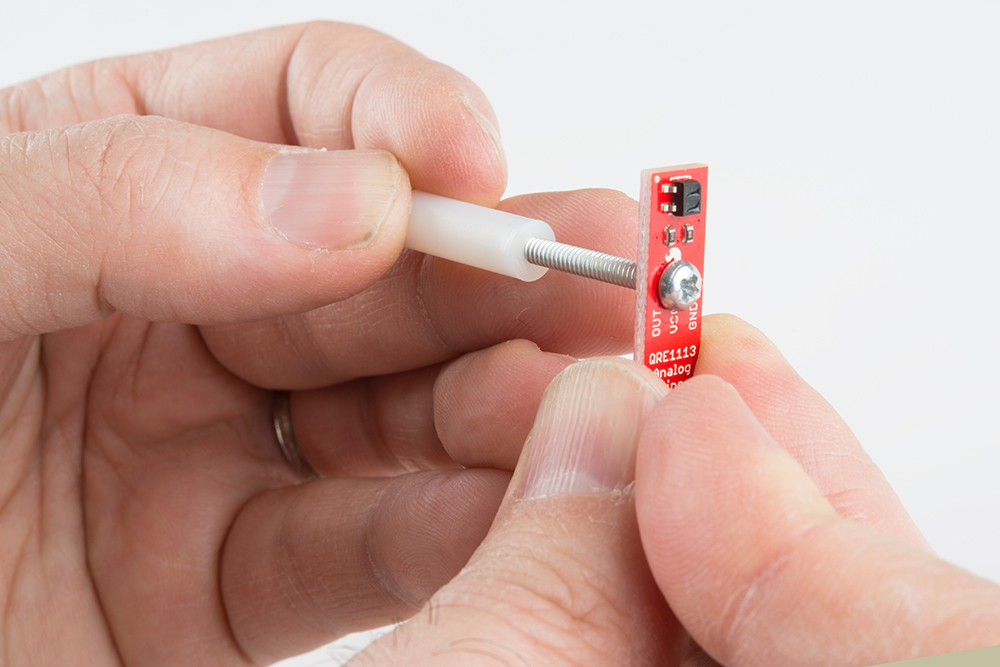
You should see part of the 4-40 1" Phillips screw sticking out.

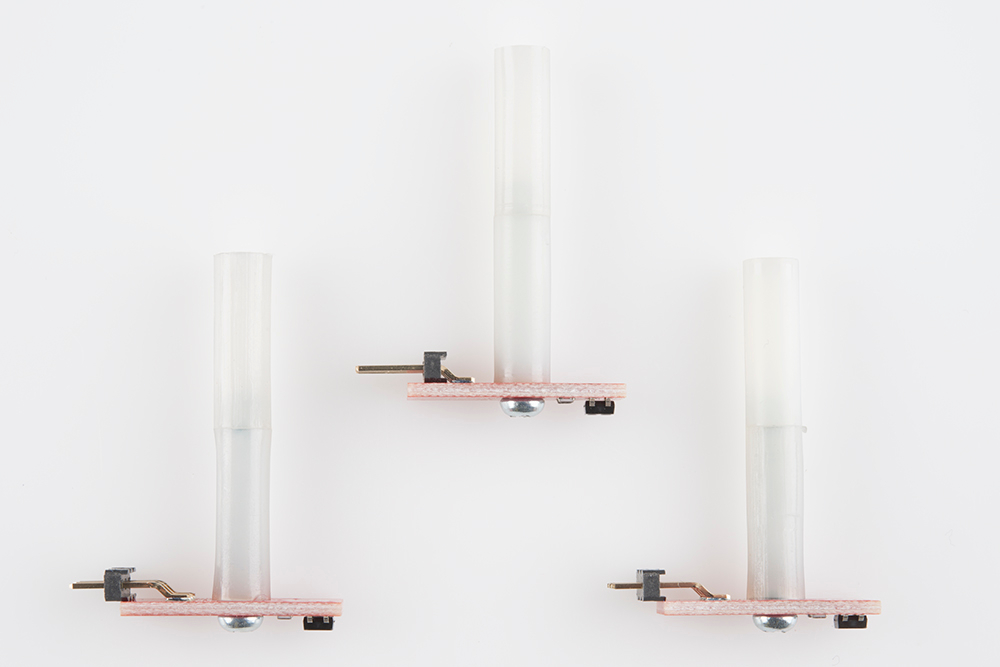
You will screw on another standoff on top of the one already on the screw. The screw's end should now be covered as pictured below.
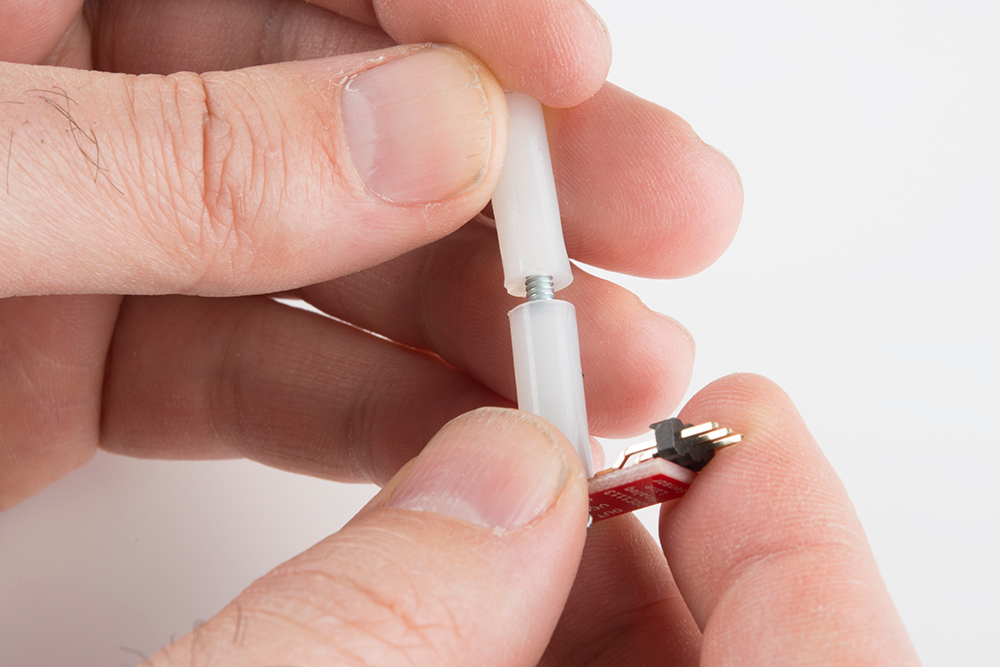
Do this for all other two RedBot Sensor - Line Followers.
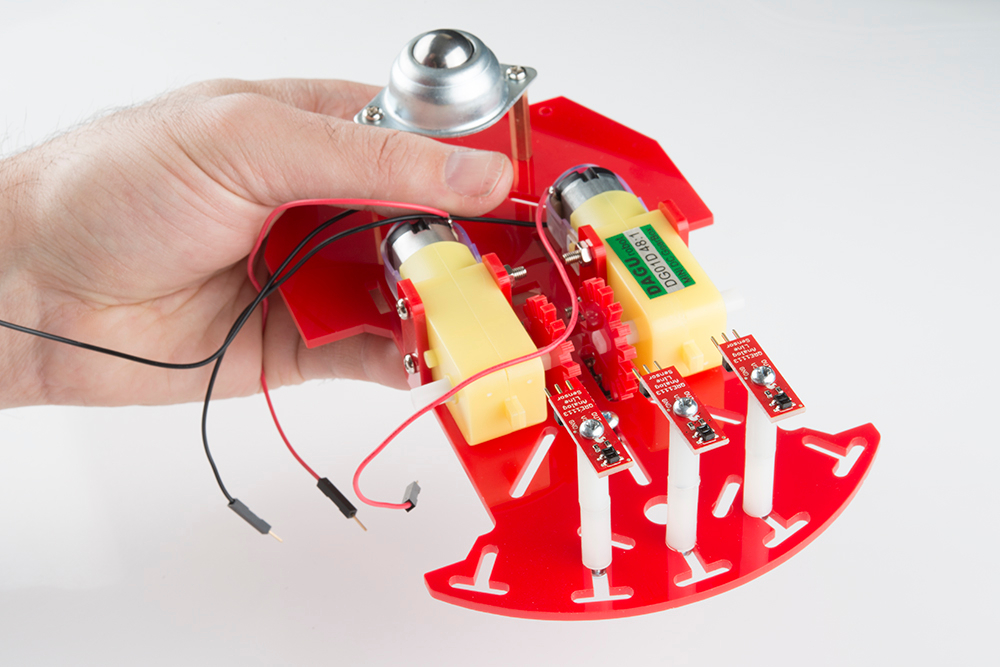
Locate three spots on the chassis where you will be adding the RedBot Sensor - Line Followers.

Place a 4-40 1/4" Phillips screw through the top side of the chassis piece. Tighten down the standoff with a RedBot Sensor - Line Follower into bottom chassis piece. The RedBot Sensor - Line Follower should be on the bottom side of the chassis piece. The headers on the RedBot Sensor - Line Follower should be pointing in towards the chassis.
Using your other two 4-40 1/4" Phillips screws, hand tighten the other two RedBot Sensor - Line Followers in the suggested locations.