Raspberry Pi 4 Kit Hookup Guide
Contributors:
 bboyho,
  MTaylor
Getting an OS
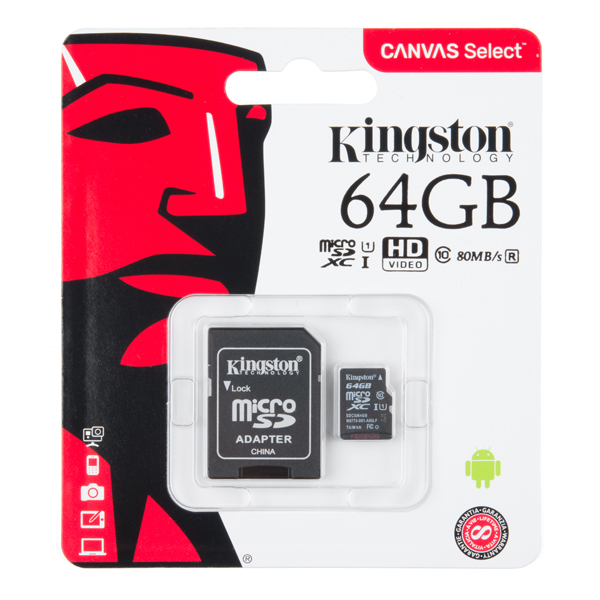
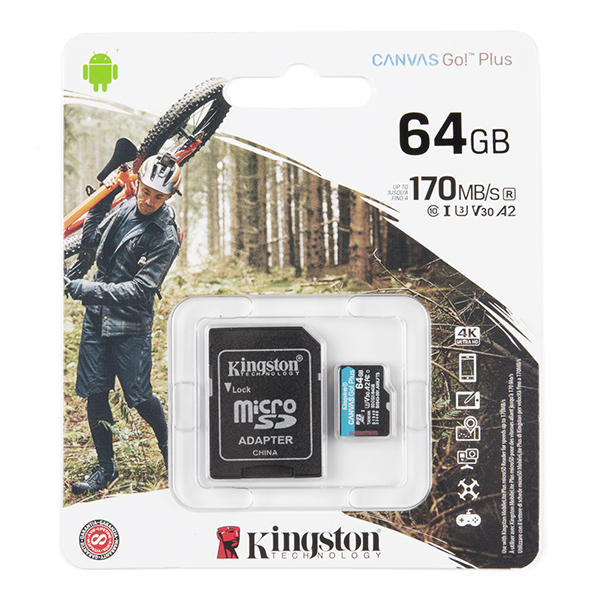
Note: You will need a microSD card with minimum size of at least 8GB! Not all microSD cards are the same. This is obvious in the memory size but the performance can also vary between microSD cards. The microSD card included in the basic kit (as shown on the left) is sufficient enough to run an image on the Pi 4. The microSD card included in the desktop kit (as shown on the right) has a faster read/write speed which enables you to flash, update, or boot an image in a shorter amount of time. Programs can also load faster as well.
If you are looking to test the performance of your microSD card, there is a tool that you can download to test how well the microSD card performs. Don't be alarmed by the pass/fail. A slower performing microSD card is still be sufficient to run on the Pi 4. It just means that the Pi 4 may not be running at the optimum speed. The microSD card will . Click on the link below for more information!
 |
 |
The microSD card included in each kit does not have an image flashed. You'll need to flash a new image to the microSD card if you are just starting out or if your existing image becomes corrupt somewhere down the line. There are a few Linux-based images available depending on your application. Or feel free to power down your Pi and switch microSD cards out to experiment with a different image. For beginners, we recommend getting NOOBS. Otherwise, the Raspbian with the PIXEL desktop would be the best.
- NOOBS (i.e. New Out-Of-the Box Software) - Contains Raspbian and LibreELEC. Other images can also be downloaded from the internet and installed.
- Raspbian - Official Raspberry Pi Debian-based computer operating system. There are three downloads. We recommend the desktop version with recommended software. The other downloads are the same but with less software. For advanced users, Raspbian Lite is the minimal text-only version and requires users to navigate using the command line interface (CLI).
- Other 3rd Party OS Images - There are other distributions available from third-party. If you are feeling adventurous, check out the other images available!
For the scope of this tutorial, we will summarize two of the images from the Pi foundation.
Flashing the Image NOOBS
If you decide to use NOOBS, you will need to:
- Insert the microSD card into a card reader.
- Download the ZIP file for NOOBS.
- Extract the ZIP file.
- Format your Raspberry Pi's microSD card if needed.
- Copy all the contents from the unzipped folder into the microSD card.
- Eject the microSD card from your computer.
Flashing the Image Raspbian and 3rd Party OS Images
Note:! There are several tools available to flash your image distribution to a microSD card. For the scope of this tutorial, we'll assume that you are using the Raspberry Pi Imager for your OS. Make sure to install the software before continuing further.
Then follow the steps below to flash an image using the Raspberry Pi Imager.
- Insert the microSD card and card reader into your computer's port.
- Open the software imaging tool [2] of your choice (in this case, we'll use the Raspberry Pi Imager for your OS but you can use other images as well).
- Press CHOOSE OS to select the Operating System from the list (in this case, we'll use one of the Raspbian images but you could use any of the 3rd party images ).
- Press CHOOSE SD CARD to select mounted microSD Card.
- Press Write (it will take a while depending on the image and microSD card so just do a little dance as you wait).
- Eject the microSD card when finished.
[2] Note: Check out this extensive guide to flashing images to a microSD card. You could use Etcher.io, Win32DiskImager, or a command line tool depending on your personal preference.
SD Cards and Writing Images
How to upload images to an SD card for Raspberry Pi, PCDuino, or your favorite SBC.