Qwiic SHIM Kit for Raspberry Pi Hookup Guide
 bboyho
Example: Combined SerLCD and ICM-20948
Combined Example
This code combines a few of the examples together. The orientation of the 9DoF will control the RGB backlight. For simplicity, we will only display the name of the color. Try scaling the readings down before printing the accelerometer readings on the screen.
In your terminal window, type the following to download the combined example code from the GitHub repository.
language:bash
git clone https://github.com/sparkfun/Qwiic_SHIM_Kit
Then navigate to the examples folder by entering the following command.
language:bash
cd Qwiic_SHIM_Kit/examples
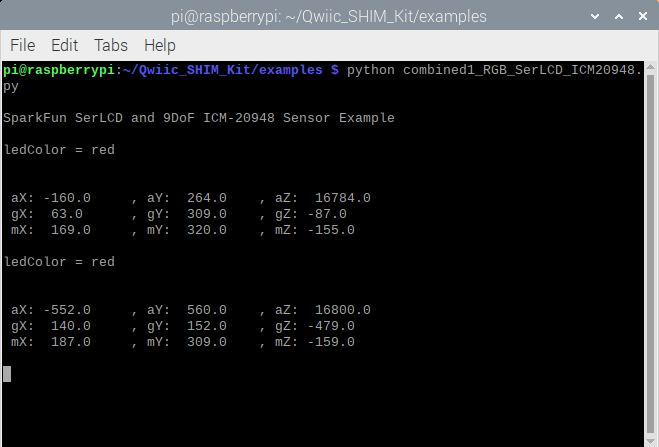
Enter the following command to run the combined example.
language:bash
python combined1_RGB_SerLCD_ICM20948.py
You can also copy the example below.
language:python
#!/usr/bin/env python3
#-----------------------------------------------------------------------------
# combined1_RGB_SerLCD_ICM20948.py
#
# Combined example to control the RGB LED on the SerLCD
# based on the accelerometer readings on the ICM20948.
#------------------------------------------------------------------------
#
# Written by  SparkFun Electronics, March 2020
#
# This python library supports the SparkFun Electroncis qwiic
# qwiic sensor/board ecosystem on a Raspberry Pi (and compatible) single
# board computers.
#
# More information on qwiic is at https://www.sparkfun.com/qwiic
#
# Do you like this library? Help support SparkFun. Buy a board!
#
#==================================================================================
# Copyright (c) 2019 SparkFun Electronics
#
# Permission is hereby granted, free of charge, to any person obtaining a copy
# of this software and associated documentation files (the "Software"), to deal
# in the Software without restriction, including without limitation the rights
# to use, copy, modify, merge, publish, distribute, sublicense, and/or sell
# copies of the Software, and to permit persons to whom the Software is
# furnished to do so, subject to the following conditions:
#
# The above copyright notice and this permission notice shall be included in all
# copies or substantial portions of the Software.
#
# THE SOFTWARE IS PROVIDED "AS IS", WITHOUT WARRANTY OF ANY KIND, EXPRESS OR
# IMPLIED, INCLUDING BUT NOT LIMITED TO THE WARRANTIES OF MERCHANTABILITY,
# FITNESS FOR A PARTICULAR PURPOSE AND NONINFRINGEMENT. IN NO EVENT SHALL THE
# AUTHORS OR COPYRIGHT HOLDERS BE LIABLE FOR ANY CLAIM, DAMAGES OR OTHER
# LIABILITY, WHETHER IN AN ACTION OF CONTRACT, TORT OR OTHERWISE, ARISING FROM,
# OUT OF OR IN CONNECTION WITH THE SOFTWARE OR THE USE OR OTHER DEALINGS IN THE
# SOFTWARE.
#==================================================================================

from __future__ import print_function
import qwiic_serlcd
import qwiic_icm20948
import time
import sys

#create global variable to keep track of color when debugging
ledColor = 1

def runExample():

    print("\nSparkFun SerLCD and 9DoF ICM-20948 Sensor Example\n")
    myLCD = qwiic_serlcd.QwiicSerlcd()
    IMU = qwiic_icm20948.QwiicIcm20948()

    if myLCD.connected == False:
        print("The Qwiic SerLCD device isn't connected to the system. Please check your connection", \
            file=sys.stderr)
        return

    if IMU.connected == False:
        print("The Qwiic ICM20948 device isn't connected to the system. Please check your connection", \
              file=sys.stderr)
        return


    myLCD.setBacklight(255, 255, 255) # Set backlight to bright white
    myLCD.setContrast(5)  # Set contrast. Lower to 0 for higher contrast.
    myLCD.clearScreen()   # Clear Screen - this moves the cursor to the home position as well
    myLCD.print("white")  # Write to color name to SerLCD

    time.sleep(0.5) # give a sec for system messages to complete

    IMU.begin()

    while True:
        #declare ledColor a global variable inside here to access it
        global ledColor

        if IMU.dataReady():
            IMU.getAgmt() # read all axis and temp from sensor, note this also updates all instance variables

            #the following are the threshold values for each axis is pointing right-side up

            # anything above IMU.azRaw > 16000 is red
            # ledColor = 1
            aZPos = 16000

            # anything below IMU.azRaw < -16000 is blue
            # ledColor = 2
            aZNeg = -16000

            # anything above IMU.ayRaw > 16100 is green
            # ledColor = 3
            ayPos = 16100

            # anything below IMU.ayRaw < -16000 is green
            # ledColor = 4
            ayNeg = -16000

            # anything above IMU.axRaw > 16000 is magenta
            # ledColor = 5
            axPos = 16000

            # anything below IMU.axRaw < -16400 is cyan
            # ledColor = 6
            axNeg = -16400

            #adjust color of the LED based on the accelerometer's reading
            if IMU.azRaw > aZPos:
                # Set LED red
                myLCD.setBacklight(255, 0, 0) # Set backlight to bright white
                ledColor = 1
                myLCD.clearScreen()
                myLCD.print("red")

            elif IMU.azRaw < aZNeg:
                # Set LED blue
                myLCD.setBacklight(0, 0, 255) # Set backlight to bright white
                ledColor = 2
                myLCD.clearScreen()
                myLCD.print("blue")

            elif IMU.ayRaw > ayPos:
                # Set LED yellow
                myLCD.setBacklight(255, 255, 0) # Set backlight to bright white
                ledColor = 3
                myLCD.clearScreen()
                myLCD.print("yellow")

            elif IMU.ayRaw < ayNeg:
                # Set LED green
                myLCD.setBacklight(0, 255, 0) # Set backlight to bright white
                ledColor = 4
                myLCD.clearScreen()
                myLCD.print("green")

            elif IMU.axRaw > axPos:
                # Set LED magenta
                myLCD.setBacklight(255, 0, 255) # Set backlight to bright white
                ledColor = 5
                myLCD.clearScreen()
                myLCD.print("magenta")

            elif IMU.axRaw < axNeg:
                # Set LED cyan
                myLCD.setBacklight(0, 255, 255) # Set backlight to bright white
                ledColor = 6
                myLCD.clearScreen()
                myLCD.print("cyan")

            if ledColor == 1:
                print("ledColor = red" ,'\n', '\n')
            elif ledColor == 2:
                print("ledColor = blue" ,'\n', '\n')
            elif ledColor == 3:
                print("ledColor = yellow" ,'\n', '\n')
            elif ledColor == 4:
                print("ledColor = green" ,'\n', '\n')
            elif ledColor == 5:
                print("ledColor = magenta" ,'\n', '\n')
            elif ledColor == 6:
                print("ledColor = cyan" ,'\n', '\n')

            aX = IMU.axRaw
            aY = IMU.ayRaw
            aZ = IMU.azRaw
            gX = IMU.gxRaw
            gY = IMU.gyRaw
            gZ = IMU.gzRaw
            mX = IMU.mxRaw
            mY = IMU.myRaw
            mZ = IMU.mzRaw

            # Remove the `#` for the following lines to
            # display accelerometer readings on SerLCD

            #myLCD.setCursor(8,0)
            #myLCD.print("aX")
            #myLCD.print(str(aX))

            #myLCD.setCursor(0,1)
            #myLCD.print("aY")
            #myLCD.print(str(aY))

            #myLCD.setCursor(8,1)
            #myLCD.print("aZ")
            #myLCD.print(str(aZ))

            print(\
             ' aX:', '{: 4.1f}'.format(aX)\
            , ' \t, aY:', '{: 4.1f}'.format(aY)\
            , '\t, aZ:', '{: 4.1f}'.format(aZ)\
            , '\n gX:', '{: 4.1f}'.format(gX)\
            , '\t, gY:', '{: 4.1f}'.format(gY)\
            , '\t, gZ:', '{: 4.1f}'.format(gZ)\
            , '\n mX:', '{: 4.1f}'.format(mX)\
            , '\t, mY:', '{: 4.1f}'.format(mY)\
            , '\t, mZ:', '{: 4.1f}'.format(mZ)\
            , '\n'\
            )

            time.sleep(1) # small delay so that the screen doesn't flicker
        else:
            print("Waiting for data")
            time.sleep(0.5)


if __name__ == '__main__':
    try:
        runExample()
    except (KeyboardInterrupt, SystemExit) as exErr:
        print("\nEnding Combined Example")
        sys.exit(0)
The terminal will begin displaying the current color and sensor readings.
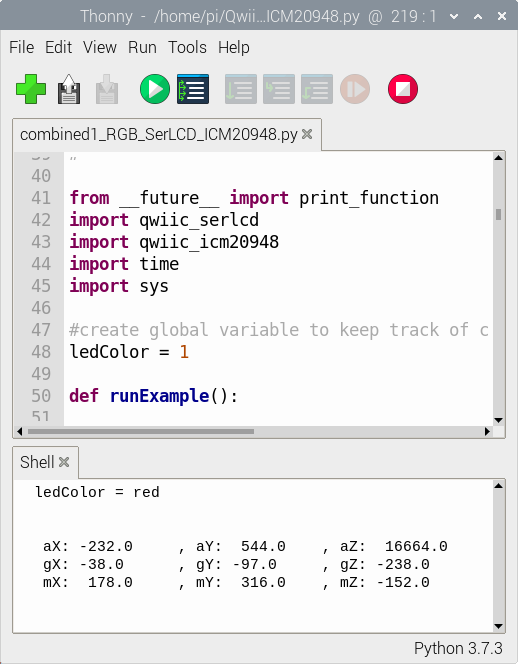
If you are using Thonny, you will see the same output in the Shell.
If you check out the SerLCD with RGB backlight, the screen will display the color name and color backlight based on the accelerometer readings. The color will change depending on what axis is pointing up. Your setup may look slightly different depending on how you connected the Qwiic cables so be sure to reference the silkscreen for the accelerometer.
