Qwiic Pro Kit Project Guide
Example Code
We recommend grabbing the code from its the GitHub repository. Otherwise, you can download the zipped file from the link below.
After downloading, unzip the files and open the QwiicStarterExample.ino sketch. It should be located in the downloads folder similar to this path: .../Firmware/Arduino/QwiicStarterExample/QwiicStarterExample.ino. Open the code up in the Arduino IDE, select the board (i.e. the SparkFun RedBoard Turbo), and the COM port that the board enumerated on. Then hit the upload button.
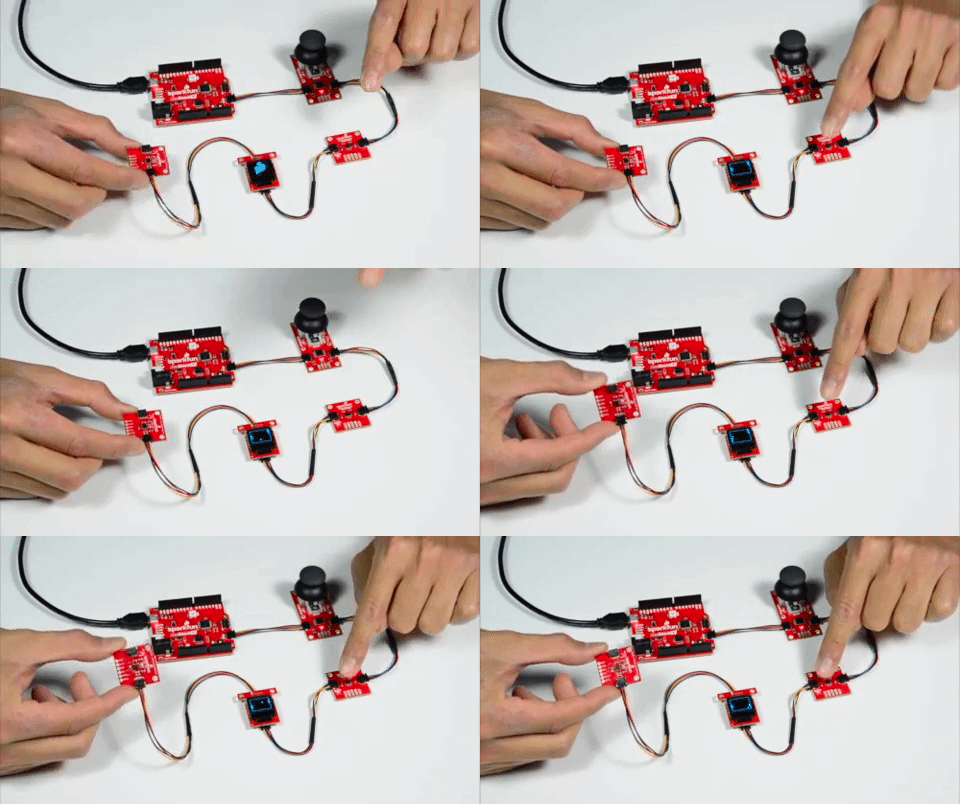
// in front of the following line: #define Serial SerialUSB // Uncomment for RedBoard Turbo, this reroutes all Serial commands to SerialUSBWith a friend, try rocking the accelerometer back and forth along the x-axis or moving your hand above the proximity sensor to control each paddle. You will need to orient the micro OLED so that the paddle is on the side of the player's Qwiic board. The game will continue as long as the ball hits the paddle and bounces to the other side. A player will win a round as soon as the other player fails to bounce the ball back to the other side. The current score will be briefly displayed before the next game. Try to rack up more points than your opponent!
The default code uses the accelerometer as player 1 and the proximity sensor as player 2. Try adjusting the code to use the joystick for one of the players by adding and removing the single line comments. The joystick will control the paddle along the "vertical" y-axis. Each board can only have one player assigned. See if you can try to remove the unused Qwiic board from the daisy chain and commenting out each instance of the related board.
