Qwiic Flex Glove Controller Hookup Guide
Introduction
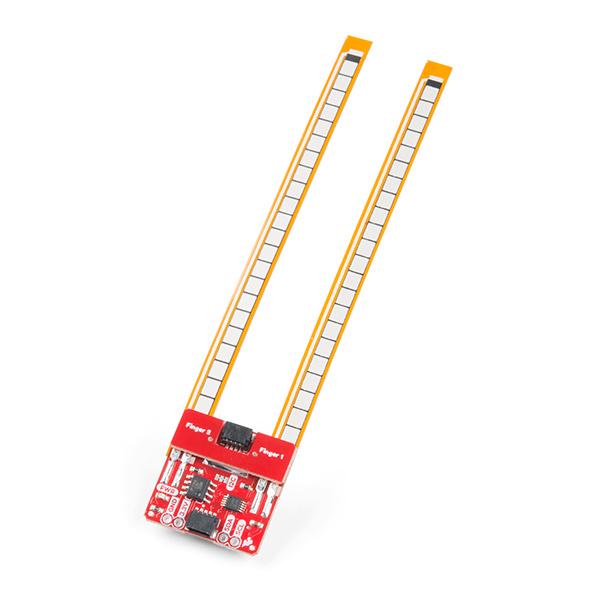
Flex sensors are great for telling how bent something is in a project, but we've been running into issues with durability when using them in wearable applications like gloves. The Qwiic Flex Glove Controller isolates the weak point to allow for more permanent flex sensor applications. The board has an onboard ADS1015 ADC to I2C so we can get a whole bunch of analog inputs without touching our microcontroller's ADC pins.
SparkFun Qwiic Flex Glove Controller
SEN-14666In this hookup guide, we'll figure out how to pull values from our fingers as well as calibrate the sensor for our range of motion. We'll also cover recommended placement and installation to implement these into gloves.
Required Materials
To get started, you'll need a microcontroller to, well, control everything.
Particle Photon (Headers)
WRL-13774Raspberry Pi 3
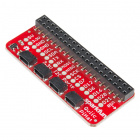
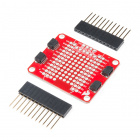
DEV-13825Now to get into the Qwiic ecosystem, the key will be one of the following Qwiic shields to match your preference of microcontroller:
SparkFun Qwiic Shield for Photon
DEV-14477You will also need a Qwiic cable to connect the shield to your sensor, choose a length that suits your needs.
Qwiic Cable - 100mm
PRT-14427Qwiic Cable - 50mm
PRT-14426Qwiic Cable - 200mm
PRT-14428Qwiic Cable - 500mm
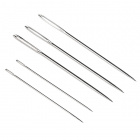
PRT-14429If you don't have a sewing needle, we'd recommend grabbing one if you're trying to add these flex sensors to some gloves.
Suggested Reading
If you aren't familiar with the Qwiic system, we recommend reading here for an overview.
 |
| Qwiic Connect System |
We would also recommend taking a look at the hookup guide for the Qwiic Shield if you haven't already. Brushing up on your skills in I2C is also recommended, as all Qwiic sensors are I2C.
I2C
Serial Terminal Basics
Qwiic Shield for Arduino & Photon Hookup Guide
You'll also most likely want to sew these boards into a wearable project, so if you've never picked up a needle and thread before, we'd recommend checking out a how-to on hand sewing.
