Python GUI Guide: Introduction to Tkinter
Introduction
Python is generally more popular as a sequential programming language that is called from the command line interface (CLI). However, several frameworks exist that offer the ability to create slick graphical user interfaces (GUI) with Python. Combined with a single board computer, like the Raspberry Pi, this ability to build GUIs opens up new possibilities to create your own dashboard for watching metrics, explore virtual instrumentation (like LabVIEW), or make pretty buttons to control your hardware.
In this tutorial, we'll go through the basics of Tkinter (pronounced "Tee-Kay-Inter", as it's the "TK Interface" framework), which is the default GUI package that comes bundled with Python. Other frameworks exist, such as wxPython, PyQt, and Kivy. While some of these might be more powerful, Tkinter is easy to learn, comes with Python, and shares the same open source license as Python.
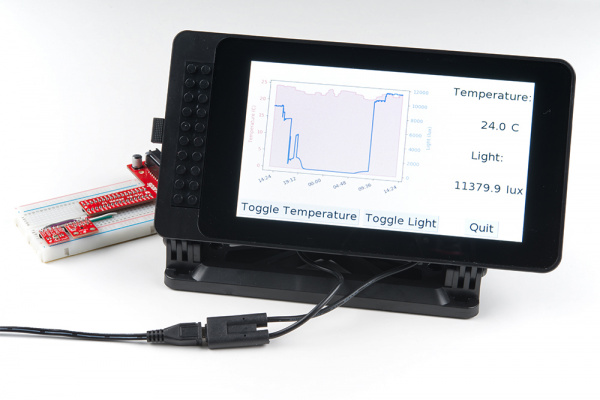
Later in the tutorial, we'll show how to control various pieces of hardware from a Tkinter GUI and then how to pull a Matplotlib graph into an interface. The first part of the tutorial (Tkinter basics) can be accomplished on any computer without special hardware. The parts that require controlling hardware or reading from a sensor will be shown on a Raspberry Pi.
Required Materials
To work through the activities in this tutorial, you will need a few pieces of hardware:
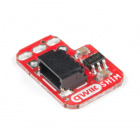
Qwiic Cable - Breadboard Jumper (4-pin)
PRT-14425Qwiic Cable - 200mm
PRT-14428Optional Materials
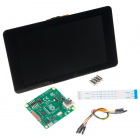
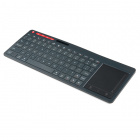
You have several options when it comes to working with the Raspberry Pi. Most commonly, the Pi is used as a standalone computer, which requires a monitor, keyboard, and mouse (listed below). To save on costs, the Pi can also be used as a headless computer (without a monitor, keyboard, and mouse).
Note that for this tutorial, you will need access to the Raspbian (or other Linux) graphical interface (known as the desktop). As a result, the two recommended ways to interact with your Pi is through a monitor, keyboard, and mouse or by using Virtual Network Computing (VNC).
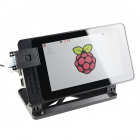
SmartiPi Touch
PRT-14059Prepare the Software
Before diving in to Tkinter and connecting hardware, you'll need to install and configure a few pieces of software. You can work through the first example with just Python, but you'll need a Raspberry Pi for the other sections that involve connecting hardware (we'll be using the RPi.GPIO and SMBus packages).
Tkinter comes with Python. If Python is installed, you will automatically have access to the the Tkinter package.
Follow the steps outlined in the Prepare Your Pi section of the Graph Sensor Data with Python and Matplotlib tutorial to install Raspbian and configure Python 3. You will only need to perform the last "Install Dependencies" step if you plan to replicate the final example in this guide (integrating Matplotlib with Tkinter).
Suggested Reading
If you aren't familiar with the following concepts, we recommend checking out these tutorials before continuing:
Raspberry gPIo
Preassembled 40-pin Pi Wedge Hookup Guide
Raspberry Pi 3 Starter Kit Hookup Guide
Getting Started with the Raspberry Pi Zero Wireless
Python Programming Tutorial: Getting Started with the Raspberry Pi
How to Use Remote Desktop on the Raspberry Pi with VNC
Graph Sensor Data with Python and Matplotlib
