ProtoSnap LilyPad Development Simple Hookup Guide
 jimblom
Sewing the Negatives
Let's get started on negative traces (or Ground)! Starting with the furthest LED out, stitch down the negative side, sew it to the next LED, and stitch that negative hole down. Continue down the line, sewing down each negative pad while connecting them all to each other.
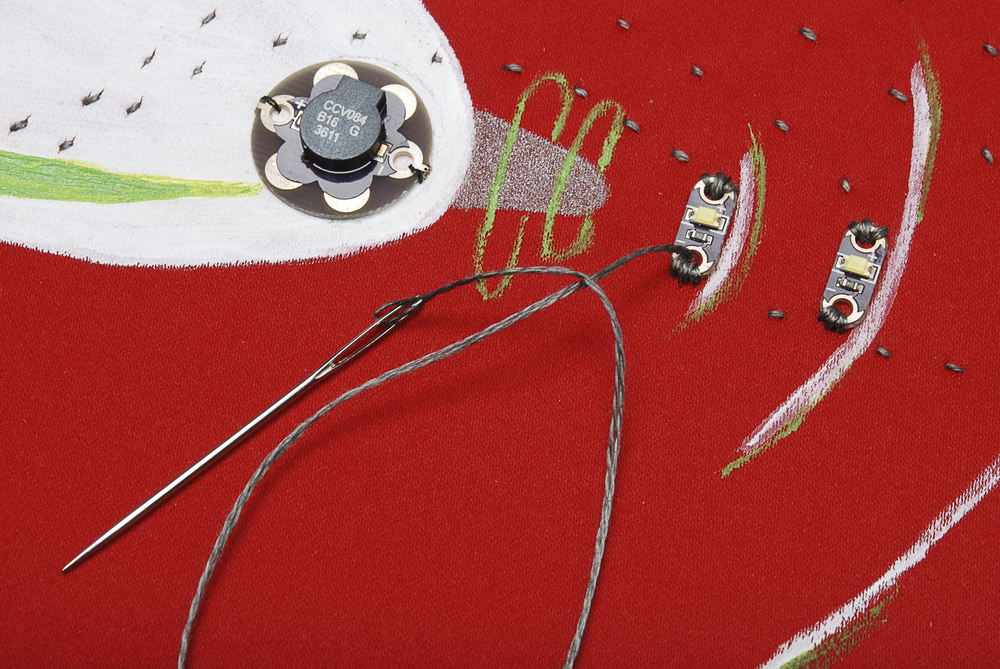
Continue with this trace, sewing down the negative petal of the buzzer.
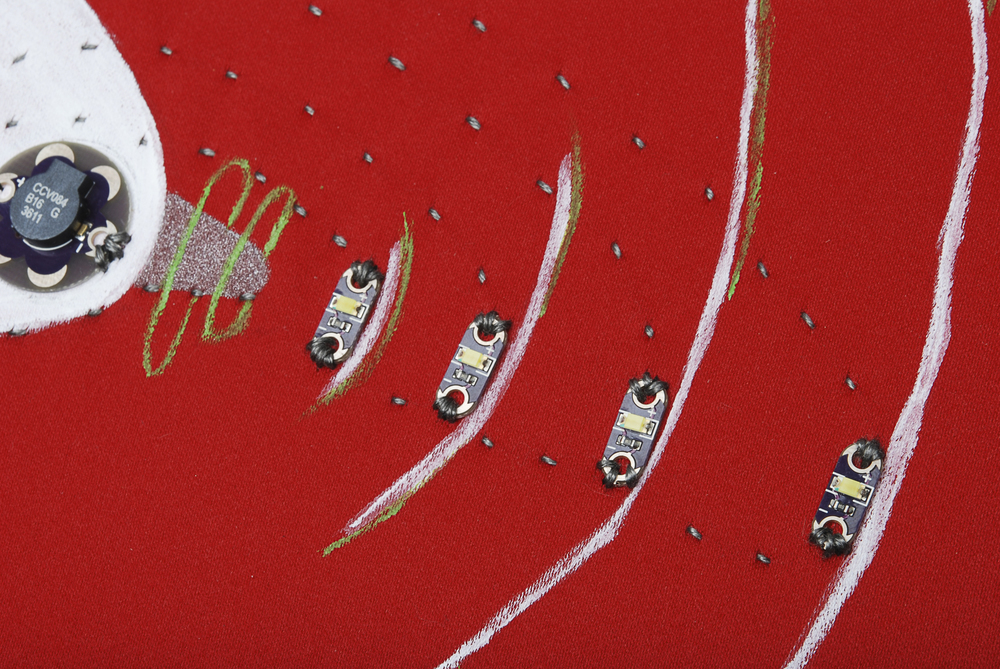
Continue this trace down and around to the negative pin of the Arduino. I neglected to get a picture of this connection, but just be careful not to touch the other traces and to pin it down well with several stitches. Next, cut and knot your thread, and get ready for the final trace! Sew down the positive pin on the buzzer.

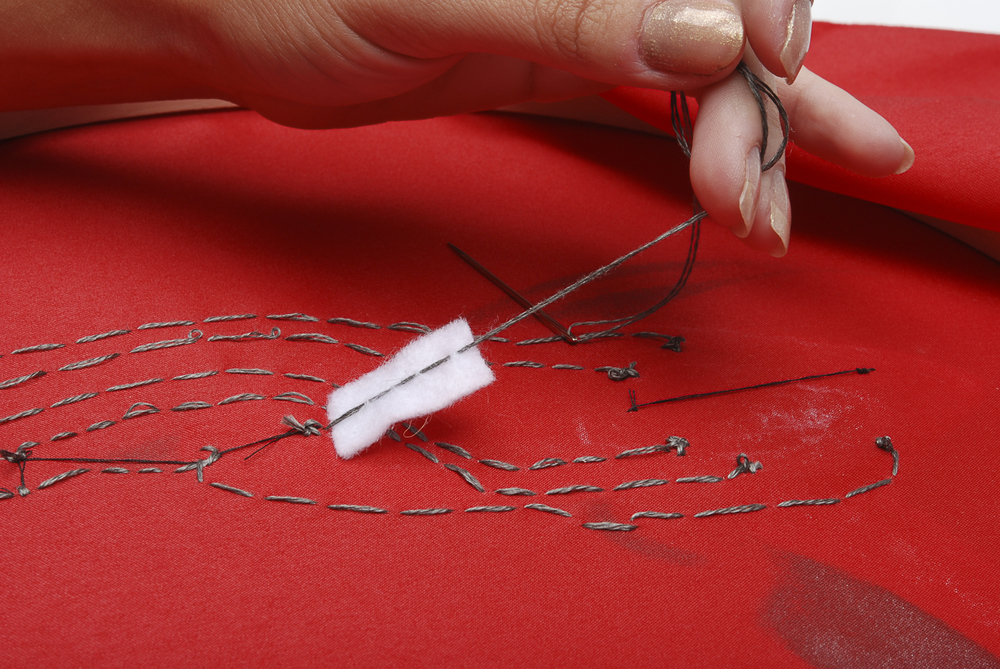
Flip over the circuit to the back side. You can see the two traces between the LEDs and pins 5 and 6, which will need to be crossed. Cut a piece of felt or another thick fabric, or create an alternative bridge if you prefer- you just need something that will insulate between this trace and the previous ones.

It you are using felt, put a few stitches lightly through the top layer of fibers to the other side. Now you're safely past the previous stitches, and you can lift up the felt to confirm that the stitches in your felt haven't gone all the way through.
Now you can finish the trace, taking it to pin 9, and tacking it down. Tie off your thread and cut it.
And that's it! Those are all of your traces, so you should be able to plug your battery in, turn the switch to 'on', and check out your special effects! if your circuit doesn't work, there are a few things you can do. Use a multimeter to double check that all of your connections are firm, and that you don't have any shorts (places where traces touch that shouldn't.) If you haven't got a multimeter, check on these traces visually. If all of your traces are correct, try re-loading the code from part one of the quickstart guide. That should do it! Enjoy your new piece of raygun art!