ProtoSnap LilyPad Development Simple Hookup Guide
 jimblom
Raygun Preparation
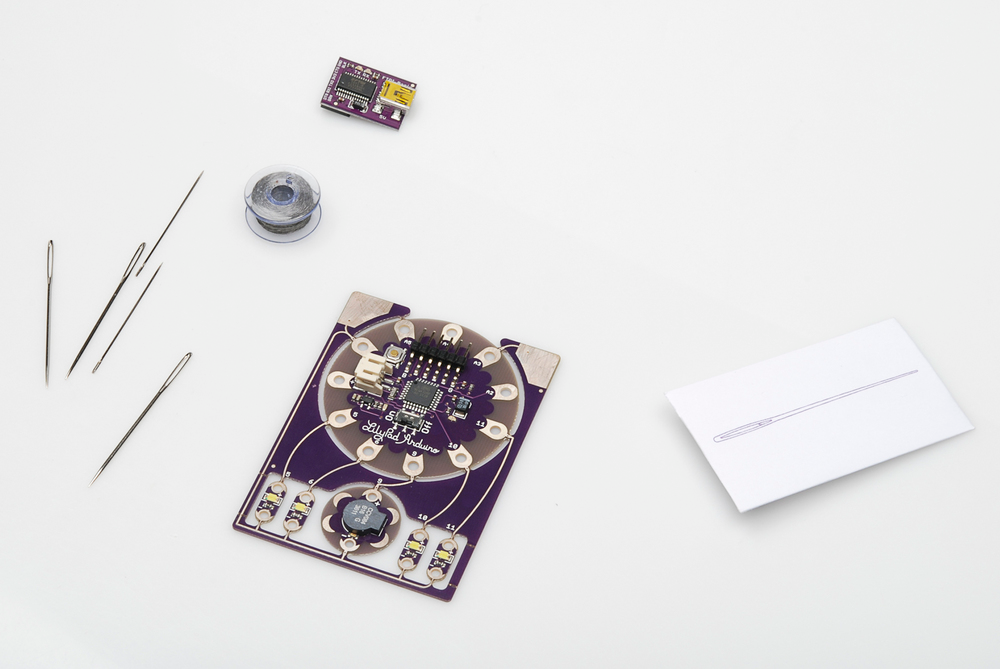
So, you've uploaded code, played around with it a little bit, and you've familiarized yourself with the components on the board. Now it's time to snap it apart and sew a circuit! If you want to use all of the components, you'll need something with a good use for lights and sound, so I'm just going to go ahead and say what we're all thinking- A RAYGUN!
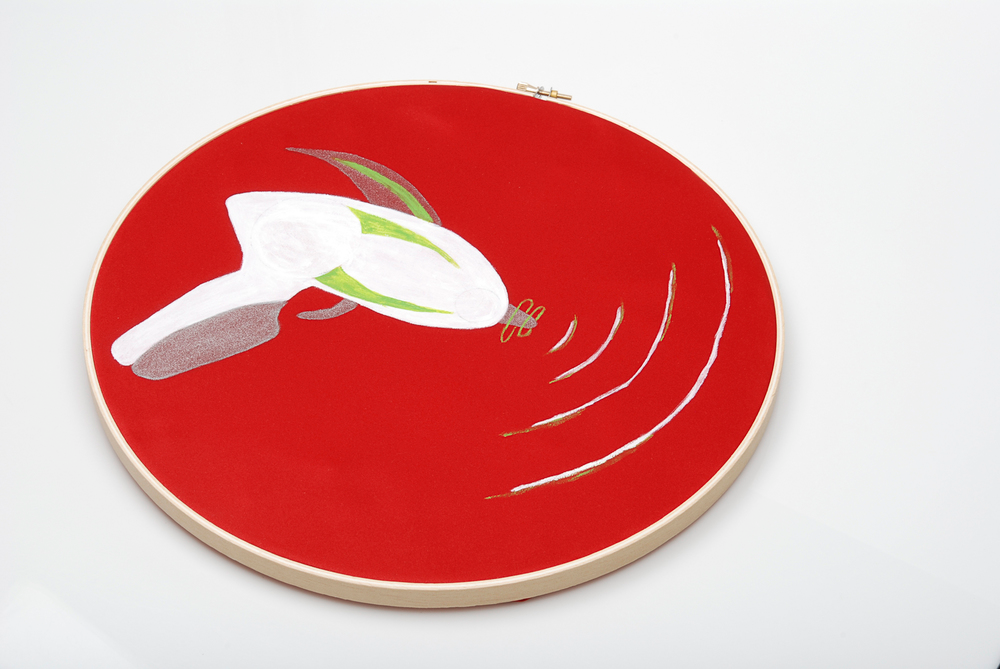
I started with a simple raygun painted onto a piece of fabric. There's really no end to the things you can sew this circuit onto. Feel free to run with your own ideas! I'm going to show you my circuit, but all I'm doing is laying out the components and sewing everything to the same pin it was already attached to on the board. You can absolutely make changes to this configuration, just make sure that if you change pins, your code gets changed to reflect that!
Required Materials
For this section of the tutorial, In addition to the things that came with your ProtoSnap, you're also going to need:
- Scissors
- Wire cutters
- Non-conductive thread
- Whatever you're sewing the circuit onto