Photon Weather Shield Hookup Guide
This Tutorial is Retired!
Note: V11 of the Photon Weather Shield utilizes the Si7021 for humidity and temperature sensing as opposed to the HTU21D.
View the updated tutorial: Photon Weather Shield Hookup Guide V11
 Joel_E_B
Example 3: Collecting Weather Data Online
Phant is No Longer in Operation
Printing to the Serial Terminal is fun and all, but let's get this thing on the Internet! One of the most common things you'll want to do with the weather data you're collecting is to store it some place. You're in luck! With our data.sparkfun.com service, aka Phant, you can store all the weather data on the cloud, for free! You can then pull that data into a multitude of programs and websites to manipulate and visualize your weather data however you like.
This example will show you how to store your weather data on data Phant using the SparkFun Phant Particle Library.
Pushing Data to data.sparkfun.com (Phant)
This example builds off the previous two. You should have the previous three libraries added to your app, as well as a new, fourth library, the SparkFun Phant Particle Library.
If you're using Particle Dev, there is a project folder labeled SparkFun_Photon_Weather_Phant. Add it to Dev to quickly get started with this example. Open the SparkFun_Photon_Weather_Phant.ino example sketch.
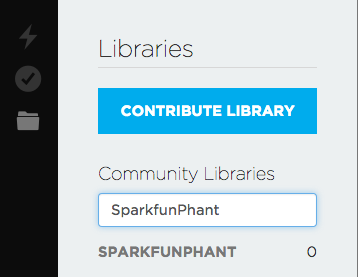
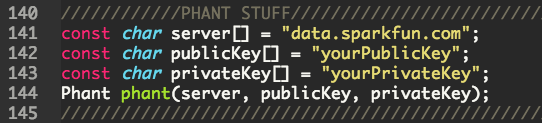
You'll need to create a data.sparkfun.com stream if you have not done so already. Details on how to do that can be found in our tutorial. Keep track our your** public and private keys** as well as the Field labels you choose.
With that info in hand, open the sketch and find the Phant variables. You'll need to change these to match your stream's keys.
You'll also need to add each of the Fields you added when you created your stream. Make sure these match exactly.
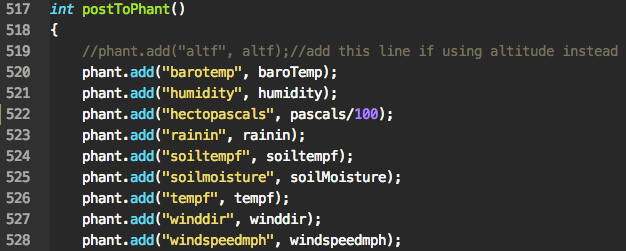
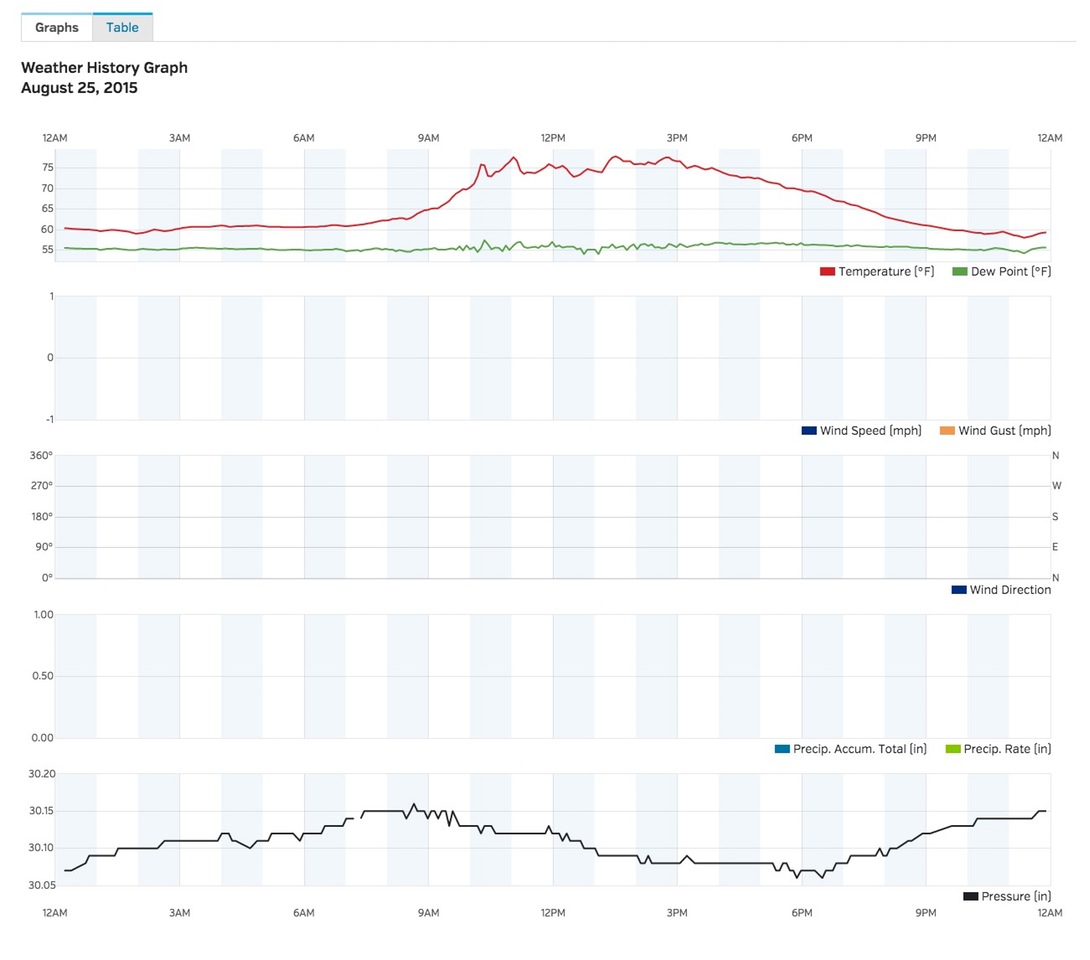
Here's what things should look like on your stream's fields.

What You Should See
With your stream created and the sketch edited accordingly, you can now upload to the Photon. Once complete, you should begin to see data populate on your stream.
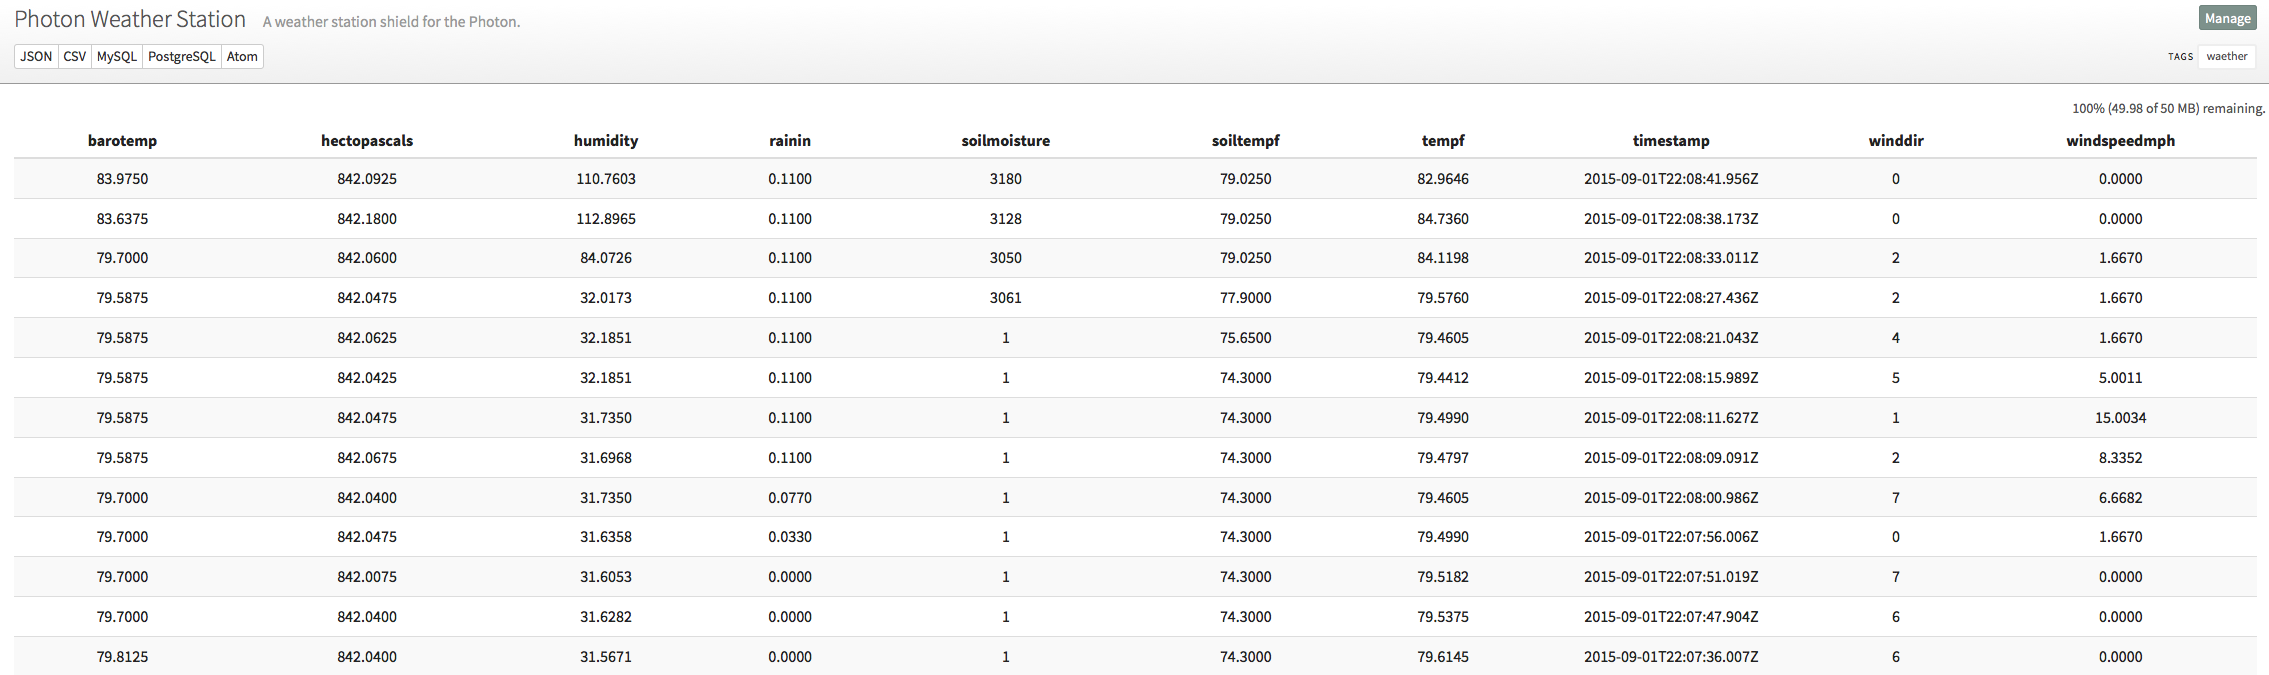
You can now pull that data into any other device or service to organize however you see fit.
Troubleshooting
If you're having issues posting to data.sparkfun.com, we've created a demo stream to help you troubleshoot. Copy the following public and private key, and paste them in the example sketch mentioned at the beginning of this section.
- Public Key: DJLWNrvxR0tDx190GJbg
- Private Key: P4AlK0d51DceyBVW1m59
Upload the edited sketch to your Photon.
Now, click the button below to be taken to the test stream.
You should see fresh data coming in from your Photon and Photon Weather Shield. You should also be receiving data over the serial port as well. If things are moving too slow to troubleshoot, lower the count number that triggers the functions found in loop().
Pushing Weather Data to Wunderground
GitHub user Dan Fein wrote an example for the Photon Weather Shield that pushes the weather data to Wunderground. You can find this example in the Weather Shield Repository. It should have been included if you downloaded the entire repo as well. More information on his project can be found over on hackster.io.
For more information on how to setup a Wunderground account and information on what data must look like when pushed to Wunderground, you can follow along with the WIMP Weather Station tutorial.