Nintendo Switch Macro Recording on the Raspberry Pi
Introduction
In this tutorial, we will install a modified version of Joycontrol, an open-source project that allows you to emulate Nintendo Switch Controllers on a Raspberry Pi over Bluetooth. The original project allows you to control your Switch using a simple command line interface, but I had some ideas for more functionality I could add, so I forked the repository and got to work.
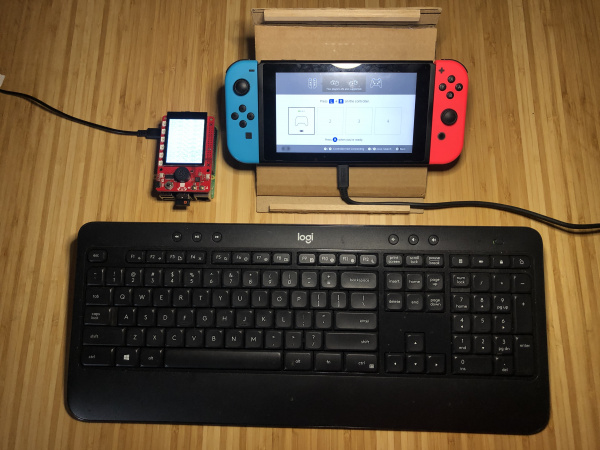
Joycontrol-ms adds keyboard control, macro recording and playback, and integrates the SparkFun Top pHAT to make things handy. I’ll also dive into the code that makes everything work, in case you’d like to write your own custom commands.
Required Materials
To follow along with this tutorial, you will need the following materials. You may not need everything though depending on what you have. Add it to your cart, read through the guide, and adjust the cart as necessary.
You Will Also Need
- Nintendo Switch
Suggested Reading
If you're new to Raspberry Pi, or the SparkFun Top pHAT, you may want to check out these pages before moving forward.
Raspberry Pi 4 Kit Hookup Guide
SparkFun Top pHAT Hookup Guide
Hardware Setup
Raspberry Pi 4 Kit Hookup Guide
If you have already set up and configured your Pi for the Top pHAT, you can (obviously) skip this step. Assembly for the Top pHAT is fairly straightforward. It plugs directly into the GPIO pins of a Raspberry Pi. Most importantly, users need to pay attention to the orientation of the pHAT and double check that the pins are lined up properly. Below are a few examples for users to follow. For my project, I'm using the Pi 4 Model B, though the project should work on most Pis with bluetooth. Be sure to buy a header if your Pi requires it for clearance on the Top pHAT.
First, you'll want to connect a female header if needed, like so:
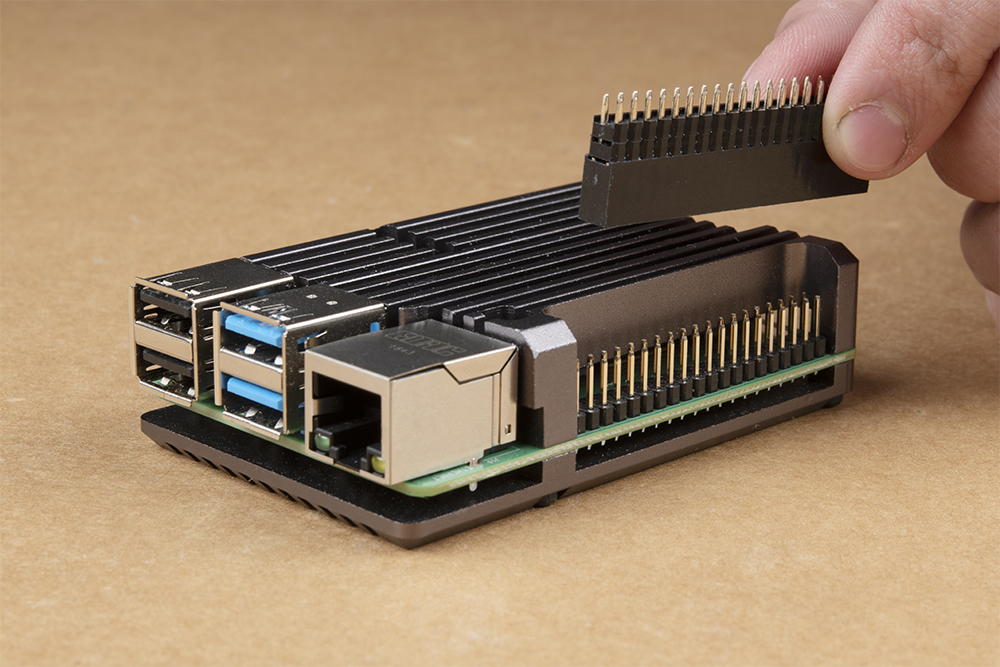
Next, snap on the Top pHAT, and connect your keyboard and mouse. Initially, you will also want to connect to an external display using one of the HDMI ports. Finally, connect the USBC power adapter and plug it in to an outlet.
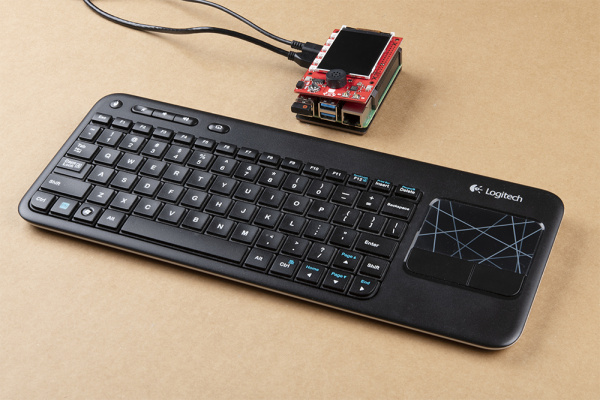
Once your Pi boots, we can configure it for the Top pHAT and install Joycontrol-ms and its dependencies.
OS Configuration and Joycontrol-ms Installation
If you have already set up and configured your Pi for the Top pHAT, you can skip this step. These instructions are the same as OS Configuration part 1, WS2812B LED’s, 2.4” TFT Display, and OS Configuration part 2, from the SparkFun Top pHAT Hookup Guide. Because this project doesn’t use all of the features on the HAT, you can get away with only completing these setup steps if you’re in a hurry.
First, disable overscan by clicking on the Raspberry logo > Preferences > Raspberry Pi Configuration.
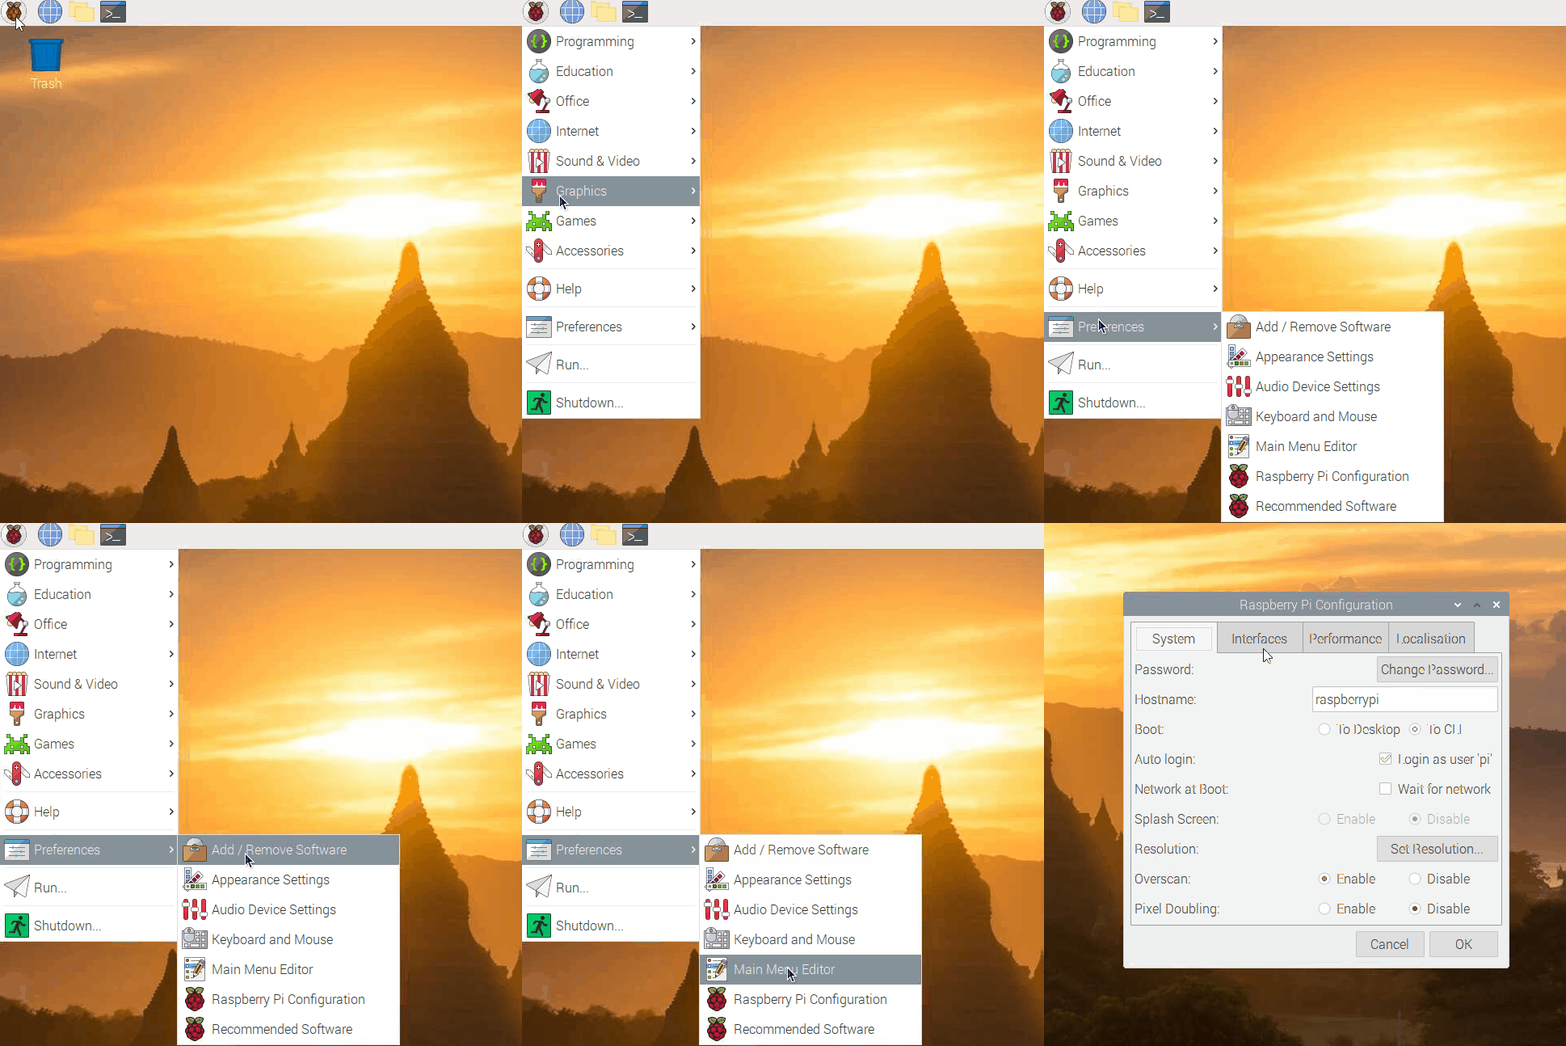
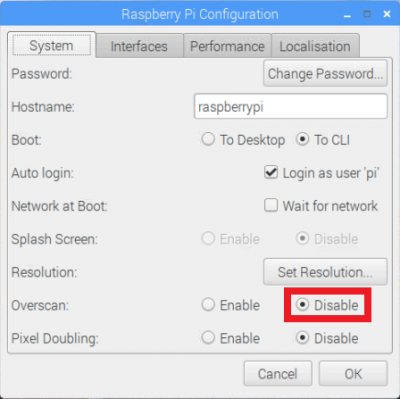
Next, click into the "interfaces" tab, and enable the SPI and I2C interfaces.
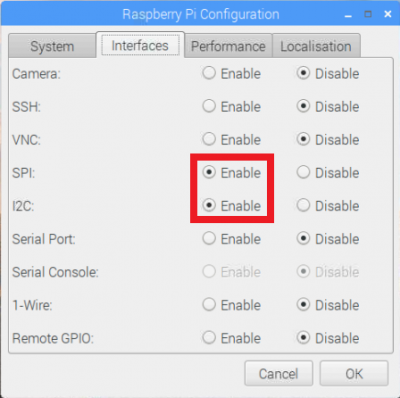
Now you can click ok, but don't reboot the Pi yet. We will return to the Raspberry Pi Configuration window later and reboot then.
Now we need to install the Adafruit Neopixel python package because the project utilizes the onboard adressable LEDs. Open a terminal and copy the following command into the window, and press enter.
language:bash
sudo pip3 install adafruit-circuitpython-neopixel
Next, in order to use the 2.4" TFT display, we need to add the driver modules and a module configuration. In your terminal, copy and paste the following and hit enter:
language:bash
sudo nano /etc/modules
When nano opens, copy and paste the following to the end of the file:
language:bash
spi-bcm2835
fbtft_device
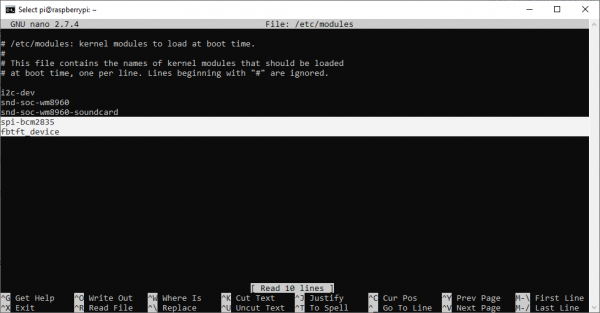
Now, press Ctrl+X to exit, Y to accept changes, and Enter to write the changes and exit nano. You'll then need to repeat this process for the module configuration. In your terminal, copy/paste:
language:bash
sudo nano /etc/modprobe.d/fbtft.conf
Once nano is open (this time the screen will appear mostly blank), copy and paste the following, then exit and save changes.
language:bash
options fbtft_device name=fb_ili9341 gpios=reset:23,dc:24 speed=16000000 bgr=1 rotate=180 custom=1
Again, press Ctrl+X to exit, Y to accept changes, and Enter to write the changes and exit nano.
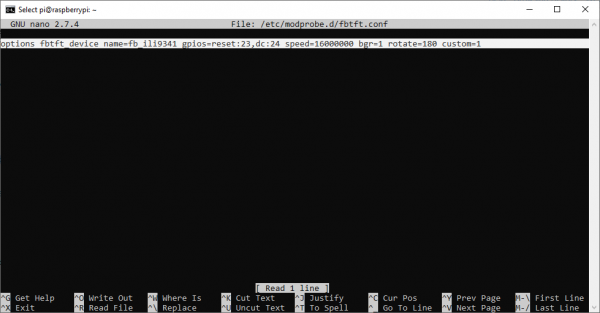
Next, we can go ahead and install the dependencies for Joycontrol-ms, of which there are three. All you need to do here is copy/paste the following commands into your terminal.
language:bash
sudo apt install python3-dbus libhidapi-hidraw0
sudo pip3 install keyboard
Once that is completed, you can cd into the directory where you'd like to install joycontrol-ms, and clone the repo there. I cloned mine to the desktop.
language:bash
cd Desktop
git clone https://github.com/marcus-stevenson/joycontrol-ms.git
Then, cd into Joycontrol-ms and run:
language:bash
sudo pip3 install .
Phew! Everything should be set up now. All there is left to do is to return to the Raspberry Pi Configuration window and select "boot to CLI":
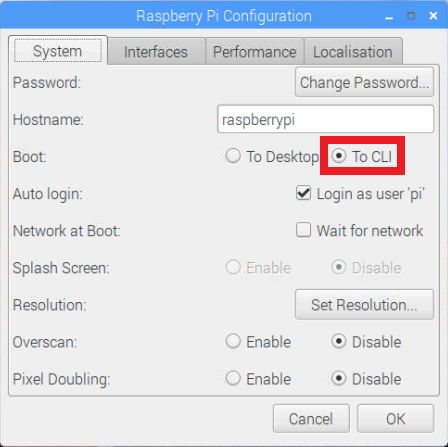
NOW you can reboot your Pi. This is also a good time to disconnect the HDMI display as we will be using the Top pHAT display from here onward for convenience. I recommend fully shutting down instead of rebooting for this purpose. (if you were to replace your power cable with a battery pack, this project could be even more mobile).
How to Use Joycontrol
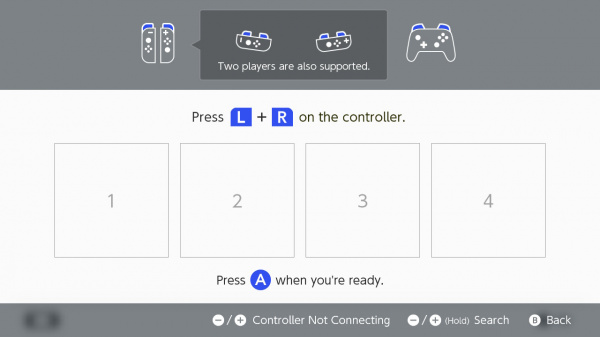
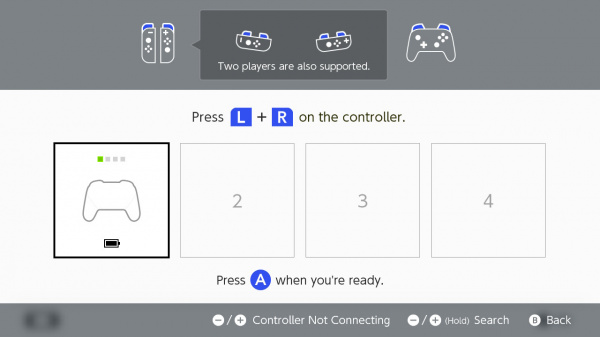
To run the program and connect to your Nintendo Switch, open the “Change Grip/Order” menu on the Switch, and cd into joycontrol-ms and type the following command:
language:bash
Sudo python3 ./run_controller_cli.py PRO_CONTROLLER
Provided that you have set everything up properly, you should see a controller connect to your Switch.
A bunch of info will be printed out to your terminal on the Pi. This can sometimes take a moment or two, but eventually you’ll see “cmd>>” printed in in the terminal. At this point, you’re connected and ready to input commands into the CLI. first try:
cmd>> a
Press enter and wait until the Switch responds. The first few button presses can take a moment to take hold, so be patient and wait for a response even if you see the “cmd>>” prompt. Once your first “A” command is recognized, you will return to the Controllers menu. If you send too many “A” commands, you will immediately re-enter the “change grip/order” screen and the Pi will be disconnected from the switch. If this happens, just use sudo python3 ./run_controller_cli.py PRO_CONTROLLER again to reconnect.
Once you’re back on the Nintendo Switch home screen, type help into the CLI and hit enter. This will show all the available commands and their descriptions, but you may not be able to read the whole thing unless you use your keyboard’s directional arrows to scroll back.
Here are all the commands:
Button commands:
Commands:
stick - Command to set stick positions
- :param side: 'l', 'left' for left control stick; 'r', 'right' for right control stick
- :param direction: 'center', 'up', 'down', 'left', 'right'; 'h', 'horizontal' or 'v', 'vertical' to set the value directly to the "value" argument
- :param value: horizontal or vertical value
test_buttons - Navigates to the "Test Controller Buttons" menu and presses all buttons
keyboard - binds controls to keyboard
- recording - binds controls to keyboard, and records input until recording is stopped. Saved recordings can be replayed using
cmd >> recording_playback
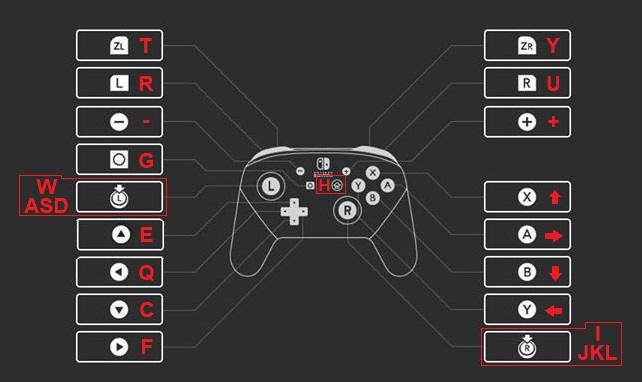
| Key Bindings for Keyboard and Recording | ||
|---|---|---|
| q = LEFT | f = RIGHT | g = capture |
| w = LStickUP | i = RStickUP | h = home |
| a = LStickLEFT | j = RStickLEFT | e = UP |
| s = LStickDOWN | k = RStickDOWN | c = DOWN |
| d = LStickRIGHT | l = RStickRIGHT | up = X |
| t = L | y = R | down = B |
| r = ZL | u = ZR | plus = + |
| left = Y | right = A | minus = - |
- playback - select a saved recording and replay it
- delete_rec - select a saved recording and delete it
- mash - Mash a specified button at a set interval
- Usage: mash <button> <interval>
- nfc - Sets nfc content
- Usage:
- nfc <file_name>: Set controller state NFC content to file
- nfc remove: Remove NFC content from controller state
- Usage:
Starting with the basics, you can emulate the press of any individual button by simply typing in the label for that button and pressing enter. For example:
cmd>> x
cmd>> y
cmd>> plus
cmd>> capture
cmd>> zl
You can chain multiple button presses together using “&&”:
cmd>> zl&&zr
cmd>>left&&left&&left&&a
The joysticks are less convenient to use via the CLI, but you can set them like so:
cmd>> stick left right
This command sets the left joystick to its furthest “right” position. It will stay in this state until you reset the joystick to the neutral ‘center’ position by sending the command:
cmd>> stick left center
You can “mash” a single button until you choose to stop by using the command:
cmd>> mash a 5
This presses the “a” button every 5 seconds until you hit
Macro Recording
While all these cli commands are fun to play around with, they don’t quite provide the functionality that I’m looking for. I went ahead and added a few more commands that allow you to control the Switch directly by binding the controls to the keyboard, to record this keyboard control, to play it back like a macro, and to delete unwanted macros. Macros persist after exiting each Joycontrol session.
First, to control your Nintento Switch using the keyboard attached to your pi, use the command:
cmd>> keyboard
You will be prompted to press < enter > to bind the keyboard to the controller. To stop using the keyboard control, press < enter > again. The Keybinding is as follows:
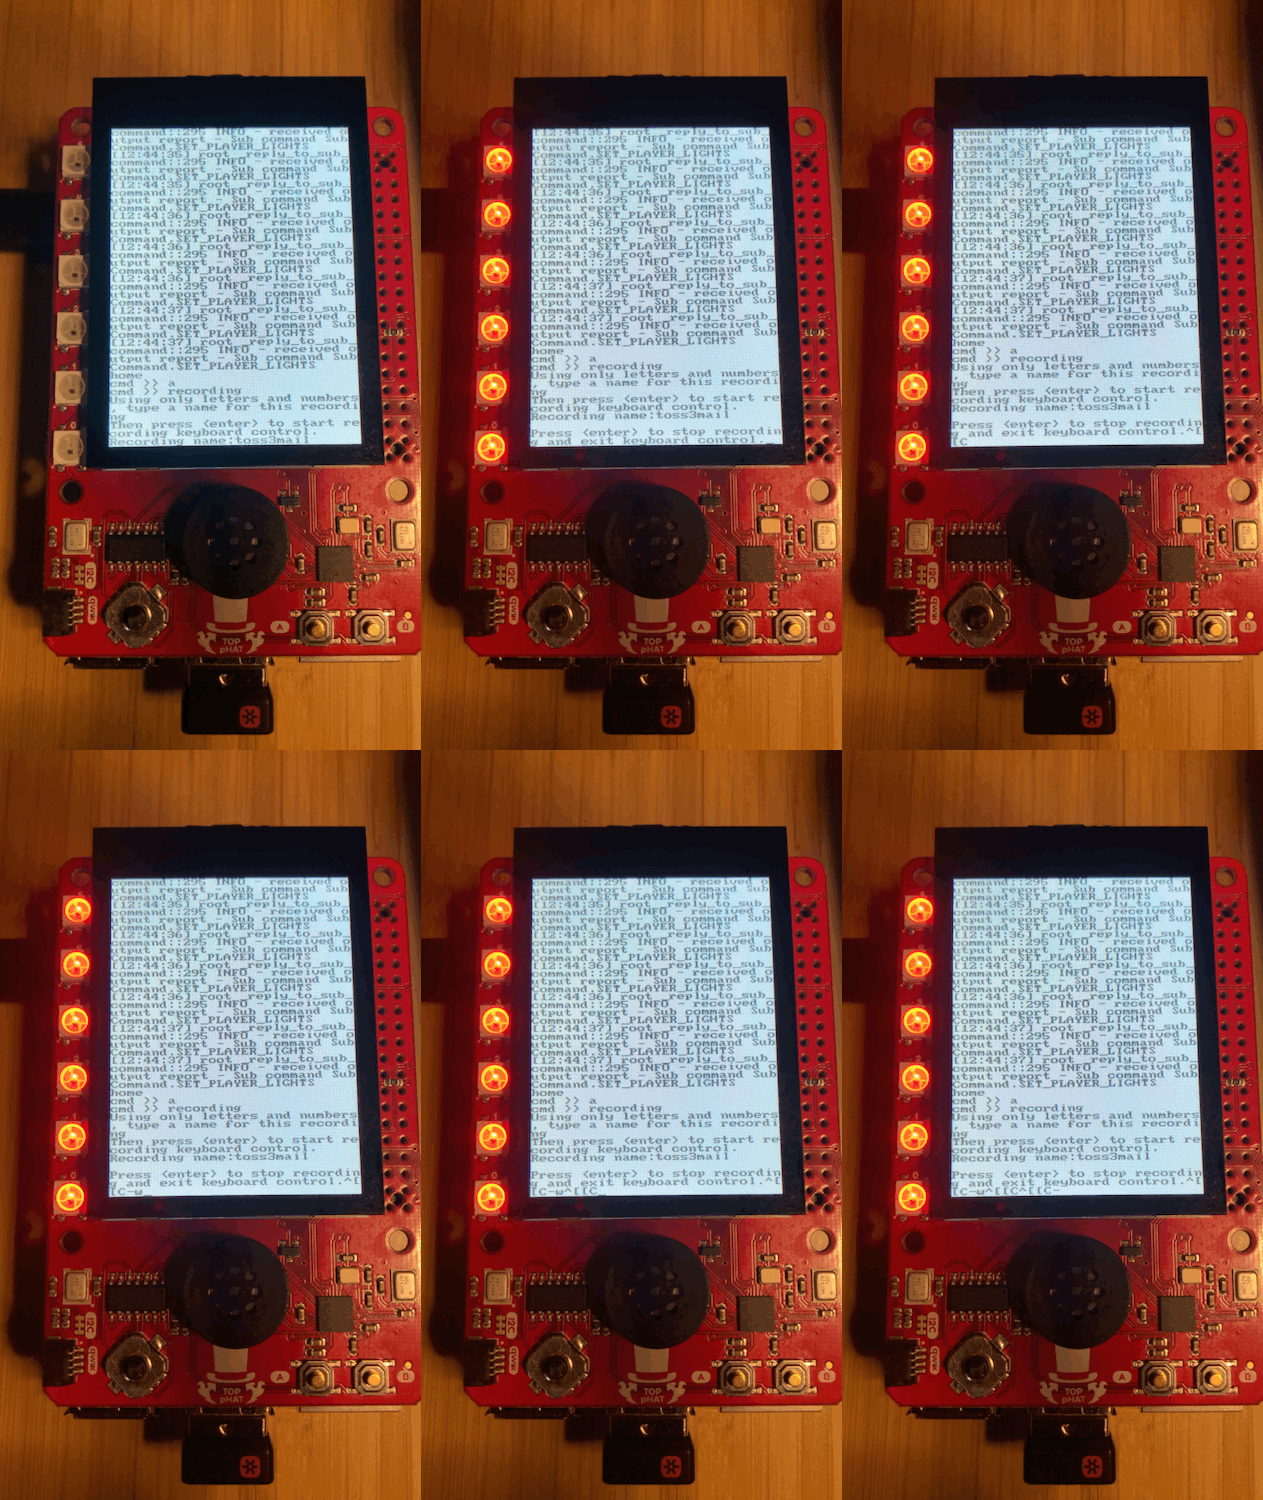
To record a macro, use the command:
cmd>> recording
You will be prompted to type in the name of the recording so you can replay it later. After you press enter, Joycontrol will begin recording the input you enter as you control the switch using the keyboard control (the keybinding is the same as the “keyboard” command). To stop recording, press
To play back a recorded macro, use the command:
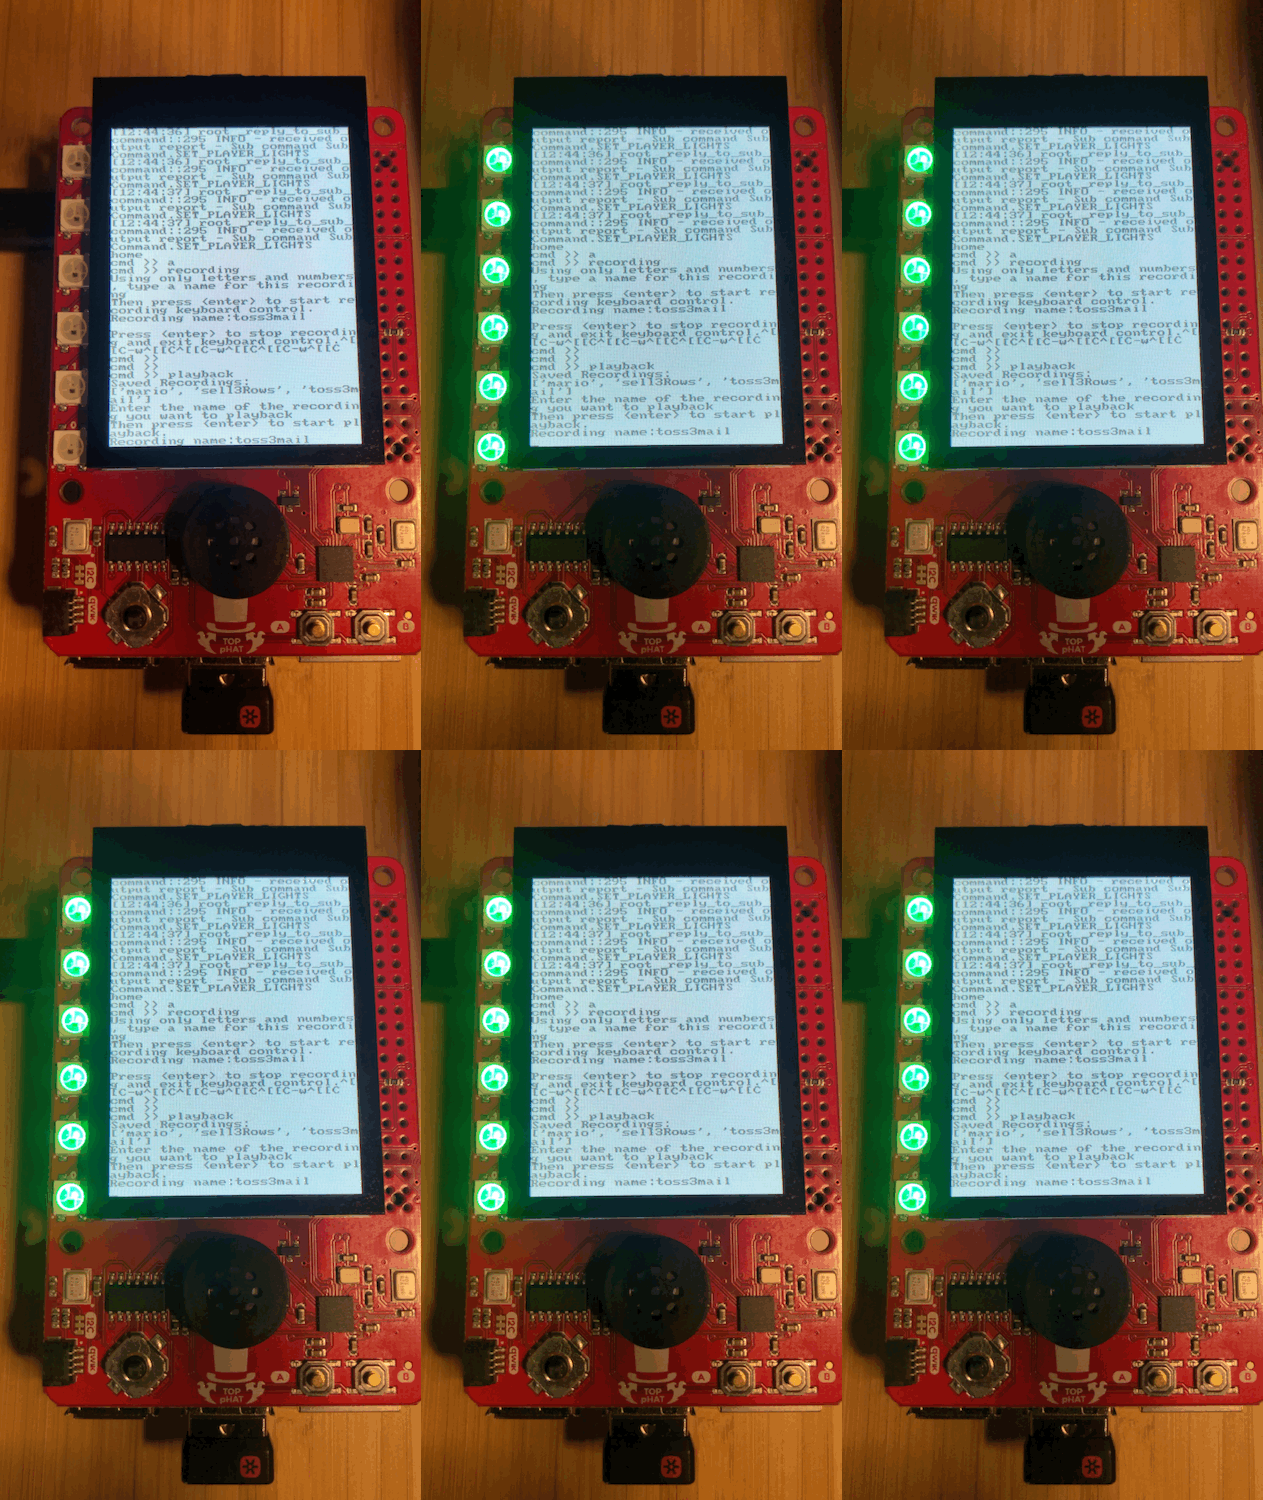
cmd>> playback
After you send the playback command, you will be prompted to type in the name of the macro you want to replay. The saved macros (if there are any) will be listed. While you are playing back recorded macros, the leds on the HAT should be green.
There should be one macro already present named ‘mario’. This macro beats world 1-1 of the original Super Mario Bros game. If you have the NES virtual console installed on your switch, you can try out this macro yourself by navigating to the NES, picking Super Mario Bros, and pressing “plus” to start the game. Once you’ve started world 1-1, use the playback command and select ‘mario’. You should see Mario traverse the iconic first level of the game. The timing can be tricky, though. If you move Mario before starting the macro, the playback will be mis-timed and mario will die or get stuck in a corner until the macro finishes playing.
Finally, you can delete macros you don’t want any more with the command:
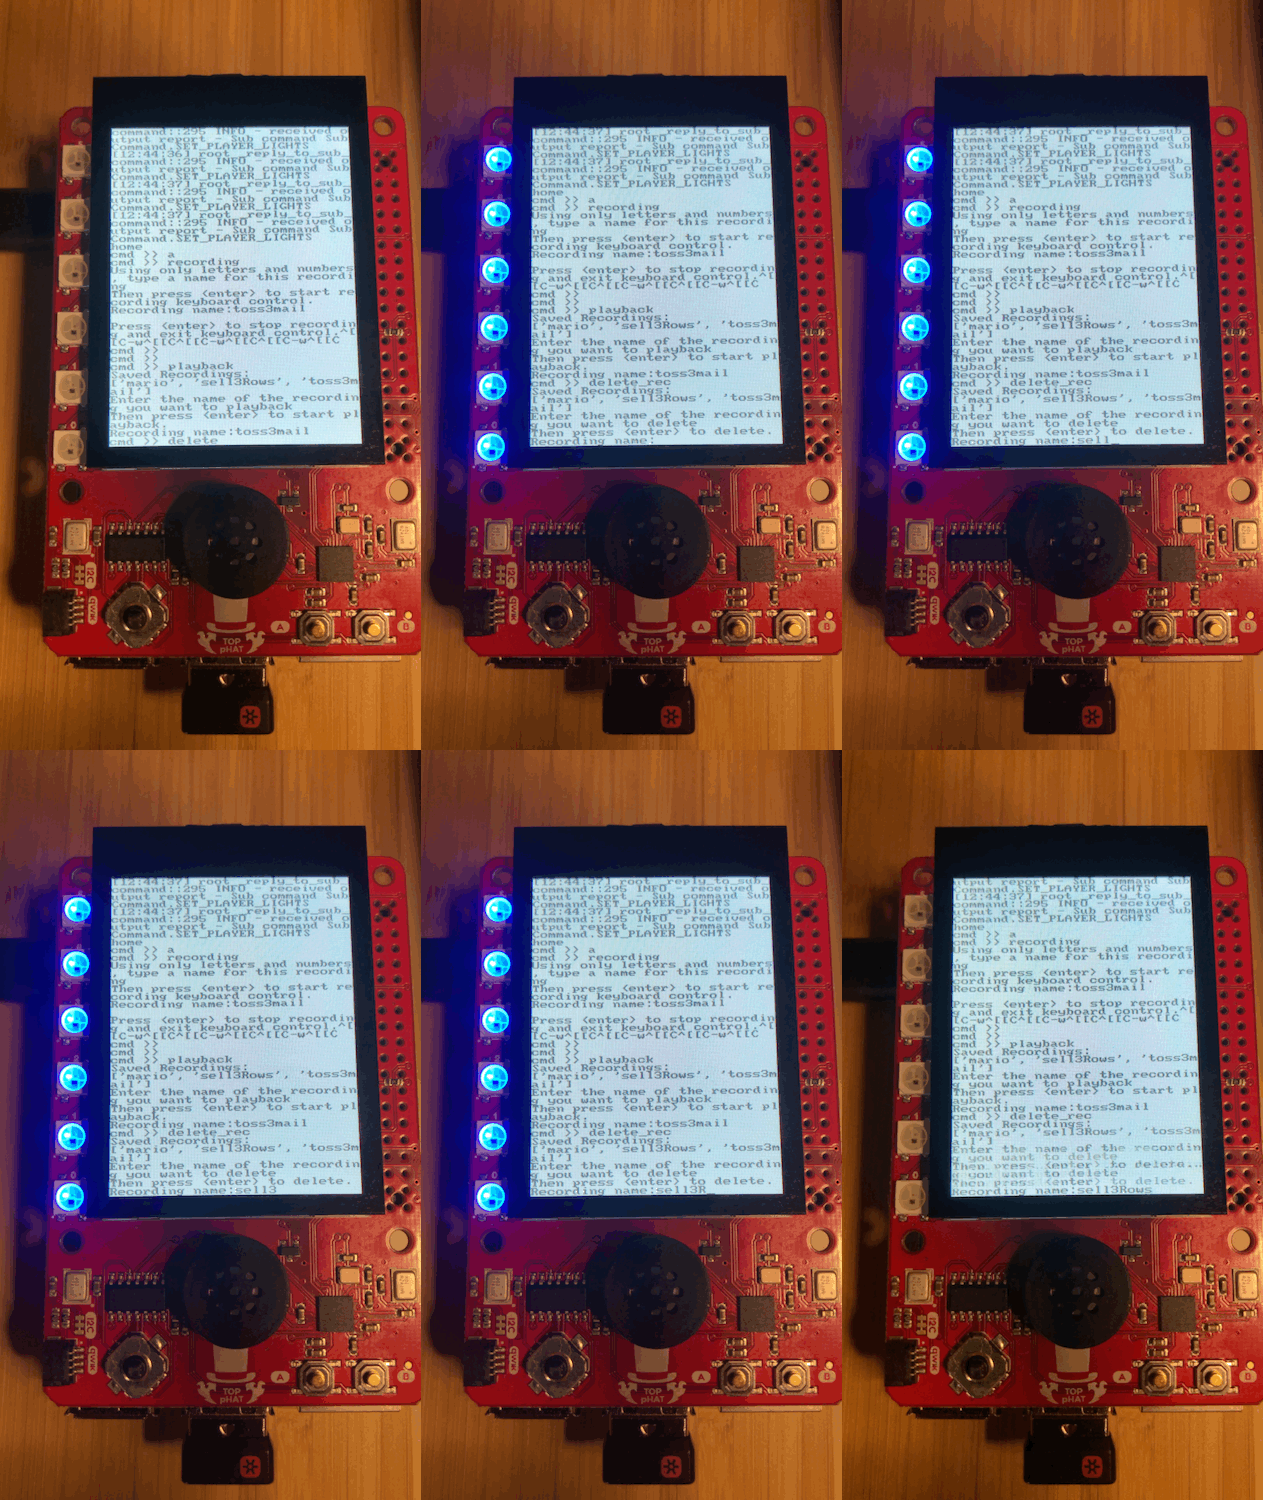
cmd>> delete_rec
You will be prompted to type in the name of the macro you want to delete. While the delete_rec prompt is open, the leds on the HAT should light up blue.
In the next section, we will further explore how we can use the various features of Joycontrol-ms to "play" Animal Crossing: New Horizons.
JoyControl and Animal Crossing
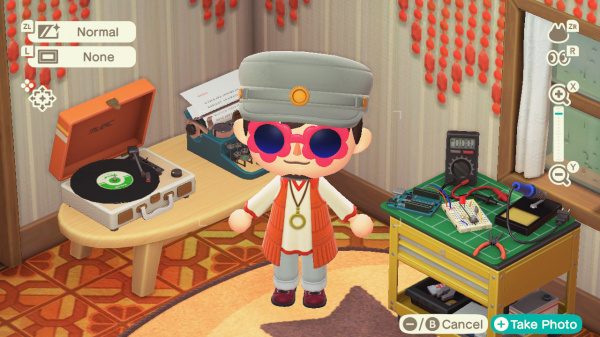
Though I initially discovered Joycontrol while searching for a way to 'spoof' Amiibos (which you won't find details on here, but there's plenty of info out there), I quickly realized the potential for "automating" away some of the more tedious parts of the game.
I suppose I should back up for anyone who's following this tutorial for purposes other than to automate their ACNH island. If you're not familiar, Animal Crossing is a series of games by Nintendo wherein you live a virtual life as a virtual villager among your anthropomorphic animal friends (and enemies, if you play that way). Players earn bells (money) for various tasks like catching and selling insects or fish. The interface for interacting with all the various characters in this game is an endless series of text menus, many of which can become maddeningly repetitive the more you play. So repetitive, that I often make unintended selections out of sheer impatience and button mashing.
I enjoy this game immensely, I swear.
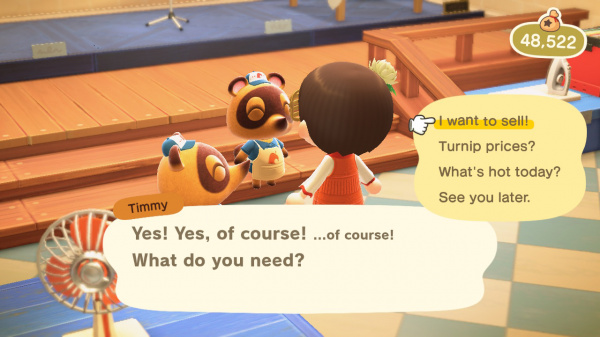
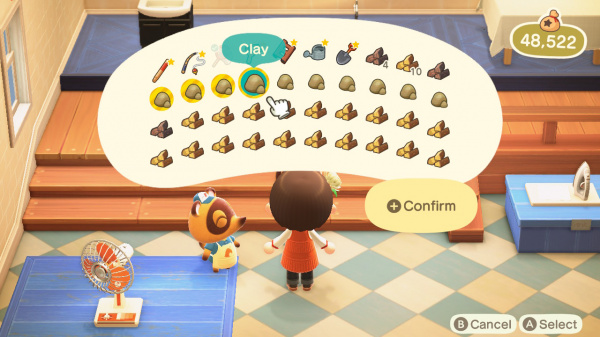
One of the things I find myself doing often is filling my pockets completely and then selling the whole contents, save my tools, to Timmy and Tommy. This is the perfect candidate for a macro. To record my macro, I make sure my pockets are full (it doesn't matter what's there, I split up a stack of wood to use as placeholders while recording), and go talk to Timmy and Tommy. You should also take note of where the gloved cursor is within your inventory, this will be important later. I make sure mine is in the top left corner.
Once I've got the menu pulled up, I start recording on my Pi.
cmd>> recording
After entering a name for your macro, carefully use the Keyboard on your Pi to navigate through the selling process exactly as you want it to be replayed. I recorded this macro to select and sell all the items in the bottom three rows of my pockets.
Hit enter once you're done recording. To replay the macro, use the playback command and enter the name you chose. Before starting playback, make sure your pockets are full, the gloved cursor is where it started when you began recording the macro, and that you've pulled up Timmy and Tommy's initial menu.
cmd>> playback
(enter the name of your macro)
If all the conditions are the same as when you recorded the macro, you should now be able to re-use it to "skip" through these types of repetitive tasks. How you use the macro recording will depend on your needs/habits in the game, but here are some of the things I've used it for:
- Donating items to the Museum
- Getting Fossils Assessed by Blathers
- Repeatedly building DIY recipes
- Watering flowers
- moving all items from pockets to storage
Given the game's wide array of activities, I'm sure there's even more that I haven't thought of yet, and this tutorial barely scratches the surface as fare as using Joycontrol-ms with other games. Just don't spend all your bells at once! (or do...)
As detailed in the previous section, unwanted macros can be deleted with:
cmd>> delete_rec
(enter name of macro to delete)
And when you're done with Joycontrol, disconnect with the exit command:
cmd>> exit
Troubleshooting
If your product is not working as you expected or you need technical assistance or information, head on over to the SparkFun Technical Assistance page for some initial troubleshooting.
If you don't find what you need there, the SparkFun Forums are a great place to find and ask for help. If this is your first visit, you'll need to create a Forum Account to search product forums and post questions.
Resources and Going Further
SparkFun has a whole range of Raspberry Pi projects and tutorials. Check out some of the links below!
- Raspberry Pi Foundation
- Getting Started with the Raspberry Pi
- Product Brief (PDF)
- Schematic (PDF)
- Mechanical Drawing (PDF)
- Documentation
- Projects
- Pi Foundation Forums
- Raspberry Pi Forums: Is Your Pi Not Booting? - Basic troubleshooting tips and solutions for a Raspberry Pi that is not booting up.
- The gPIo tutorial
- The SPI and I2C tutorial
You can also check out some of our other great Raspberry Pi Tutorials here:
