Motion Controlled Wearable LED Dance Harness
 bboyho
Securing the Controller
Secure the Wires
Add some hot glue to secure the wires and components to the board. Special attention was given to the sensitive joints where the wires or components may break.
 |
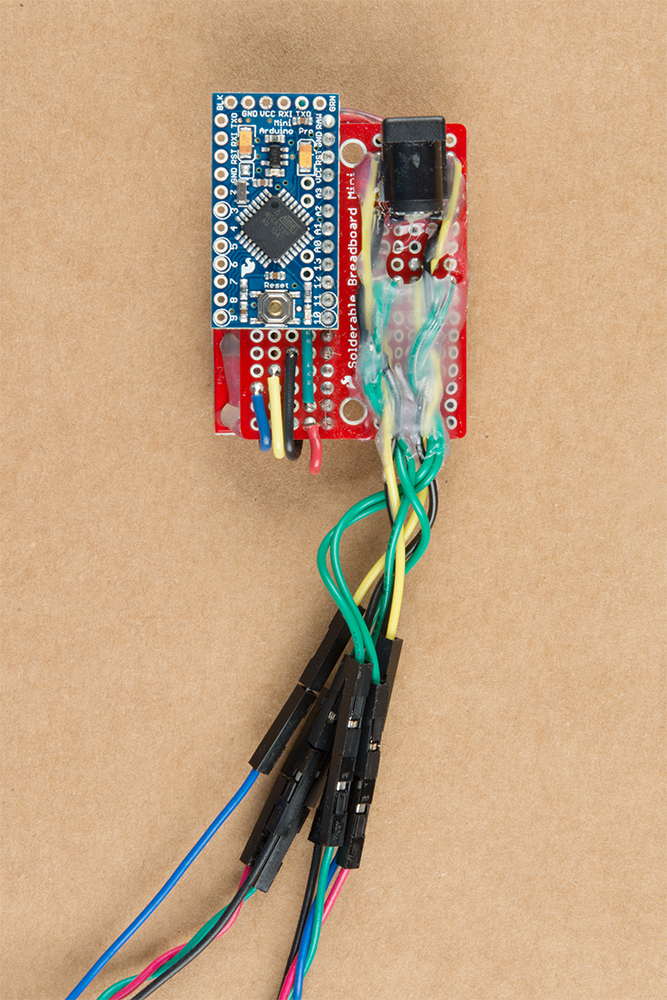 |
| Front View Secured with Hot Glue | Back View Secured with Hot Glue |
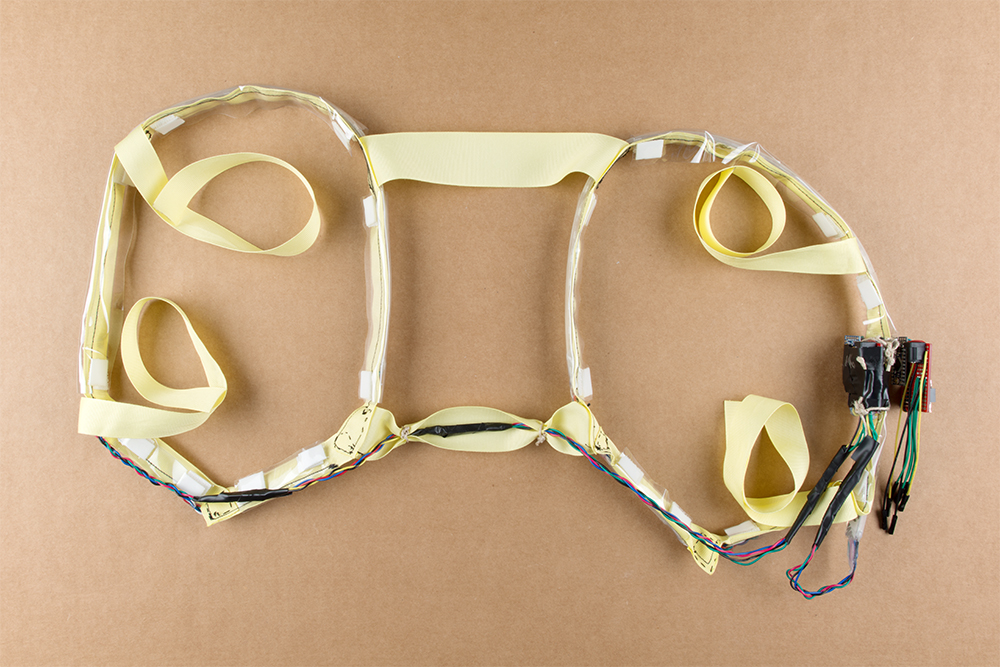
Secure the Wires and Motion Controller To Harness
To secure the wires, we follow the same process as last time. The only difference is that we are using a motion controller instead of the power adapter. Plug in the jumper wires of your choice and add some electrical tape to secure the headers. Wrap some tape around the motion controller to protect and secure the board further. To be consistent with the code, make sure that the back of the board is facing toward the dancer and the wires are extending down the harness as shown in the image. A second board was placed in the image for reference.

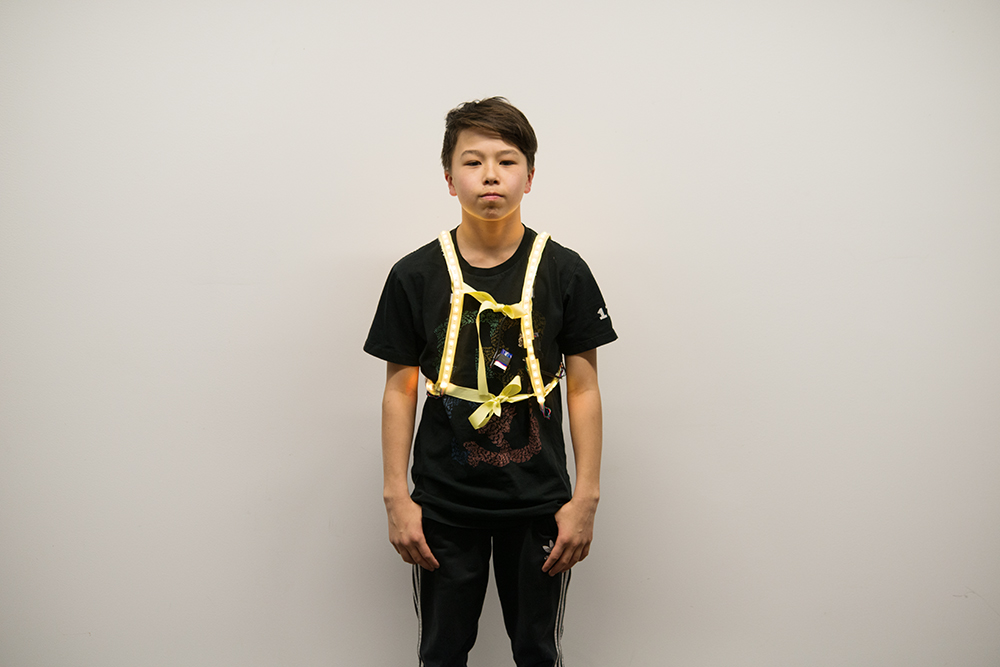
Once again, the user can slide the harness on like a backpack, tie the ribbons across the chest and waist, and plug in the battery to test. The image below shows the battery just before being secured to the ribbon located above the motion controller. To diffuse, we'll added a translucent button-up shirt over the LEDs.