MicroMod Update Tool Hookup Guide
 El Duderino,
  PaulZC
Hardware Assembly
Inserting your Update Tool
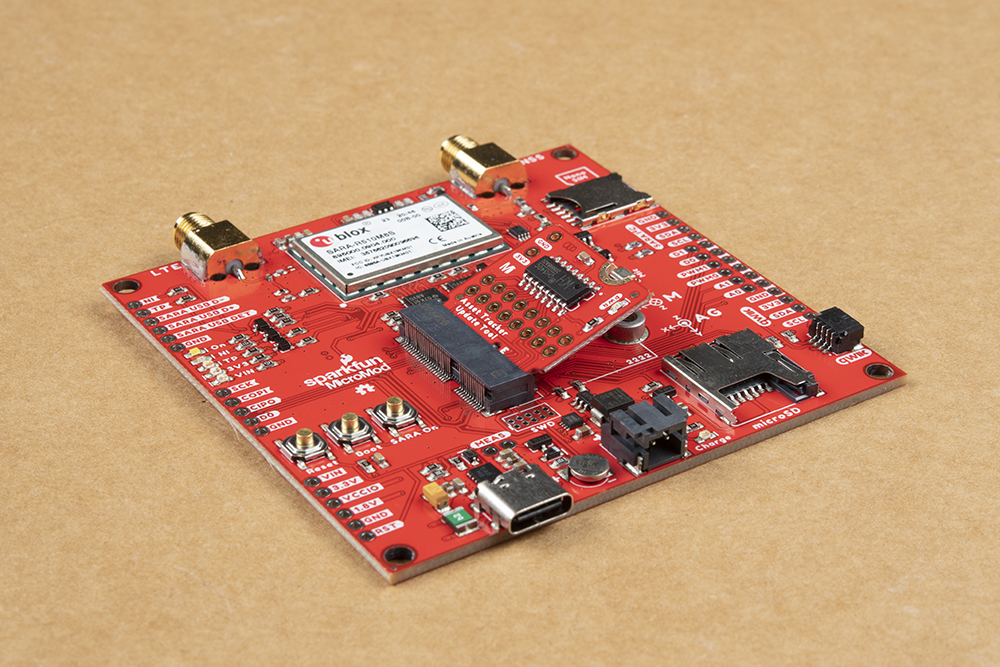
With the M.2 MicroMod connector, connecting your Update Tool to the Asset Tracker is a breeze. Simply match up the key on your Processor's beveled edge connector to the key on the M.2 connector. At a 45° angle, insert the processor board to the M.2 connector. The Update Tool will stick up at an angle as seen here:
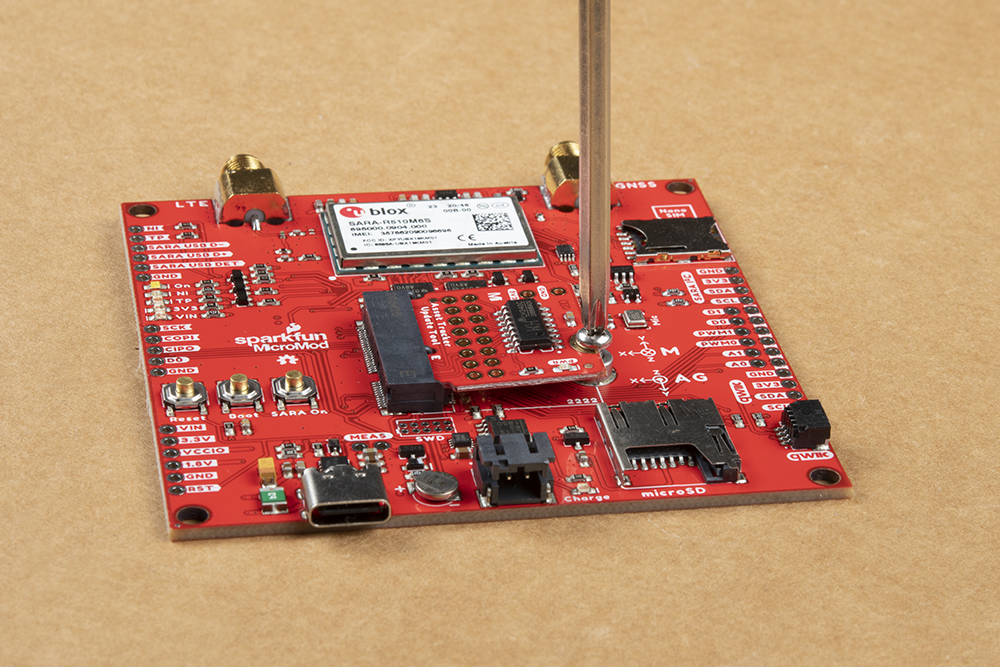
Once the update tool is in the socket, gently press the board down, grab the set screw and tighten it with a Phillip's head screwdriver:
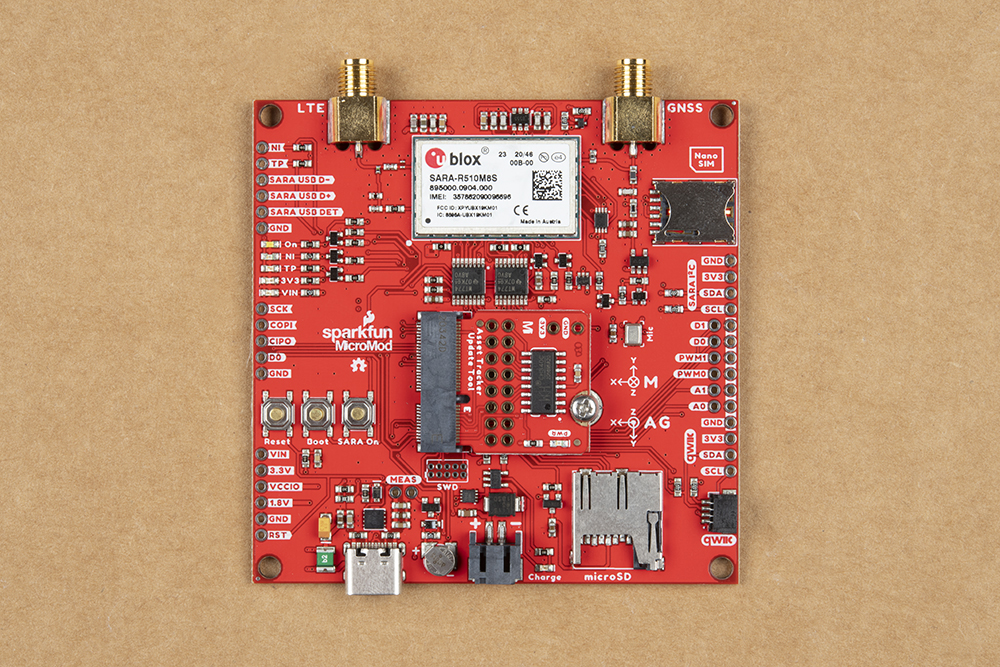
Once the Update Tool is secure, your assembled MicroMod Asset Tracker system should look similar to the image below!
Connecting Everything Up
Now is a good time to insert the Nano SIM from your service provider into the Asset Tracker. Make sure the orientation matches the symbol on the PCB; the edge with the trimmed corner is inserted first.
The LTE and GNSS connections simply screw on to the appropriate SMA connectors. Make sure you check the labelling and connect them the right way round. LTE is on the Left.
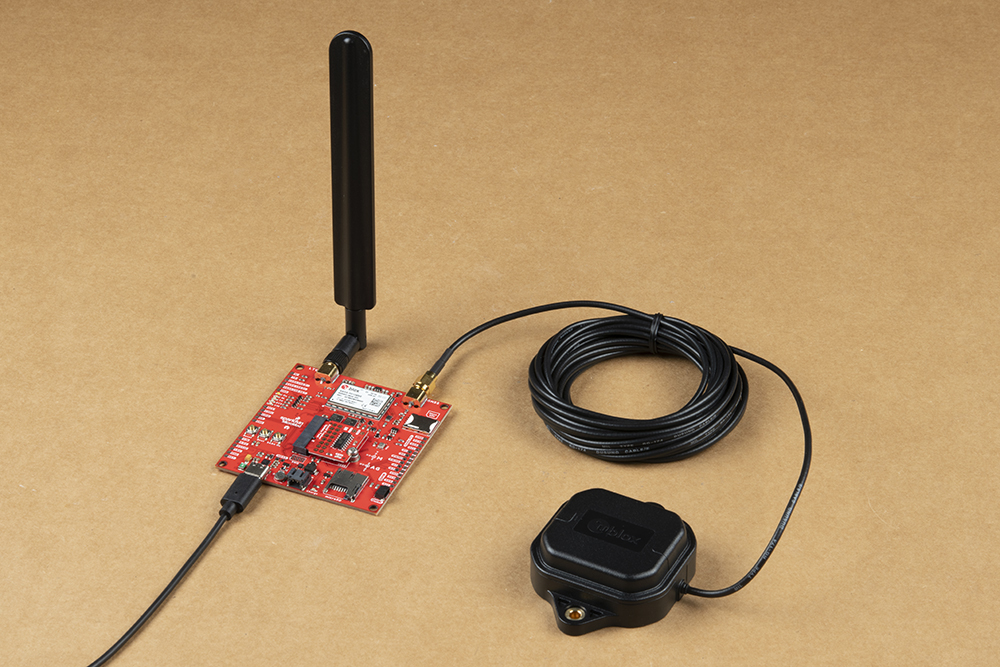
With your Update Tool inserted and secured it's time to connect your MicroMod Asset Tracker Carrier Board to your computer using the USB-C connector. Depending on which drivers you already have installed, you may need to install drivers for the CH340. Please refer to our CH340 tutorial for further instructions.