MicroMod GNSS Function Board - NEO-M9N Hookup Guide
Contributors:
 bboyho,
  Elias The Sparkiest
bboyho, Elias The Sparkiest 
Resources and Going Further
Ready to get hands-on with GPS?
We've got a page just for you! We'll walk you through the basics of how GPS works, the hardware needed, and project tutorials to get you started.
Now that you've successfully got your MicroMod GNSS Function Board - NEO-M9N up and running, it's time to incorporate it into your own project! For more information, check out the resources below.
Hardware Documentation
- Schematic (PDF)
- Eagle Files (ZIP)
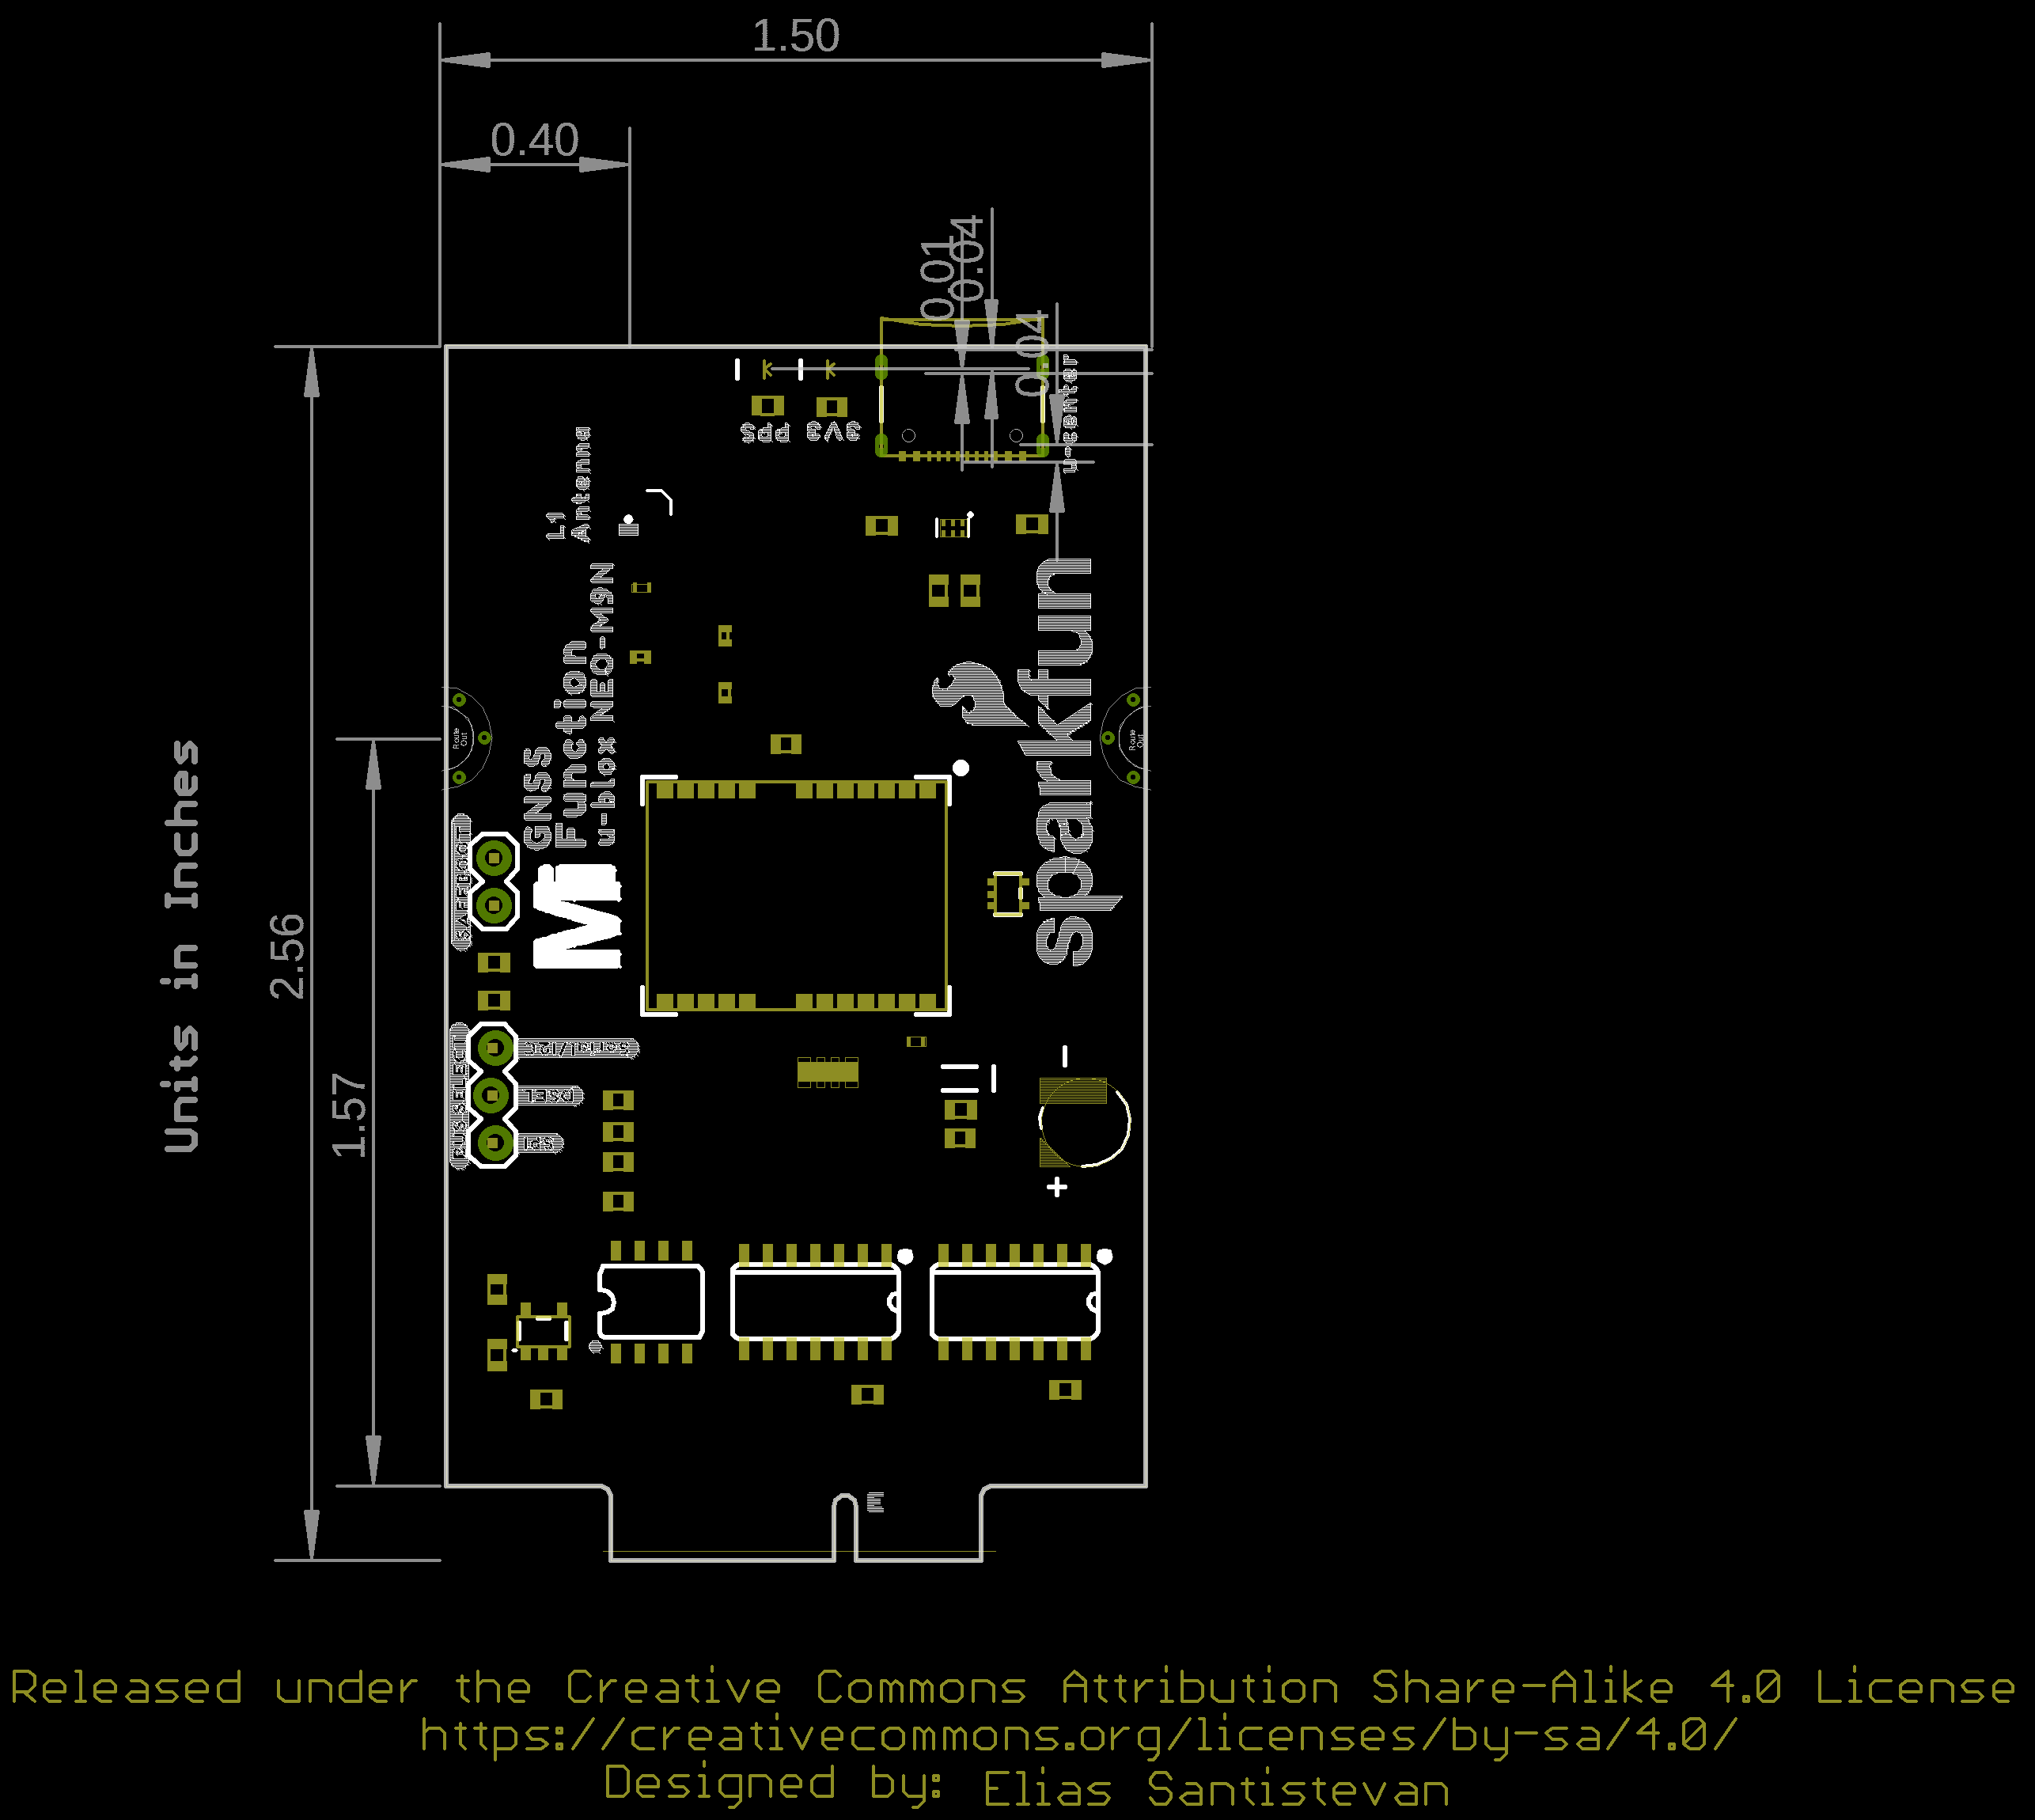
- Board Dimensions (PNG)
- Building a GPS System
- u-blox NEO-M9N Documents & Resources
- SparkFun u-blox GNSS Arduino Library
- GitHub Hardware Repo
- SFE Product Showcase
MicroMod Documentation
Or check out other tutorials related to GPS and GNSS:
Three Quick Tips About Using U.FL
Quick tips regarding how to connect, protect, and disconnect U.FL connectors.
SparkFun GPS Dead Reckoning NEO-M8U Hookup Guide
The u-blox NEO-M8U is a powerful GPS units that takes advantage of untethered dead reckoning (UDR) technology for navigation. The module provides continuous positioning for vehicles in urban environments and during complete signal loss (e.g. short tunnels and parking garages). We will quickly get you set up using the Qwiic ecosystem and Arduino so that you can start reading the output!
OpenLog Artemis Hookup Guide
How to use and re-program the OpenLog Artemis, an open source datalogger. The OLA comes preprogrammed to automatically log data. The OLA can also record serial data, analog voltages, or readings from external Qwiic-enabled I2C devices. Some of these Qwiic-enabled devices include GPS/GNSS modules, pressure, altitude, humidity, temperature, air quality, environment, distance, and weight sensors.
SparkFun RTK Reference Station Hookup Guide
Setup the RTK Reference Station in minutes and start sending RTCM NTRIP corrections to your favourite caster.