MicroMod GNSS Function Board - NEO-M9N Hookup Guide
 bboyho,
  Elias The Sparkiest
Hardware Assembly
If you have not already, make sure to check out the Getting Started with MicroMod: Hardware Hookup for information on inserting your Processor and Function Boards to the Main Board.
Getting Started with MicroMod
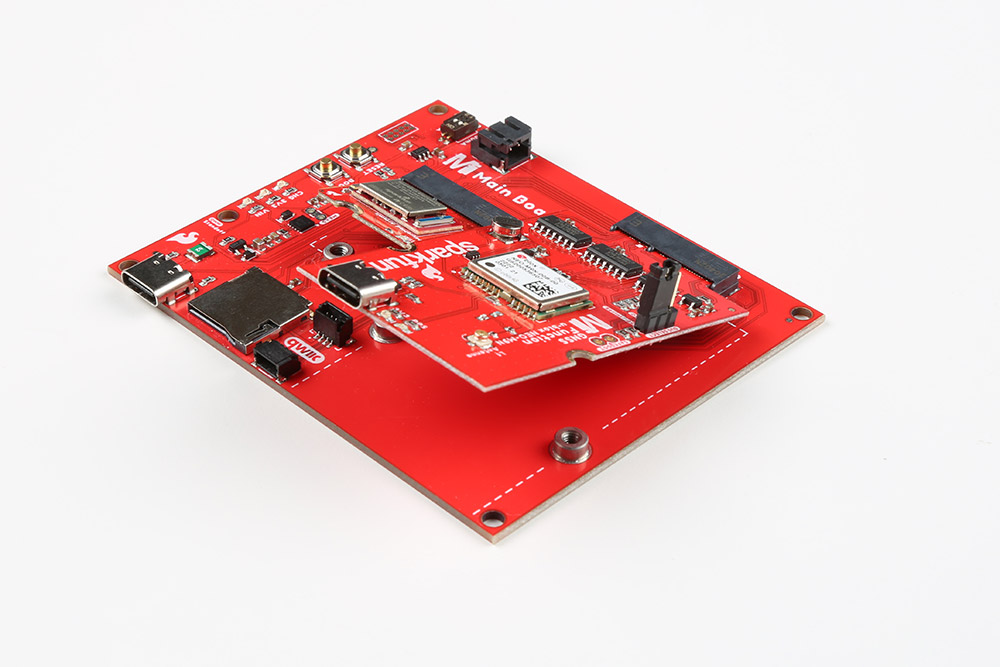
Insert your chosen Processor and GNSS Function board at an angle into the M.2 connector. The Processor Board will stick up at an angle (at around 25°).
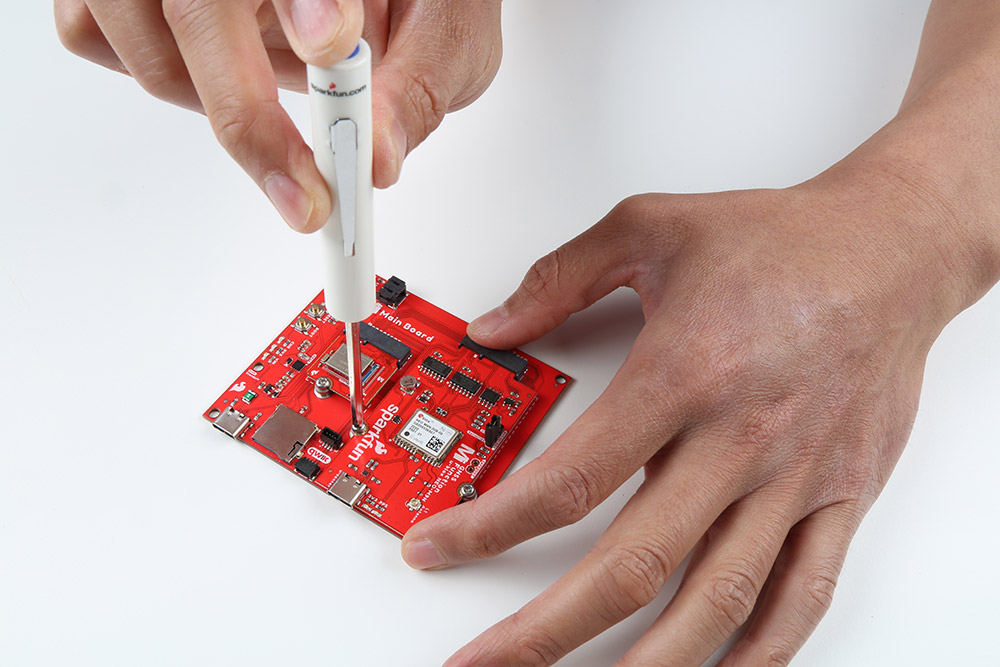
Hold down each board, insert the screws, and to tighten.
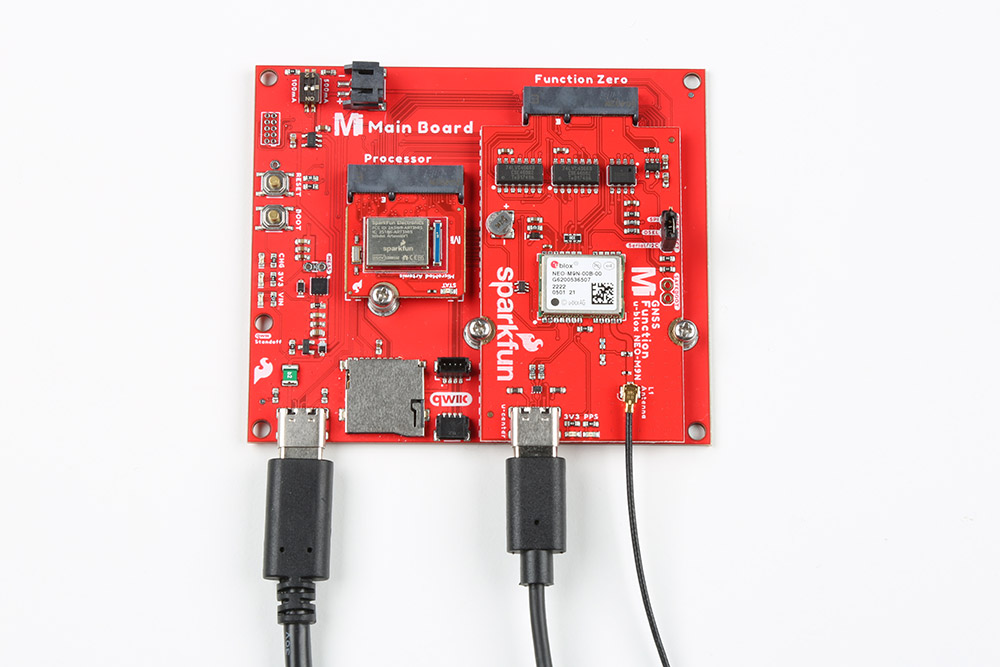
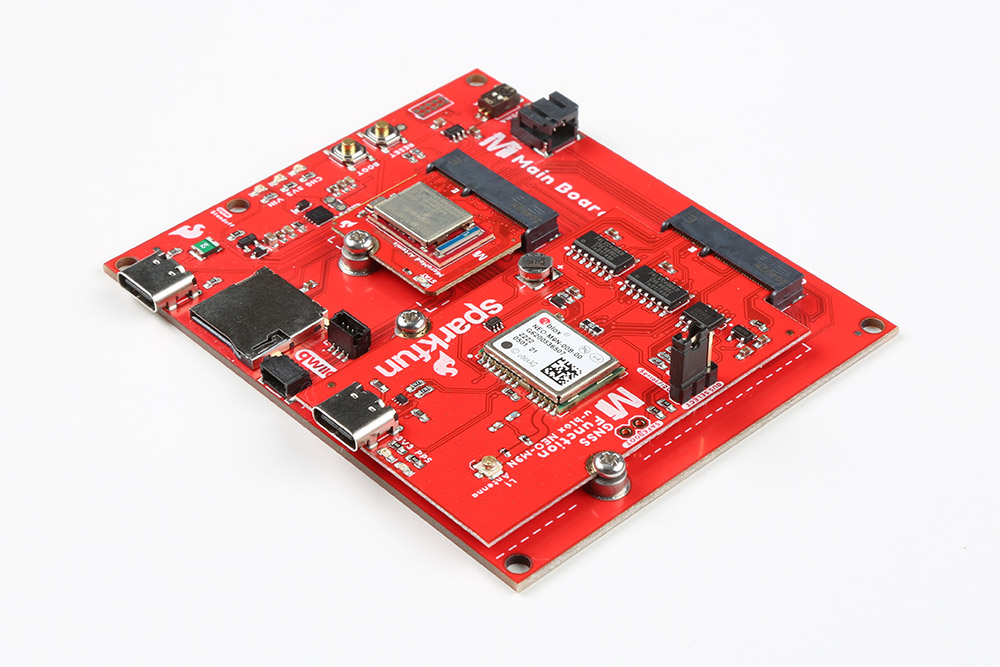
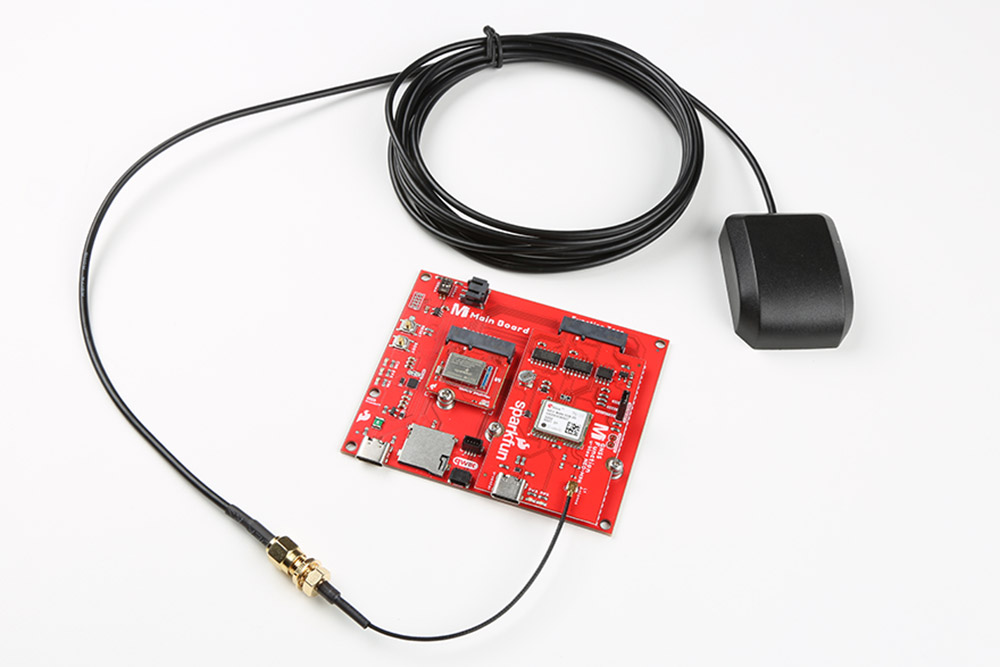
After securing the Processor and Function Board to the Main Board, your setup should look like the image below.
Insert the u.FL adapter to the MicroMod GNSS Function Board. Connect the patch antenna to the other end of the u.FL adapter. The SMA connector just needs to be finger tight to secure the antenna to the adapter..
Connect a USB Type C Cable to power and program your Processor Board. In this case, we used the MicroMod Main Board - Single and MicroMod Artemis Processor. This will also power the MicroMod GNSS Function Board.
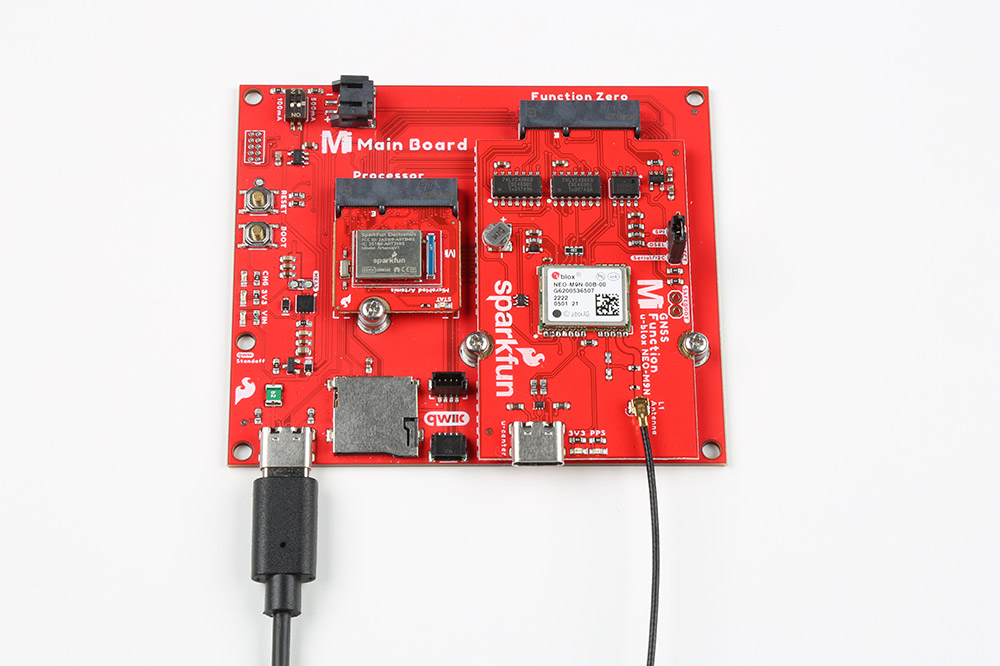
For users that want to connect the NEO-M9N to u-blox's u-center, insert a second USB Type C cable to the MicroMod GNSS Function Board's USB C connector.