MicroMod GNSS Carrier Board (ZED-F9P) Hookup Guide
Introduction
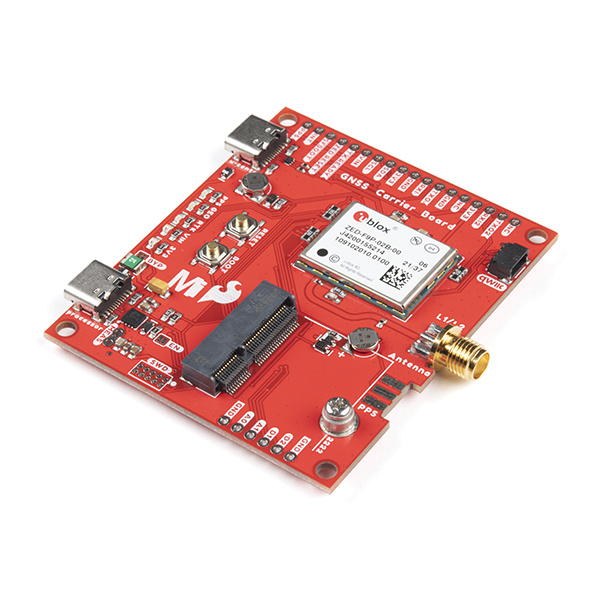
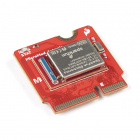
The SparkFun MicroMod GNSS Carrier Board (ZED-F9P) combines high-precision GPS and the flexibility of MicroMod onto one board. Utilizing u-blox's ZED-F9P module, MicroMod GNSS Carrier Board is capable of 10mm 3 dimensional accuracy. Yes, you read that right, these boards can output your X, Y, and Z location that is roughly the width of your fingernail. With great power comes a few requirements: high precision GPS requires a clear view of the sky (sorry, no indoor location) and a stream of correction data from an RTCM source. We’ll get into this more in a later section but as long as you have two ZED-F9P breakout boards, or access to an online correction source, your ZED-F9P can output lat, long, and altitude with centimeter grade accuracy.
Required Materials
To follow along with this tutorial, you will need the following materials at a minimum to get started. You may not need everything though depending on what you have. Add it to your cart, read through the guide, and adjust the cart as necessary. To get the most out of the ZED-F9P, you will need a correction source. Depending on your setup, you may need a second ZED-F9P or access to an online correction source.
MicroMod Processor Board
You'll need a Processor Board with the MicroMod GNSS Carrier Board. We recommend using the MicroMod ESP32 Processor to connect to the cloud. Depending on your setup, you may need a transceiver to pass the correction data.
Antenna
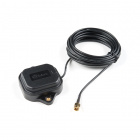
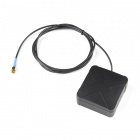
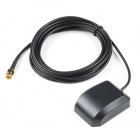
We recommend using a GNSS multi-band magnetic mount antenna for the full RF reception. The length of the antenna cable was also useful in mounting it.
GPS Antenna Accessories
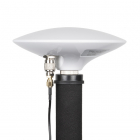
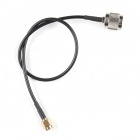
You can use the GPS antenna ground plate to improve your GPS antenna's performance. If you are using the GNSS Multi-Band L1/L2 Surveying Antenna (TNC) - TOP106, you'll need to grab the interface cable.
Accessories
At a minimum, you will need a USB C cable to power and program the boards. Depending on your application, you may want to grab a Qwiic cable to connect a Qwiic-enabled device.
Tools
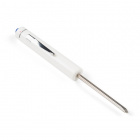
You will need a screw driver to tighten the screw between the processor board and carrier board.
Suggested Reading
If you aren't familiar with the MicroMod ecosystem, we recommend reading here for an overview. We recommend reading here for an overview if you decide to take advantage of the Qwiic connector.
 |
 |
| MicroMod Ecosystem | Qwiic Connect System |
If you aren’t familiar with the following concepts, we recommend checking out these tutorials before continuing.
I2C
Getting Started with U-Center for u-blox
Getting Started with MicroMod
MicroMod ESP32 Processor Board Hookup Guide
This tutorial is based on the GPS-RTK2's ZED-F9P. Make sure to check out the breakout boards for more information on GPS-RTK. Be sure to checkout our What is GPS RTK? tutorial.
