Micro OLED Breakout Hookup Guide
 jimblom
 Introduction
Want to add a little graphic pizzazz to your Arduino project? Do you need to display diagnostic information without resorting to serial output? Or maybe you want to learn a little game theory while creating a fun, Arduino-based video game. These are just a handful of example applications for the Micro OLED Breakout.
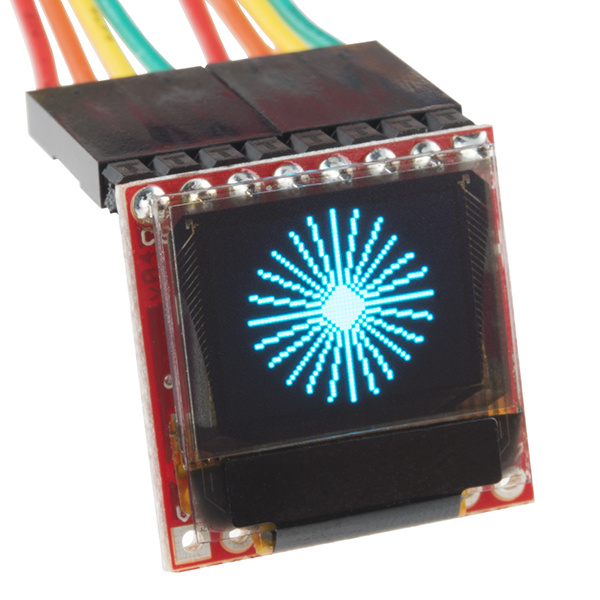
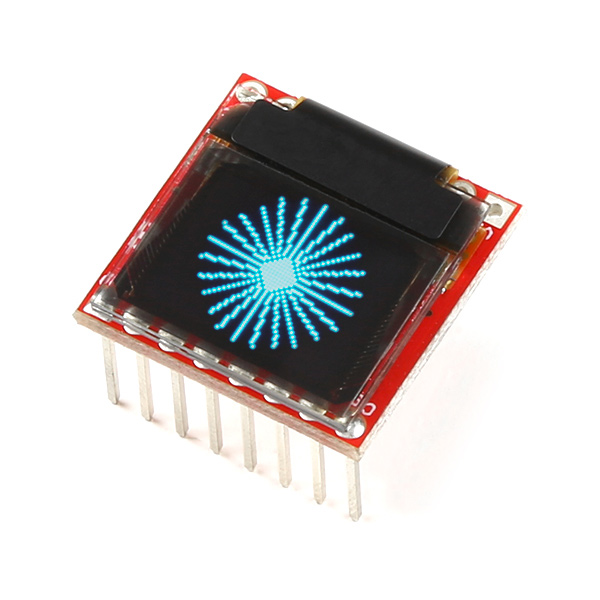
The Micro OLED Breakout Board breaks out a small monochrome, blue-on-black OLED. It's 64 pixels wide and 48 pixels tall, measuring 0.66" across. It's micro, but it still packs a punch -- the OLED display is crisp, and you can fit a deceivingly large amount of graphics on there. Most important of all, though, is the Micro OLED is easy to control over either an SPI or I2C interface.
Covered In This Tutorial
In this tutorial we'll give you a brief introduction to the OLED and the breakout, then we'll jump into example hardware hookups and code. The tutorial is split into the following sections:
- Breakout Board Overview -- To begin, we'll go over each of the pins on the breakout board and their function. This section also overviews the jumpers on the backside of the Breakout.
- Hardware Assembly -- Soldering tips and other Micro OLED Breakout assembly tricks.
- Hardware Hookup -- In this section we'll show you how to hook an Arduino up to the display via either SPI or I2C.
- Arduino Library Download, Install, and Test -- Download and install the Arduino library, then upload an example to test everything out.
- Using the Arduino Library -- A quick examination of the Micro OLED Arduino library's family of function calls.
Materials Used
In addition to the display, you'll also need a few components and tools to follow along with this tutorial. Here is what we used to get the display up-and-running:


There are many ways to complete the hookup, though. In general, you'll need:
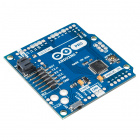
- Arduino or other microcontroller -- You'll need something to control the display. Optimally you'll want something that has a 3.3V operating voltage. We'll be using a 3.3V Arduino Pro, the 3.3V Arduino Pro Mini would be another good option.
- Level shifting -- If you're using a 5V Arduino, like the Uno or RedBoard, you'll need to add some level shifting. Something like the bi-directional logic level converter should do the trick.
- Connectors -- Some means for interfacing the breakout with your microcontroller. Male headers are perfect if you're using a breadboard. Or maybe all you need is some wire.
- Soldering tools -- After you've picked a connector, you'll need to solder it to the breakout board. A simple iron and some solder should be all you need.
Recommended Reading
Before getting started with the Micro OLED Breakout, there are a few concepts you should be familiar with. Consider reading some of the tutorials below, before continuing on with this one.
- What is an Arduino? -- We'll use an Arduino to send commands and display data to the OLED.
- Serial Peripheral Interface (SPI) -- SPI is the preferred method of communication with the display.
- I2C -- Alternatively, I2C can be used to control the display. It uses less wires, but is quite a bit slower.
- How to Use a Breadboard -- The breadboard ties the Arduino to the OLED breakout.