Jetson Nano + Sphero RVR Mash-up (PART 1)
Jetson Nano Peripherals
The Jetson Nano requires a few things to get up and running before we dig too deep into building up the robot and forget about them!
Micro SD Card and JetBot image
Since this is a mash-up of two kits I had the JetBot image already burned to the SD card that came with that kit. This was a nice option because the image already has the JetBot software on it and running out of the box which prints out the IP address of the bot over the OLED display and also has the drivers for the included Edimax WiFi adapter already installed.
If you are building this project from scratch I highly recommend starting with our JetBot image and burning it to an SD card. You can find our image and instructions for preparing the SD card, burning it and configuring it at the end of our JetBot Assembly Guide. You can find the Software Setup section of that guide here.
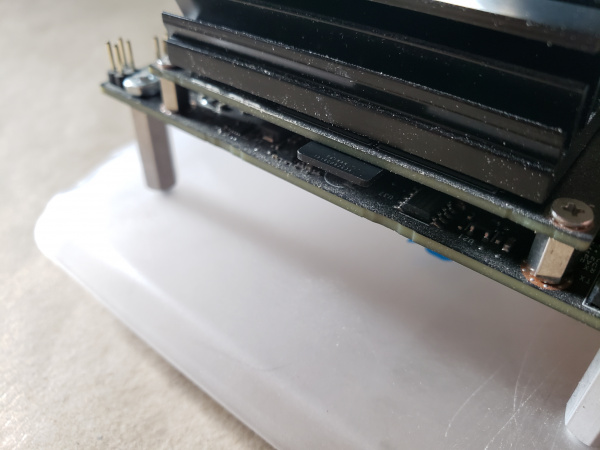
Once you have an a microSD card with the JetBot image on it, insert it into the microSD card slot on the NVIDIA Jetson Nano. The card will give a satisfying click when inserted far enough. That’s it, you are all set!
Edimax WiFi Adapter
The JetBot requires a WiFi connection so that you can communicate with it while it is free to roam/drive around untethered.

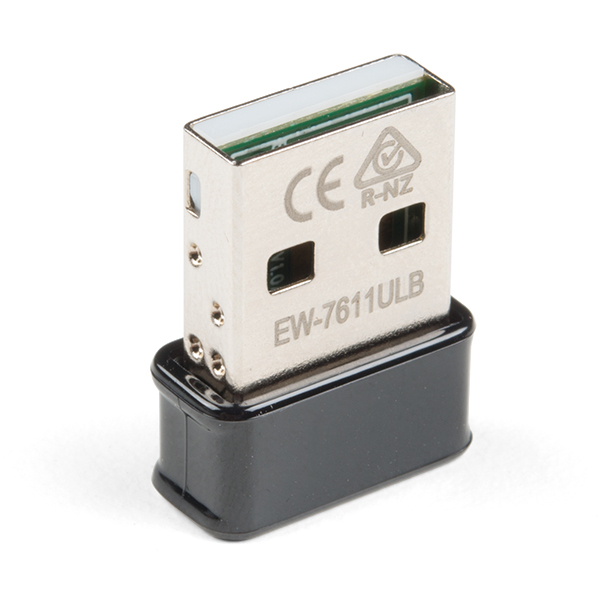
The Edimax N150 WiFi adapter is what we use in our JetBot kit and our go-to WiFi accessory for working with the NVIDIA Jetson Nano.
Installing the N150 is as simple as inserting it into an open USB port on the Jetson Nano. Software setup is a breeze if you are using our JetBot microSD card image. It should work out of the box.
If you are building this project from scratch you will need to install the drivers for the WiFi adapter. You can find our tutorial for how to do that here:
