Jetson Nano + Sphero RVR Mash-up (PART 1)
 D___Run___
Camera and Camera Mount
The camera mounting portion of this project was by far the most DIY modification and has been iterated on over time as JetBot itself has been changed up over the course of the year.
Camera Mount
When this project initially started, the camera mount that came with our original JetBot was made of clear acrylic and wouldn't work with how things were laid out on the RVR.

For the machine learning aspect of JetBot to work properly the camera needed to be at a specific height, distance from the front axle of the drive wheels as well as tilt angle. So, with that information in hand I built my own camera mount from a bit of scrap MDF board and hot glue. This solution worked out well, but it does have a few downsides, one of them being that I used glue which doesn’t bode well when I need to remove or replace parts. But, for initial ideation it worked perfectly.
Camera Mount Revision
The advent of JetBot 2.0 and the change in chassis and how we mount the camera on it gave me an opportunity to revise my own camera mount. (Read as "a better mount to modify for our own use!")
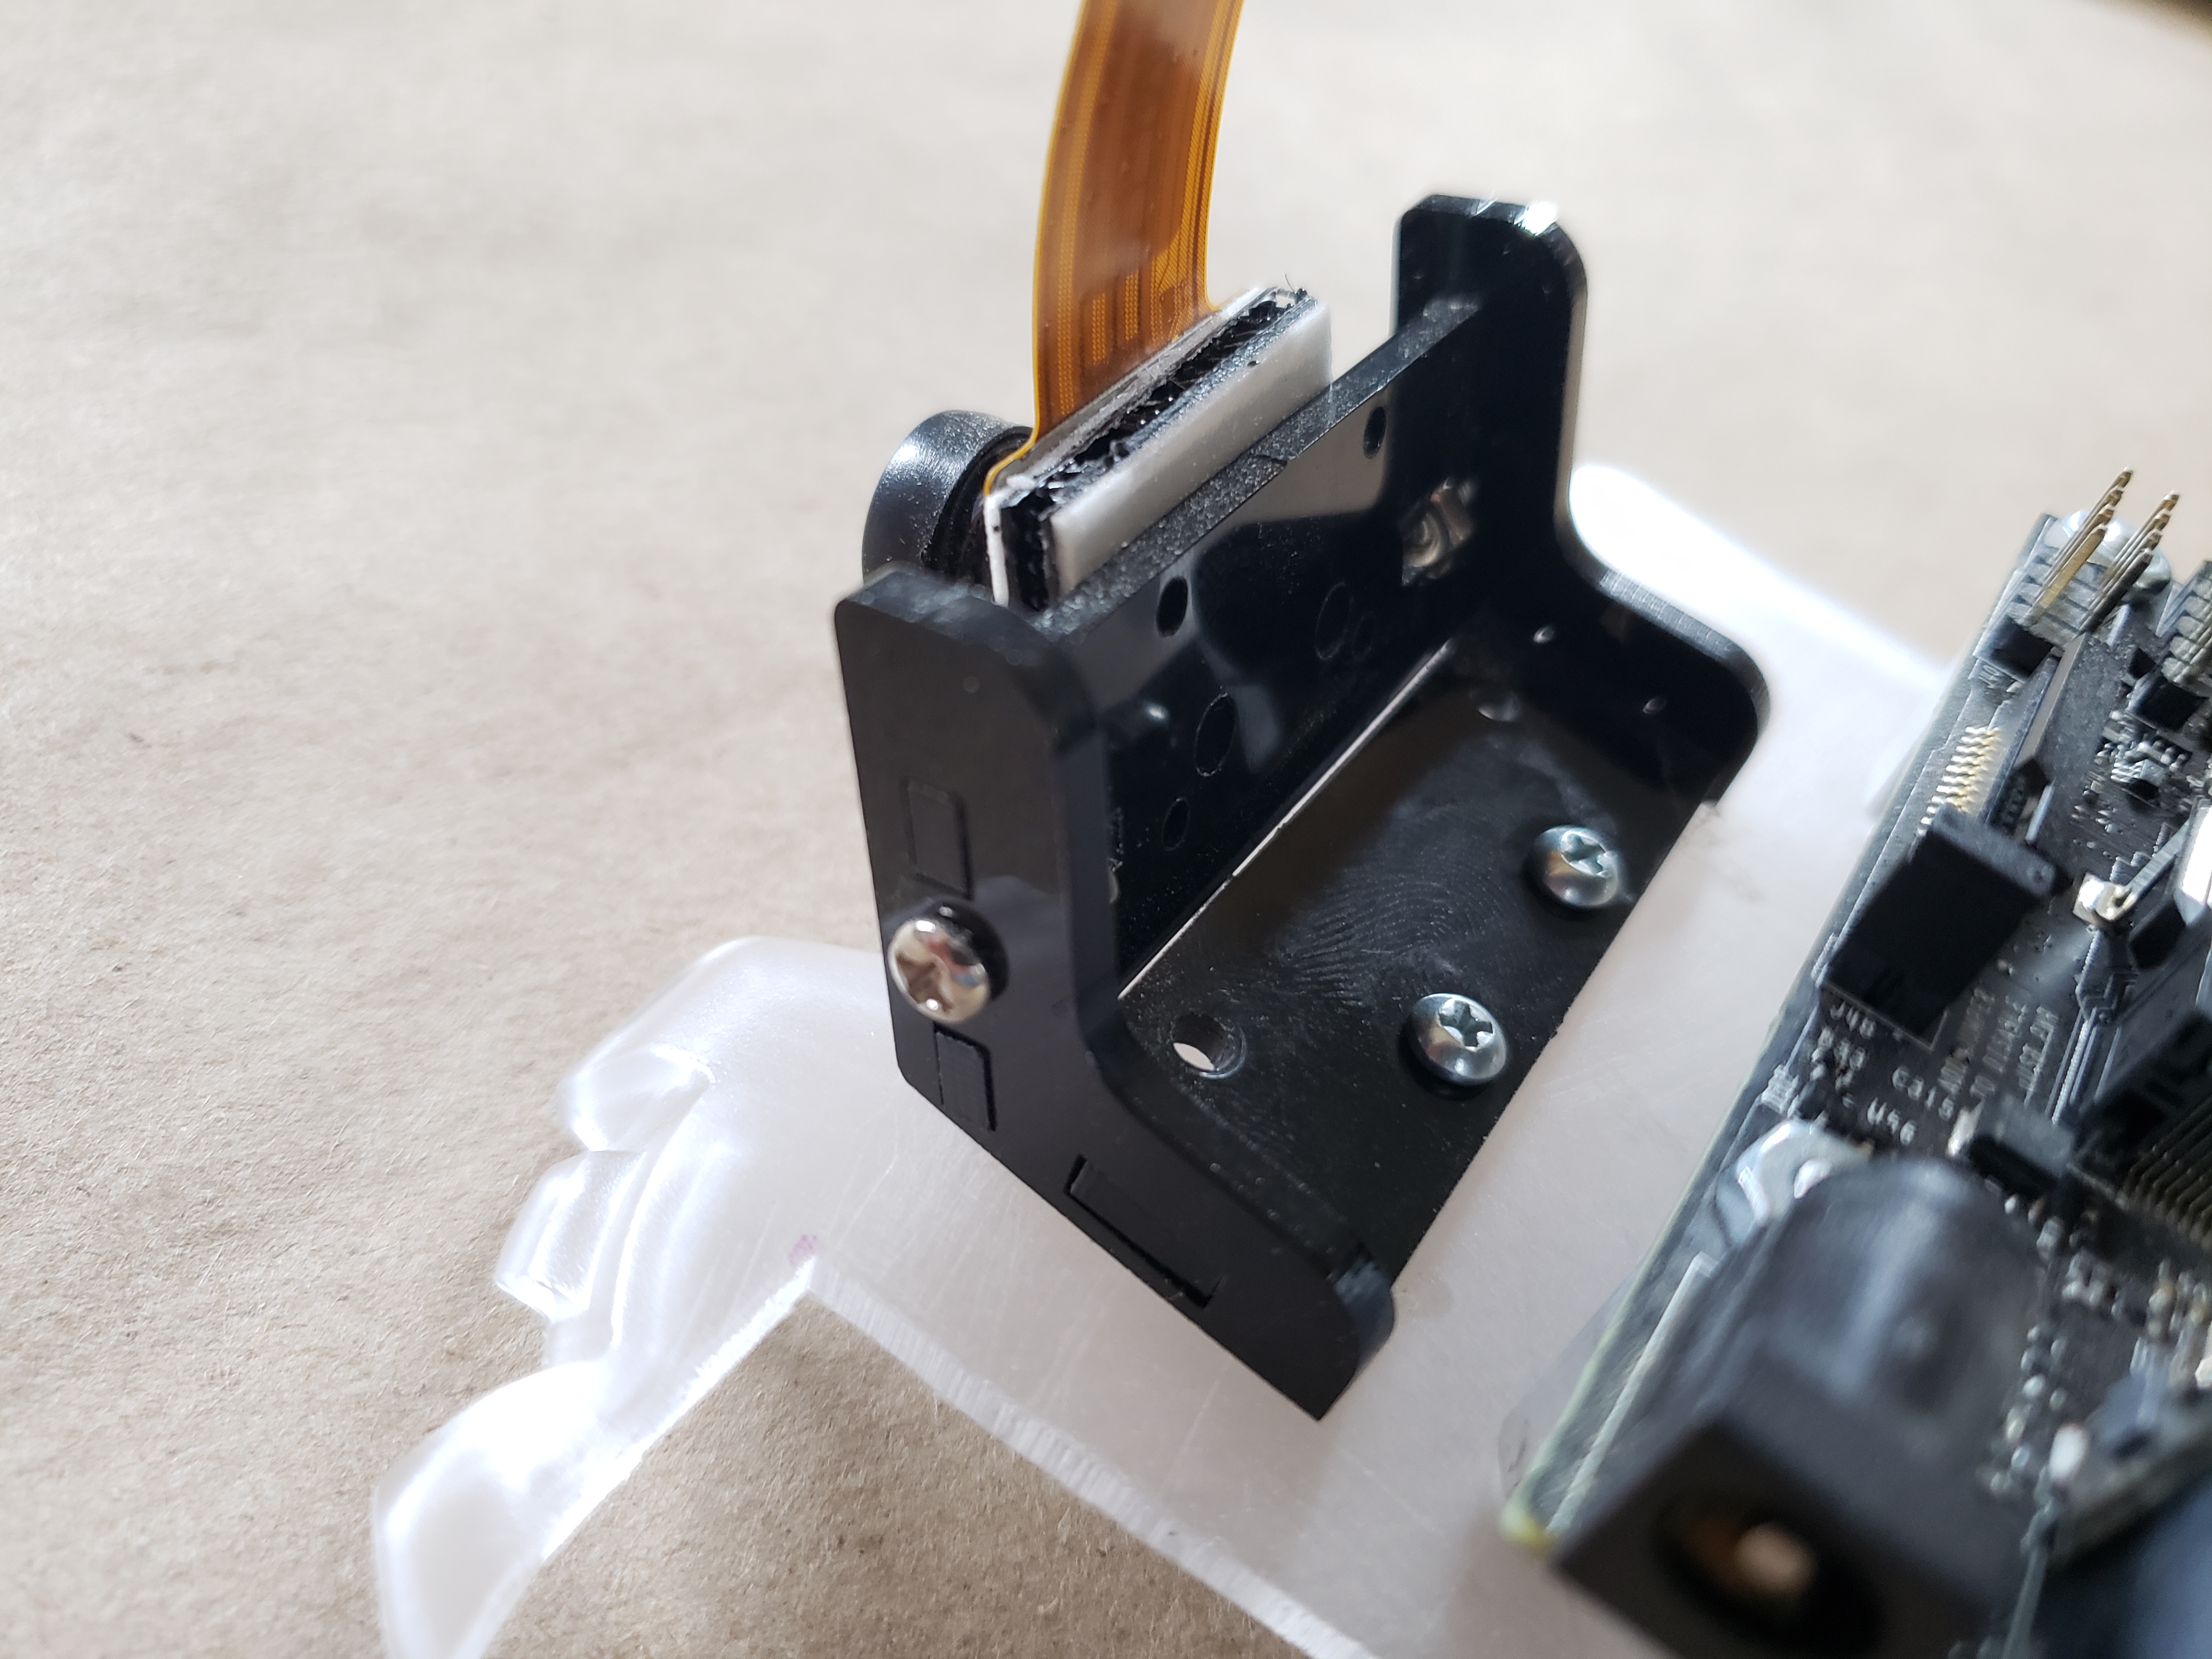
With the new camera mount in hand I used my disk sander to remove the tabs on the bottom of the acrylic mount so that it would sit relatively flat on the RVR.
I positioned as accurately as it could be compared to the old DIY mount and a few reference marks were made before removing it. I also swapped out the plastic screw and nut that normally mount the camera to the bracket for a bit of 3M Dual Lock so that I could reposition the camera if needed. I drilled holes in the topper plate to run screws through and secure the new mount. Only use two of the holes as it would be more than enough for this light camera. I chose the two furthest back but feel free to use whichever holes work best for your robot.
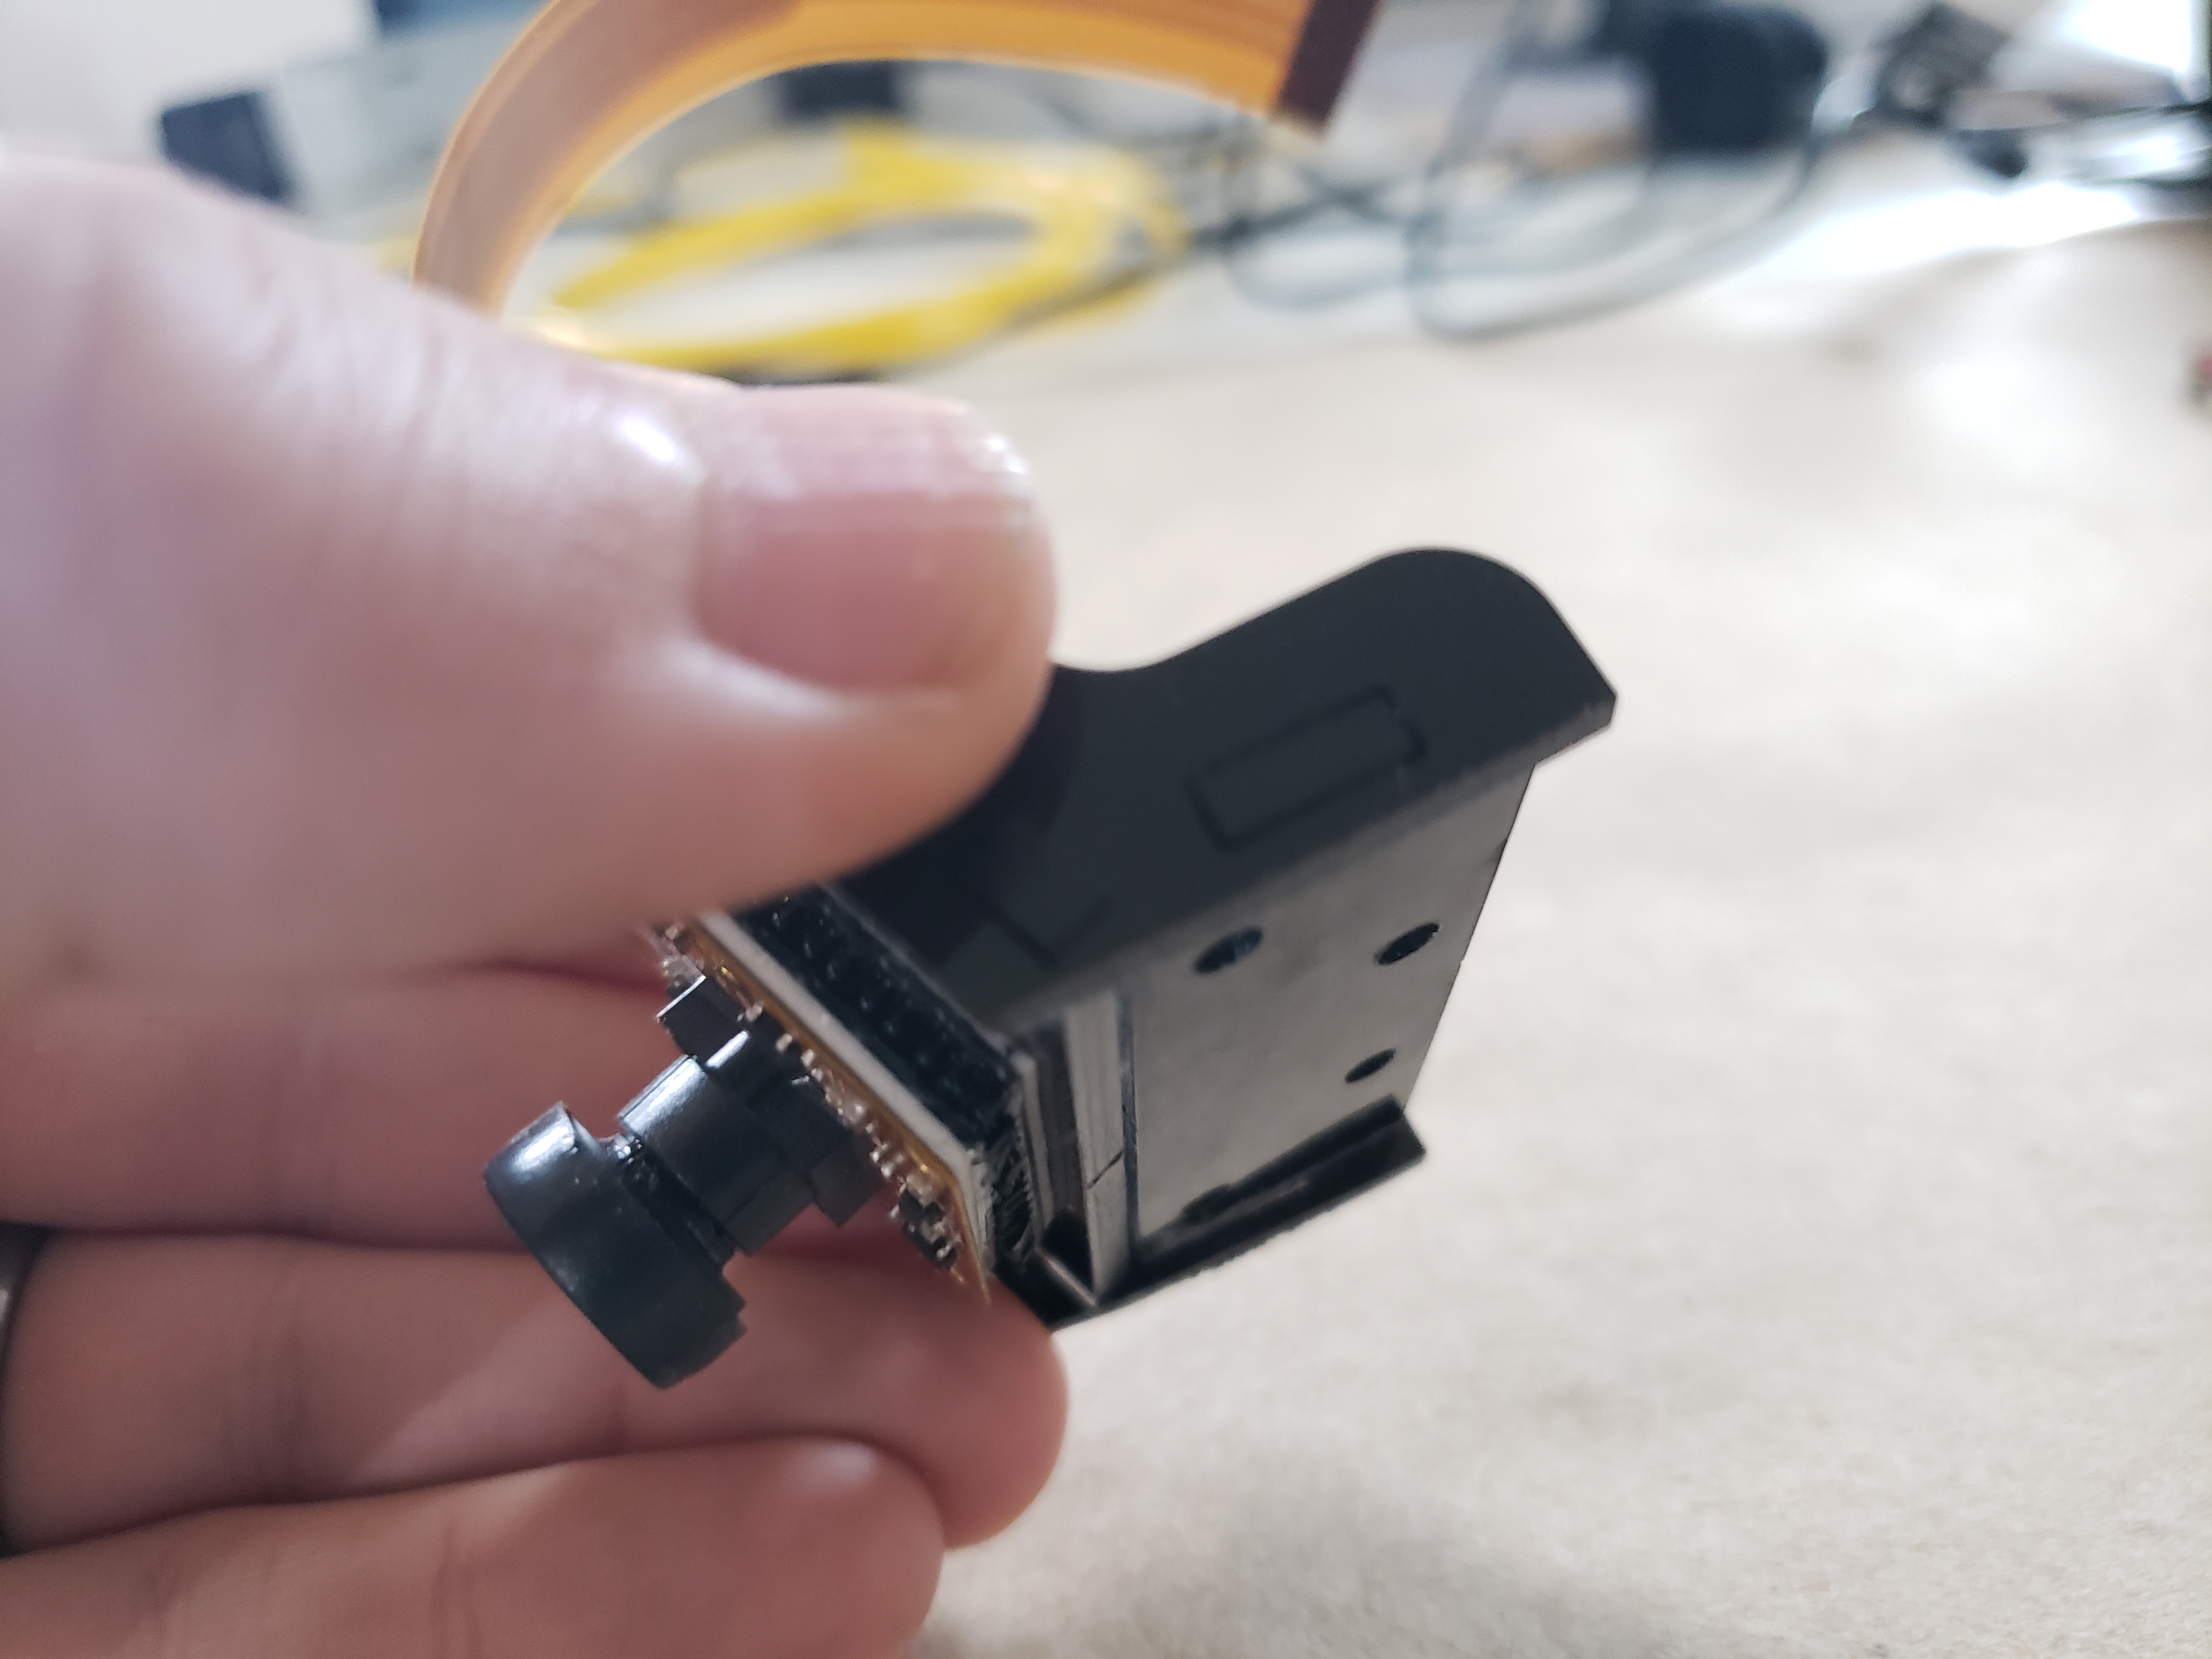
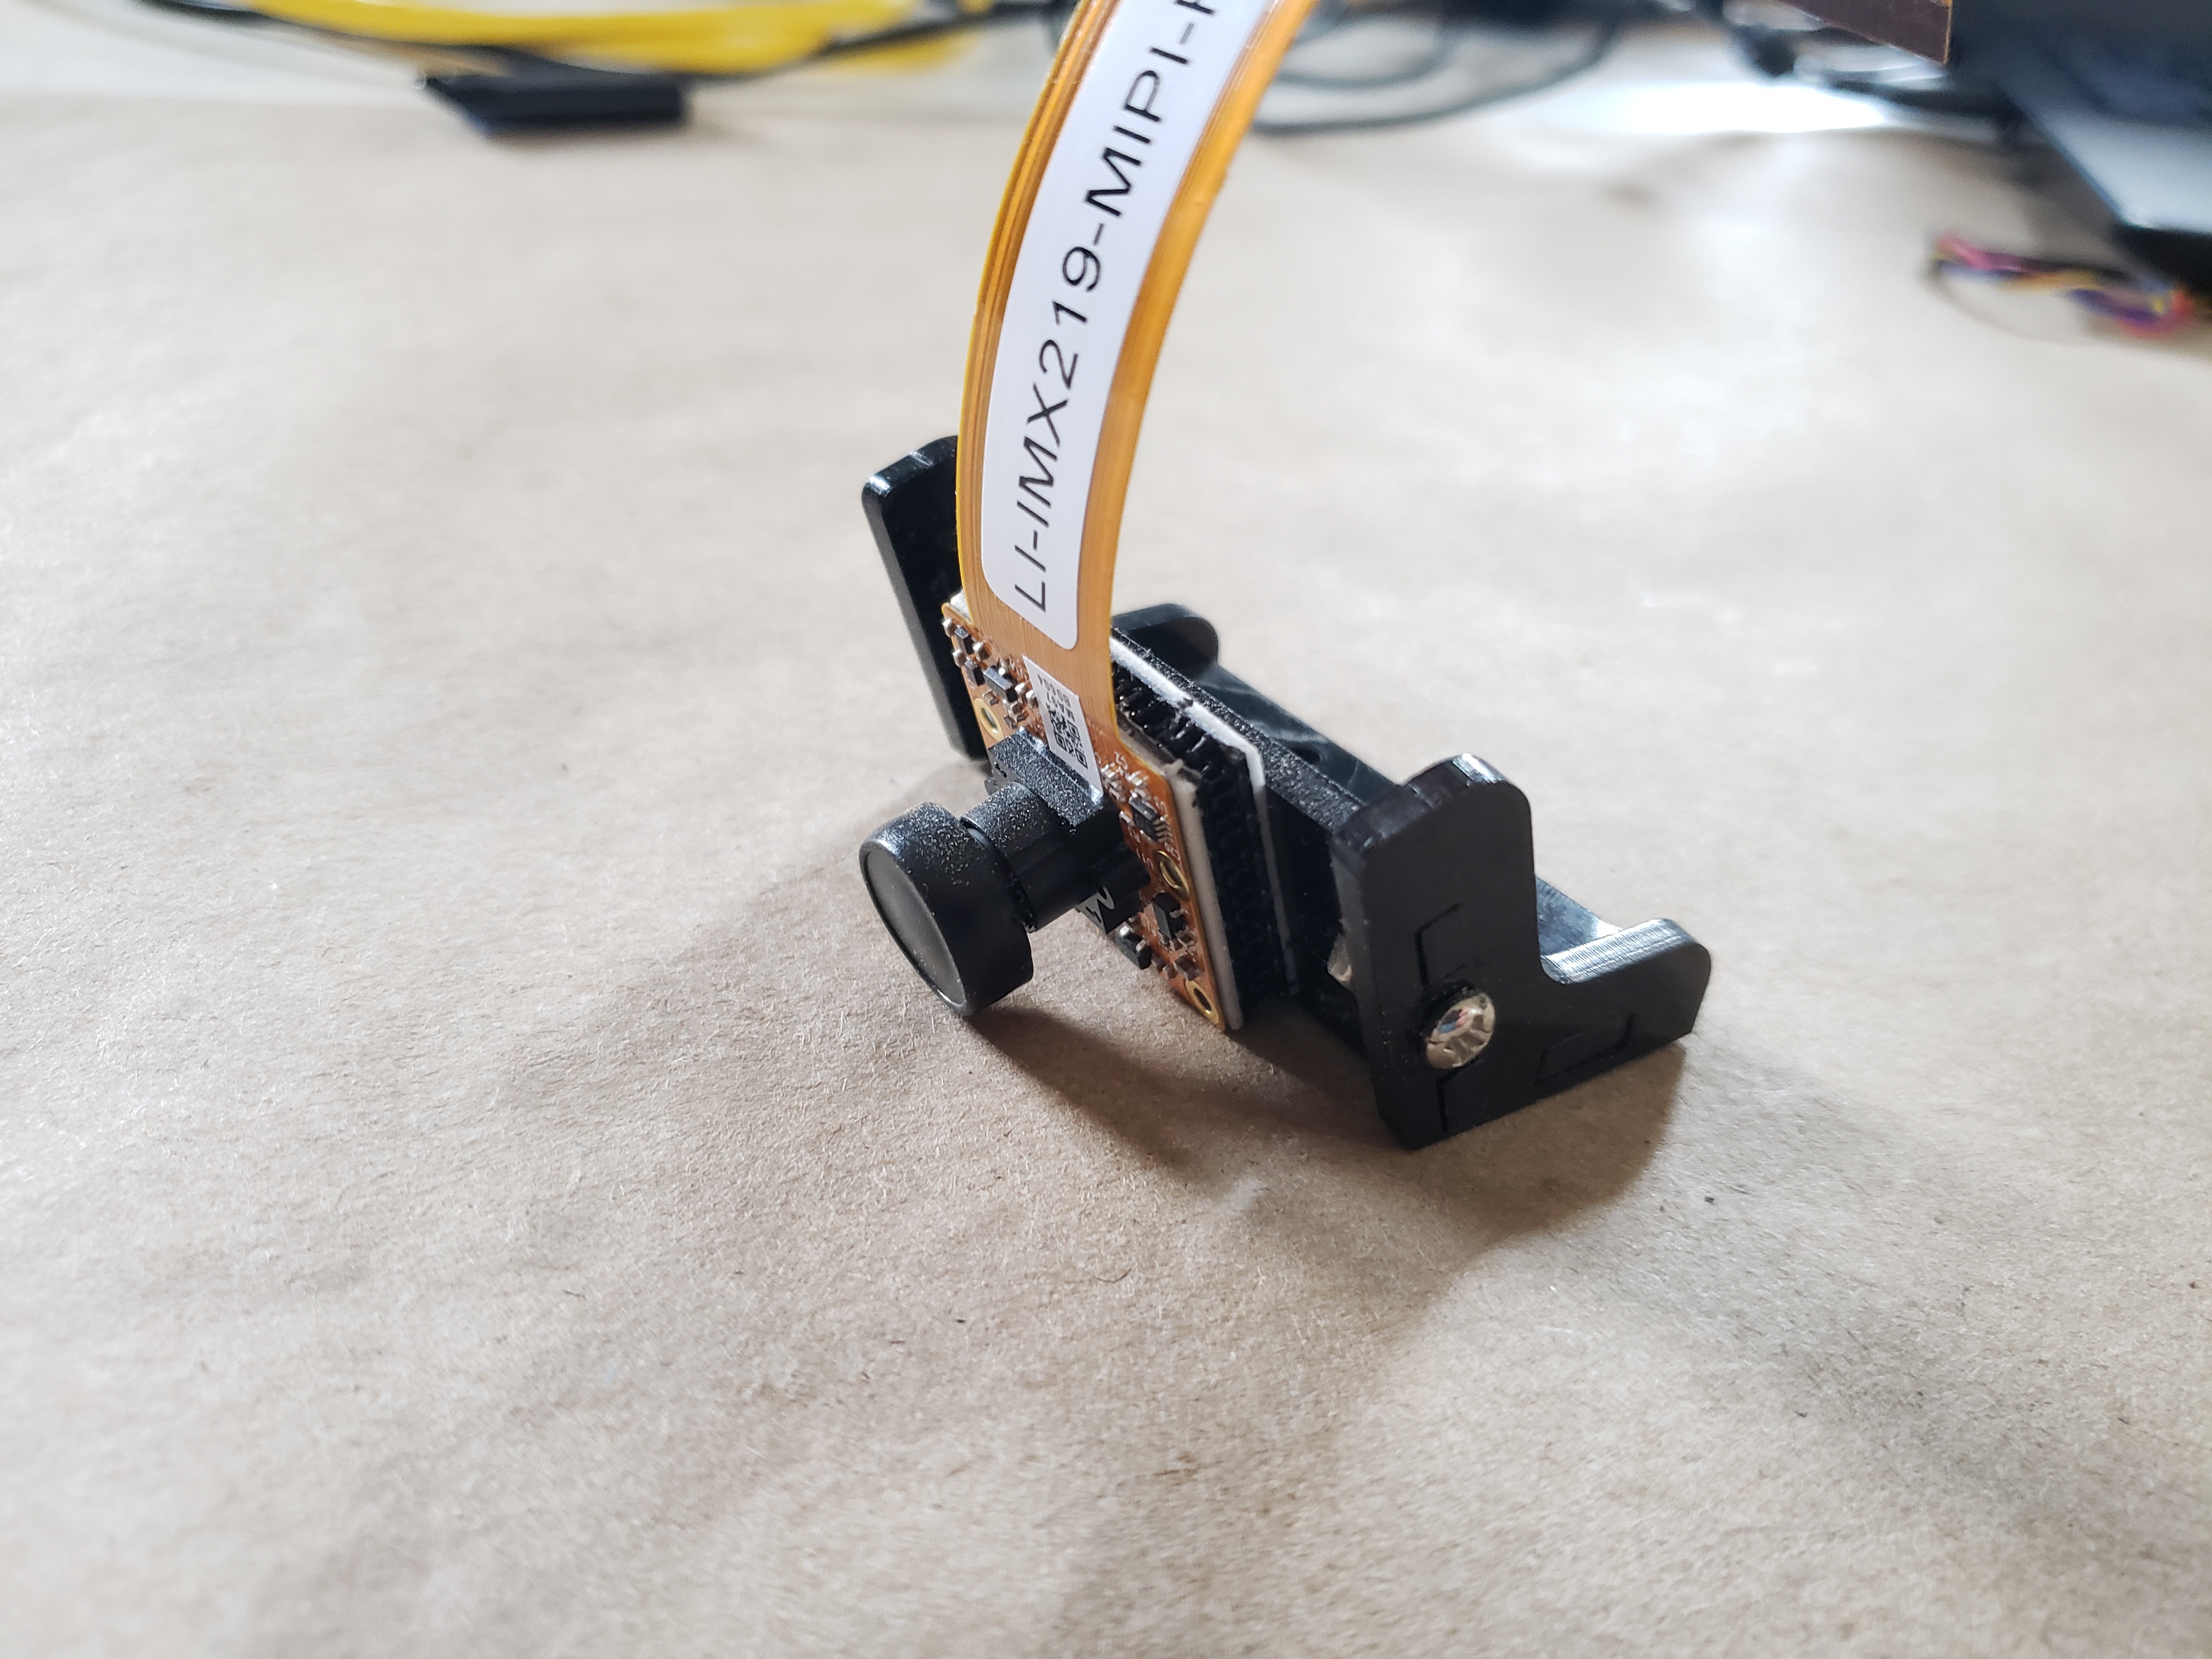
Camera Hookup
With the mounting bracket assembled and mounted to the topper plate I added the camera to the mounting bracket using some 3M Dual Lock rather than the plastic screws as shown in the JetBot assembly guide. The idea behind this would be to make it more adjustable if needed since it will be on the RVR chassis and not as optimally positioned as a chassis designed for it.

With the camera mounted, hook up is rather straightforward using the camera cable connector on the development kit carrier board. If you are using the original carrier board, you only have one choice in terms of camera connector.