Jetson Nano + Sphero RVR Mash-up (PART 1)
 D___Run___
Final Wiring
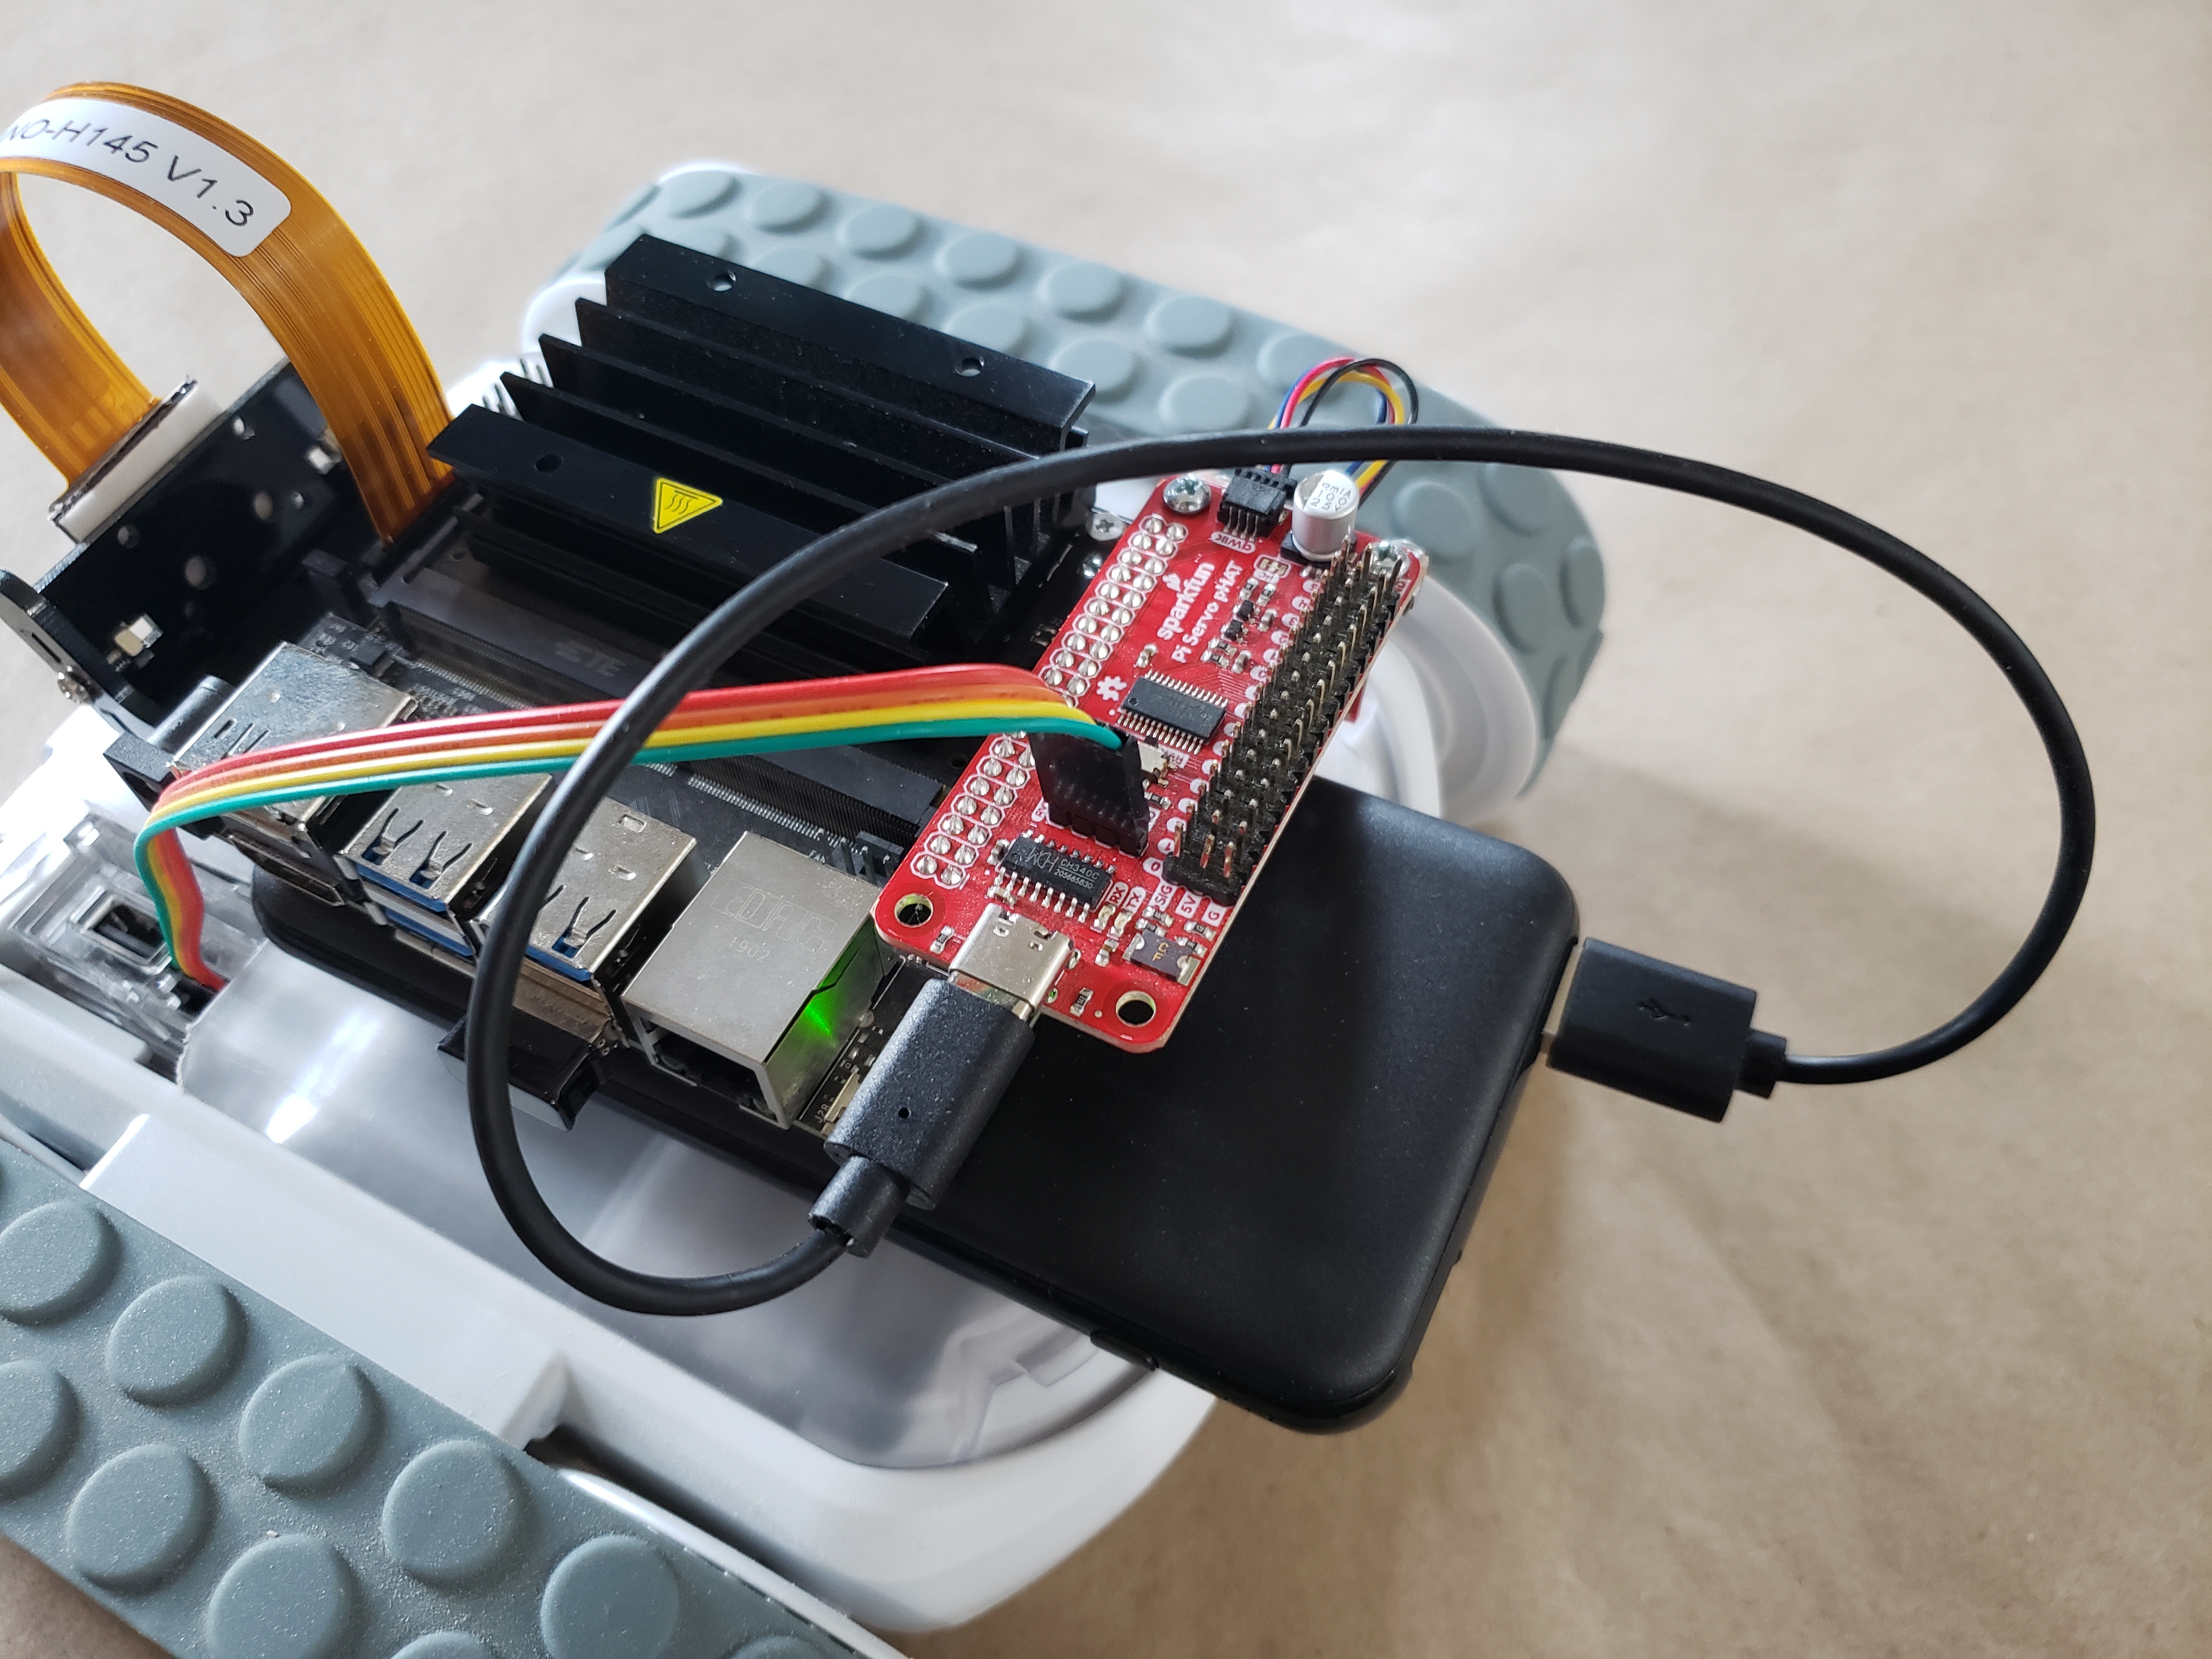
With the hardware assembly for the most part complete. It is now time to mount the plate with our hardware to the RVR and to do some final wiring, which is rather minimal!
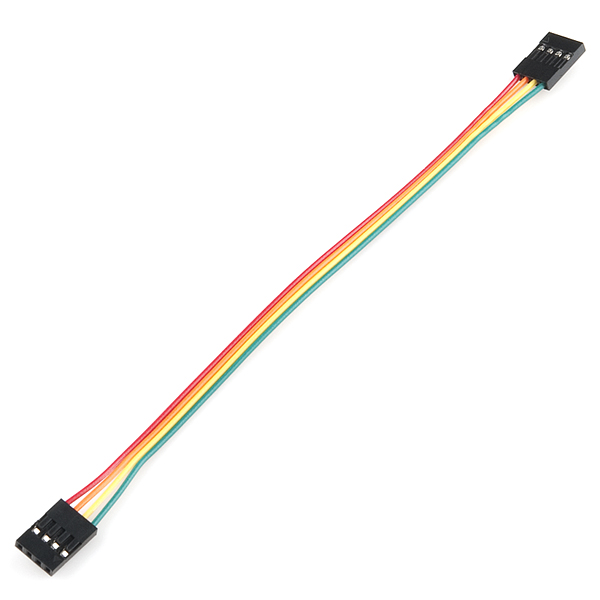
4 Pin UART Cable
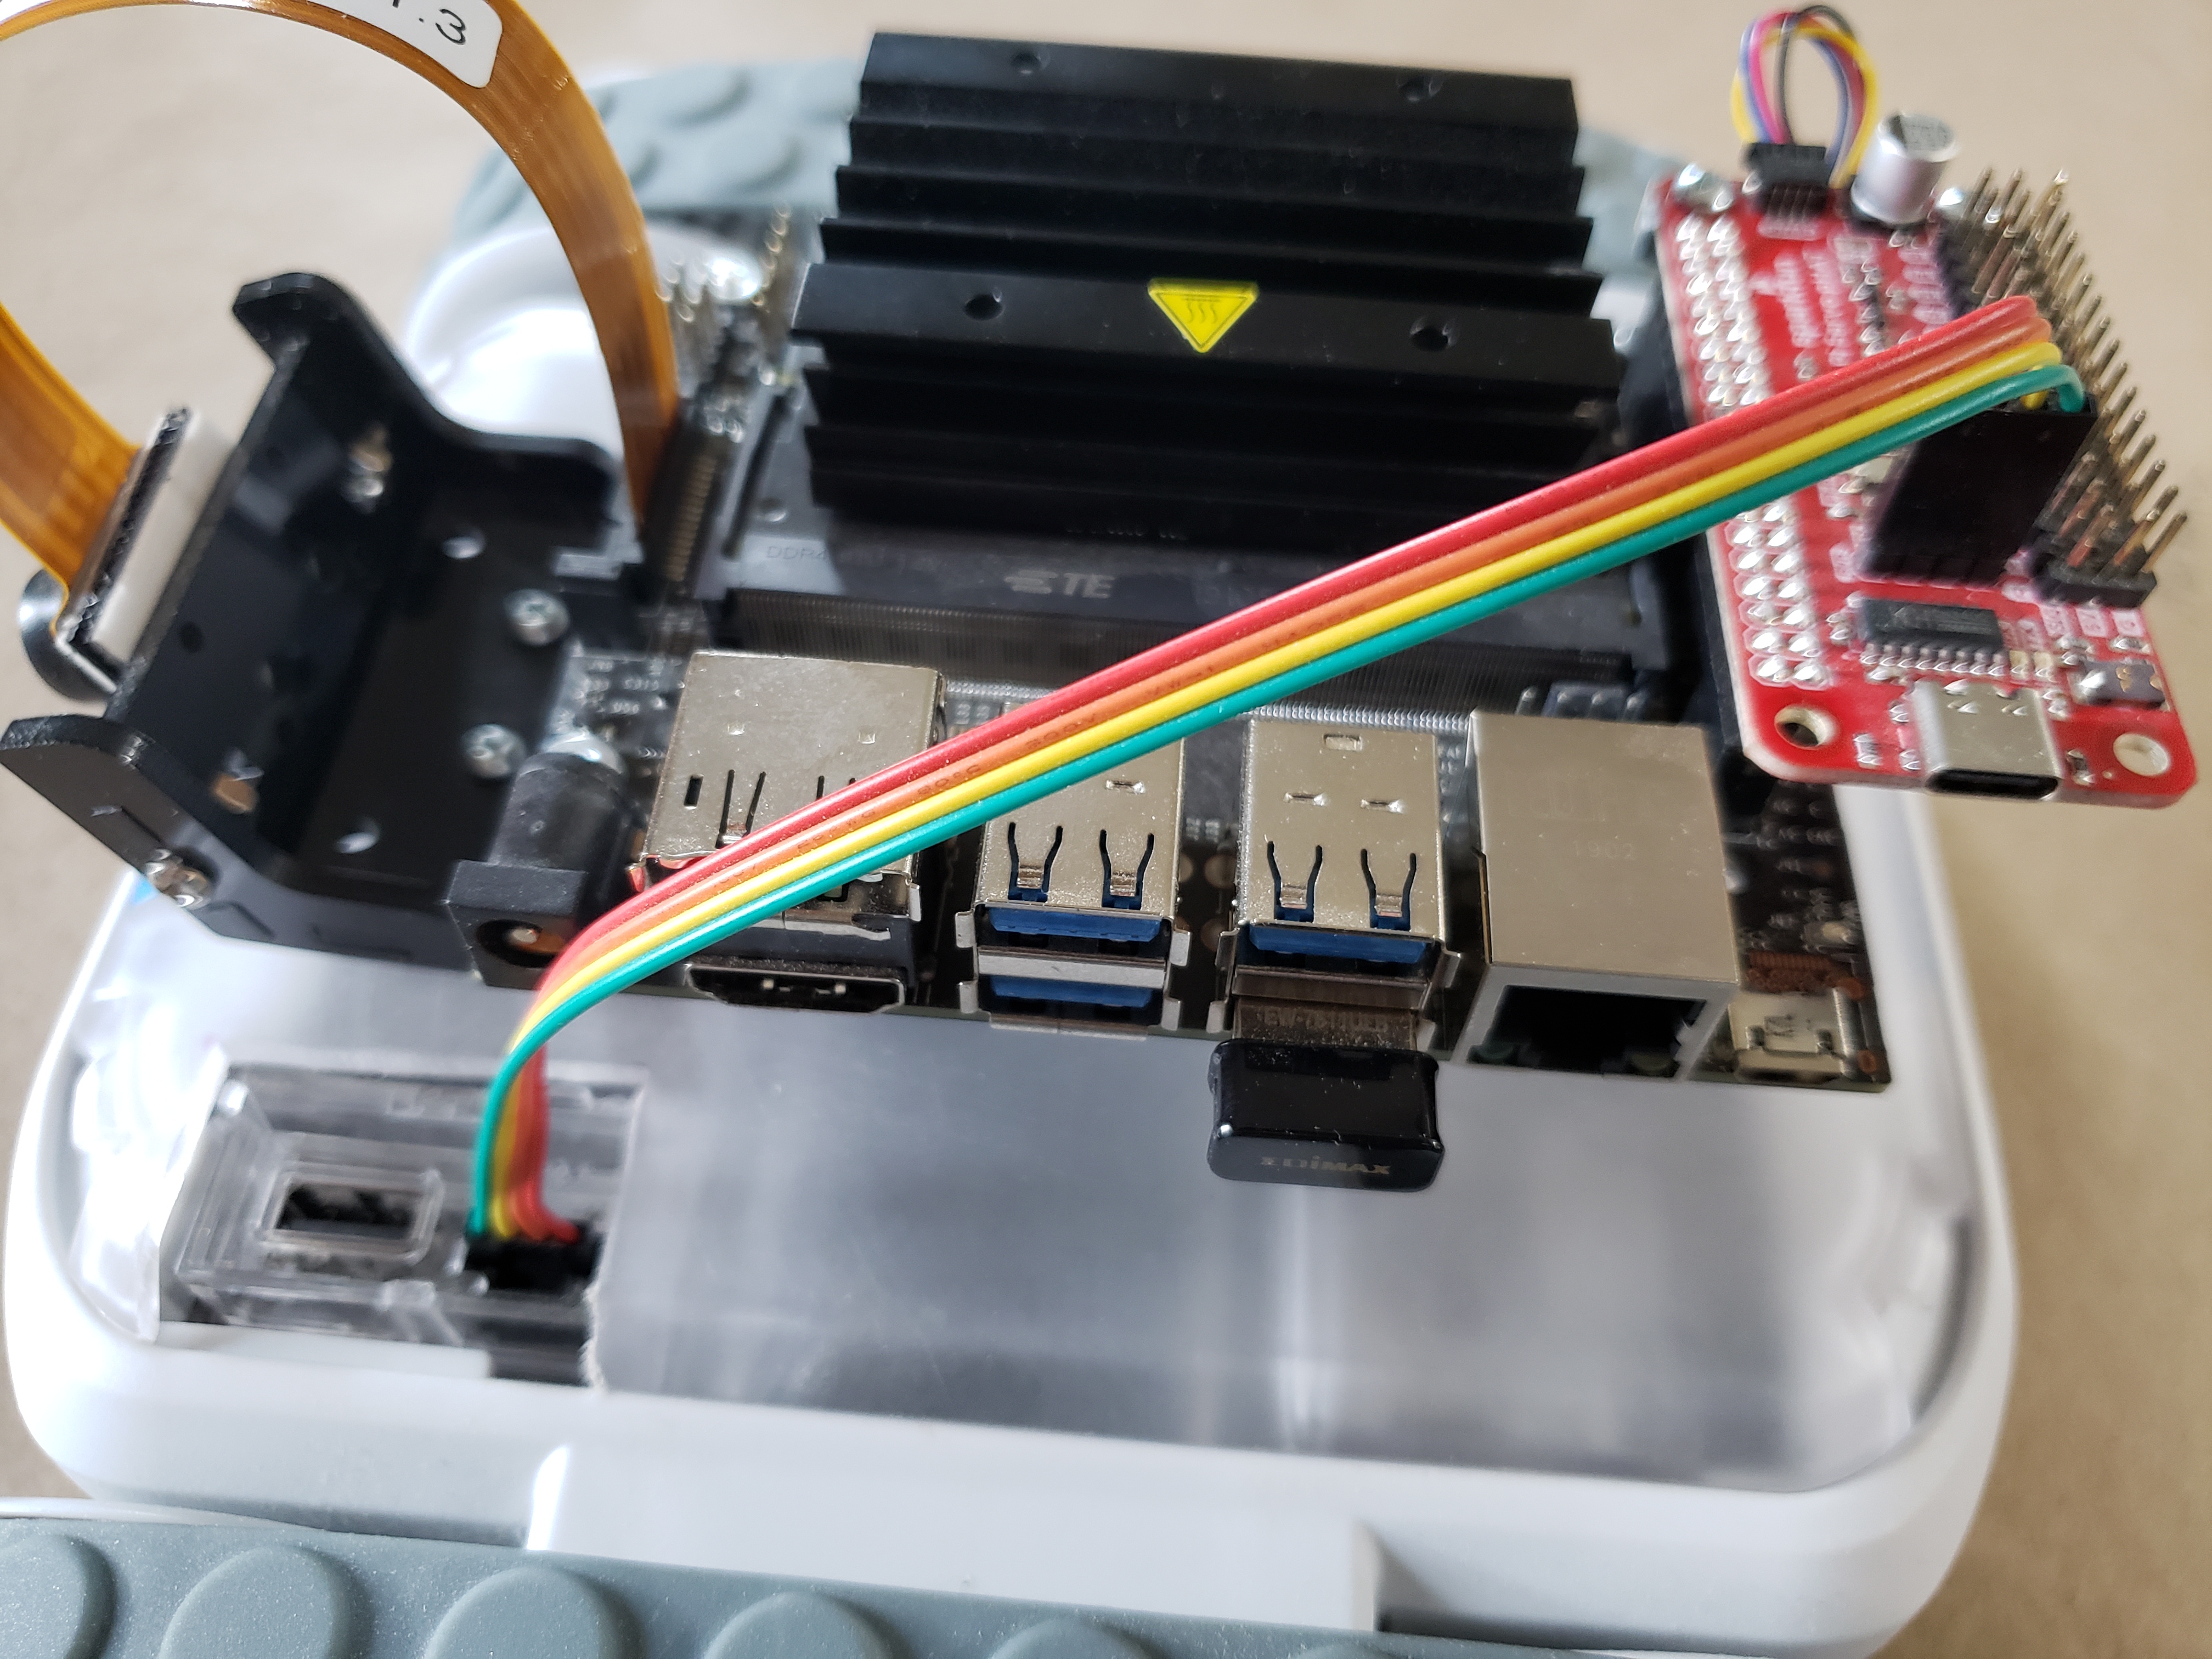
The Jetson Nano communicates with the Sphero RVR via UART and a raw UART connection on the RVR next to the USB port. This four pin connector uses a 4 wire female wiring harness to connect it to the “RVR” connector on the Servo pHAT.
When connecting the pHAT to the RVR take note of the orientation of the connections. On the RVR, the UART Rx and Tx pins are oriented towards the “front” of the RVR with power (5V and GND) towards the back. You should insert the harness with the green wire pointed “forward”

The pHAT is the opposite of the RVR connector. The Rx and Tx connections are “forward” in this current configuration, so the harness should be connected to the pHAT with the red wire oriented “forward”.
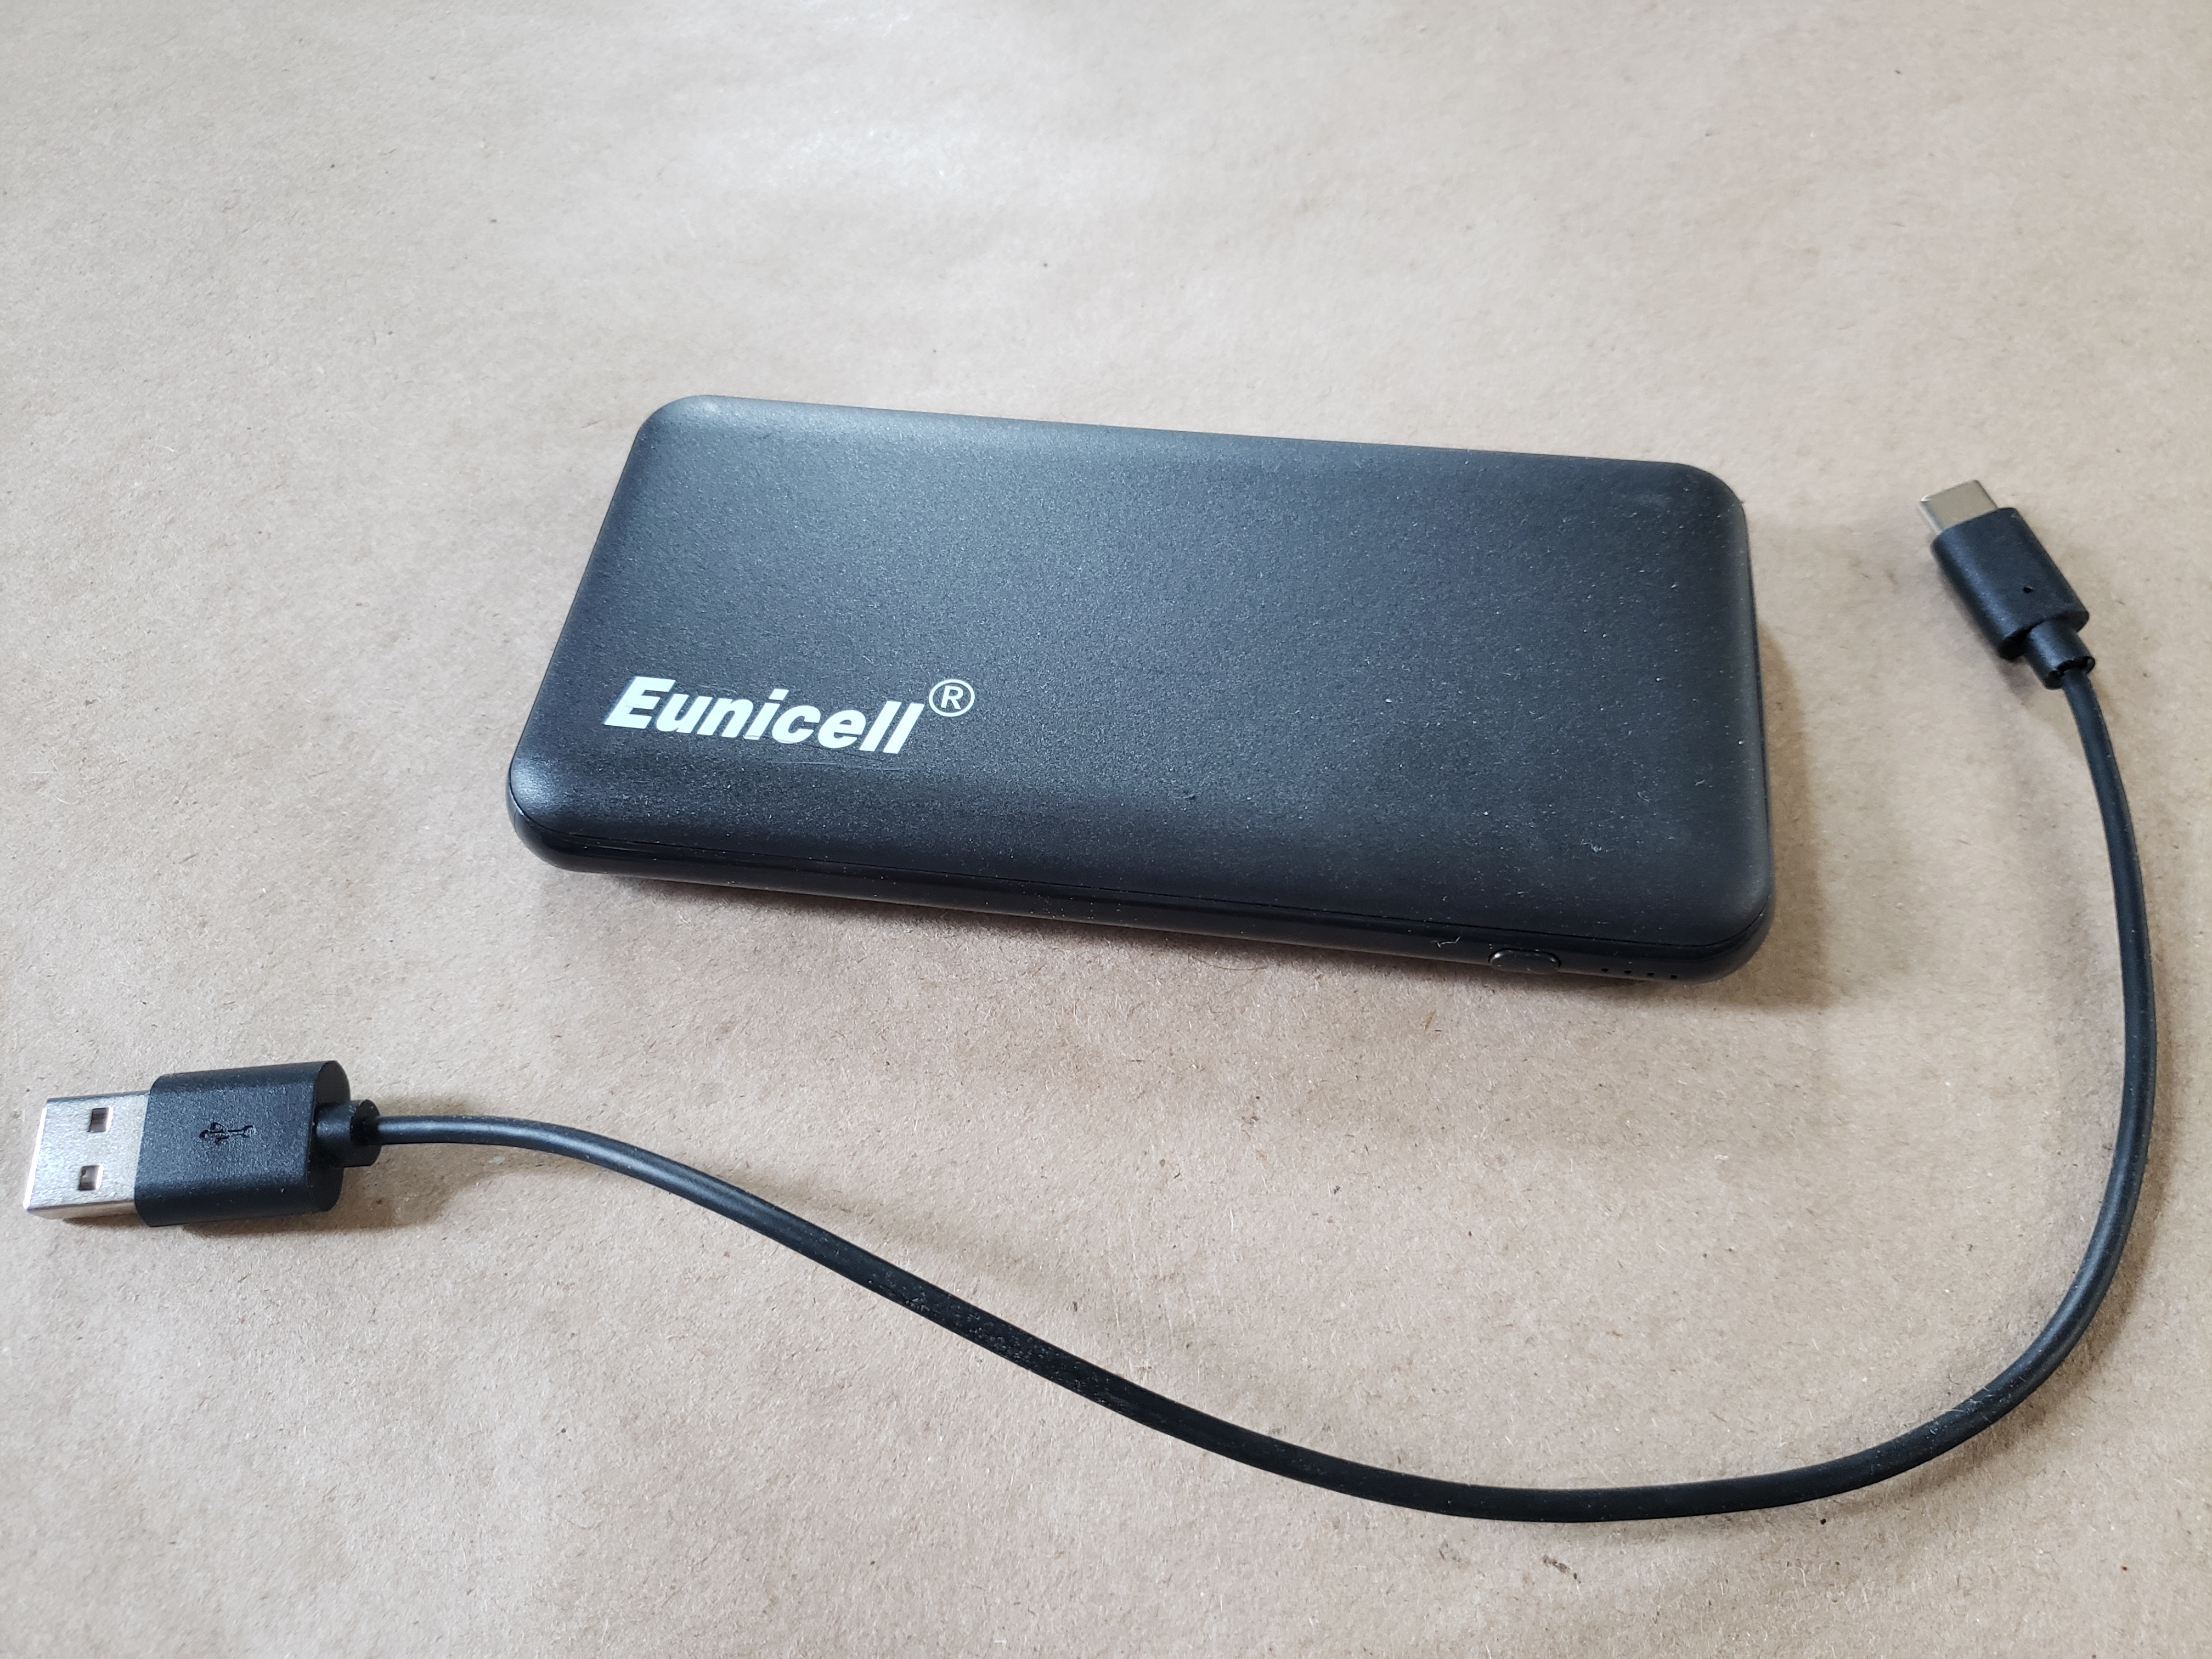
USB Battery Bank
The last thing to do before hardware assembly is completely finished is adding the USB battery bank and powering the Jetson Nano. The project uses the USB battery bank we use in our JetBot kit. It is perfect for powering the Jetson Nano and the peripherals while the RVR is powered through its own battery.
Originally we wanted to mount the Jetson on four standoffs rather than three (You can probably see 4 holes in close-up shots of the topper plate), but once we went to fit the battery on the bot it would not fit between the standoffs. To fix this we removed one so the battery would fit in the proper orientation.
The standoffs give just enough room for the battery to slide under the carrier board of the Jetson Nano. It should be snug enough that you don't need anything to keep it in place, but if you feel that you do, I highly recommend using 3M Dual Lock (we provide you with a length in our JetBot kit) or even a bit of two sided tape for just a bit of extra friction to keep it in place.
With the battery in place add a USB-C cable from the battery pack to the USB-C port on the SparkFun Servo pHAT. If you are using the battery pack from the JetBot Kit, connect your USB cable to the orange (3A) USB port. The Jetson Nano should power up as soon as you do.