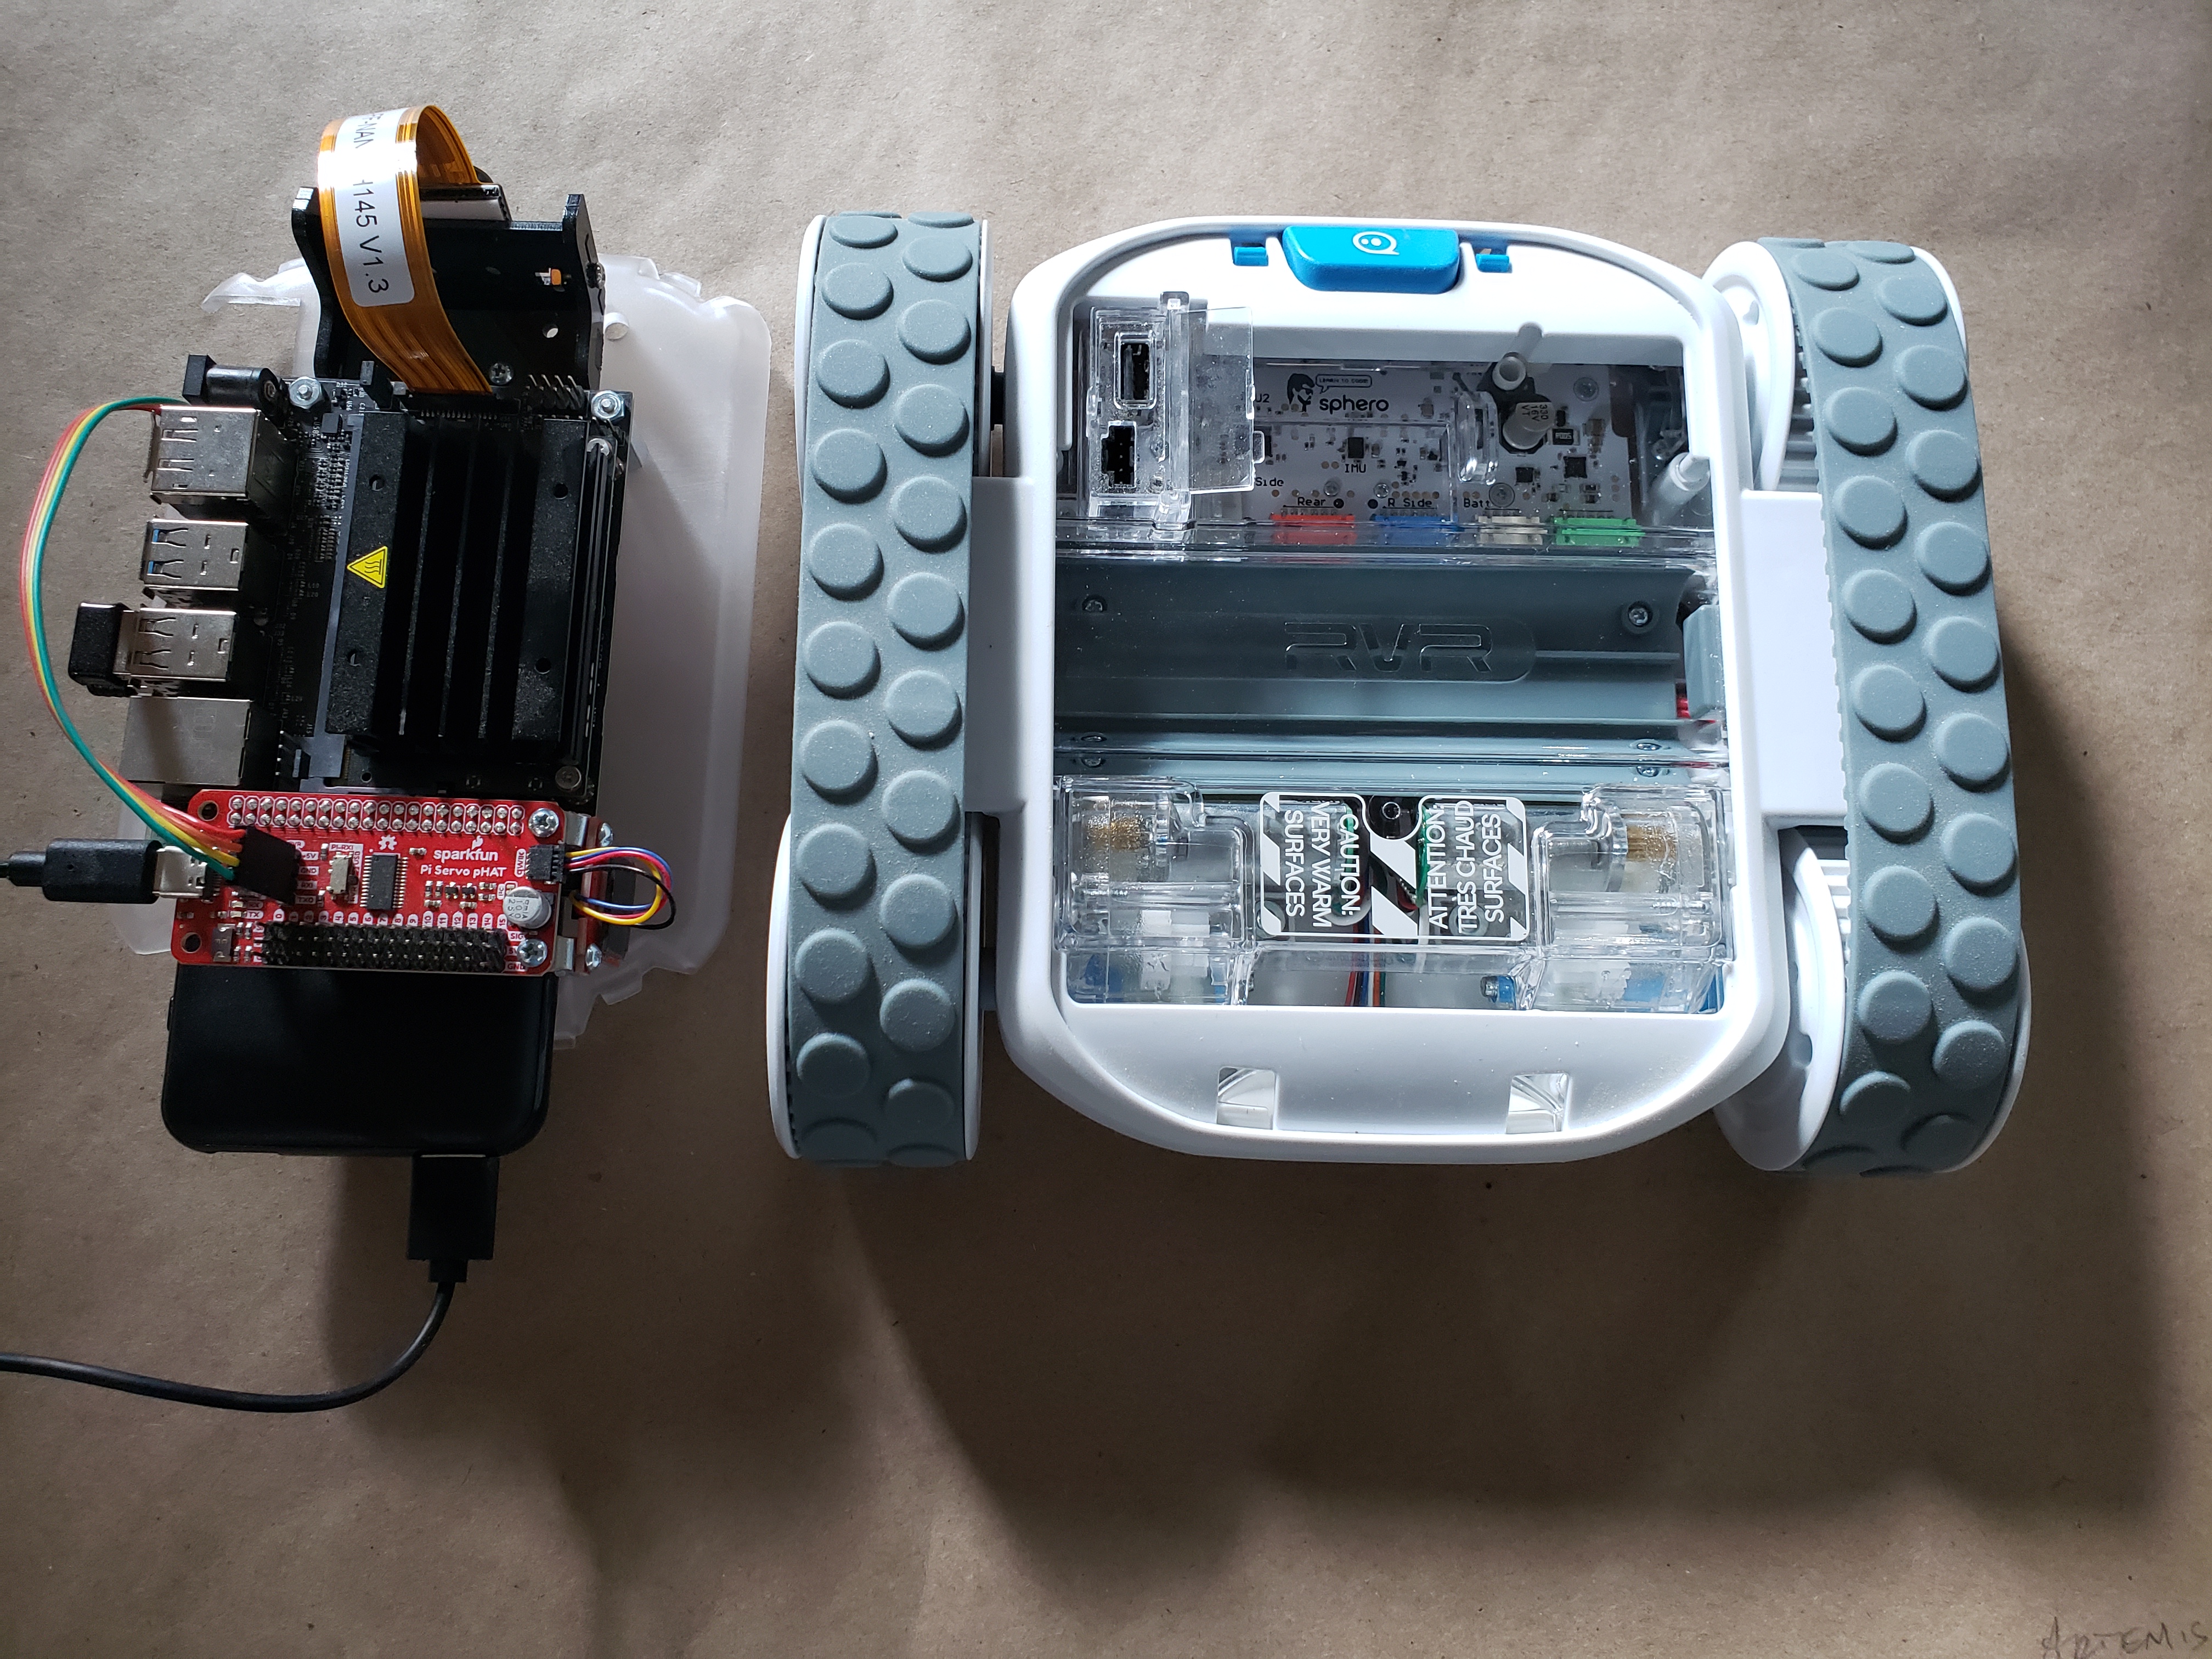
Jetson Nano + Sphero RVR Mash-up (PART 1)
 D___Run___
Mounting the NVIDIA Jetson Nano
Using the RVR as a platform for this robot enabled me to work with their topper plate system which makes building and fitting everything we needed onto the robot so much easier.
Instead of working around the robot and trying to figure out how to mount something and the repetitive task of bolting something down only to remove it again later, all I had to do was remove the topper plate and as long as it fit on that plate I knew it would mount on the robot without a problem.
The RVR comes with a number of topper plates and one of them is specifically designed for mounting your own microcontrollers/single board computers to it. After trying a number of configurations of possible orientations of the Nano on the mounting plate I came to the conclusion that it wouldn't work for what I wanted to do. For this build I needed space to put the Nano and mount the camera while keeping wiring as clean as possible as well as space for the Servo pHAT or any other hardware connection to the GPIO headers in the rear of the robot.
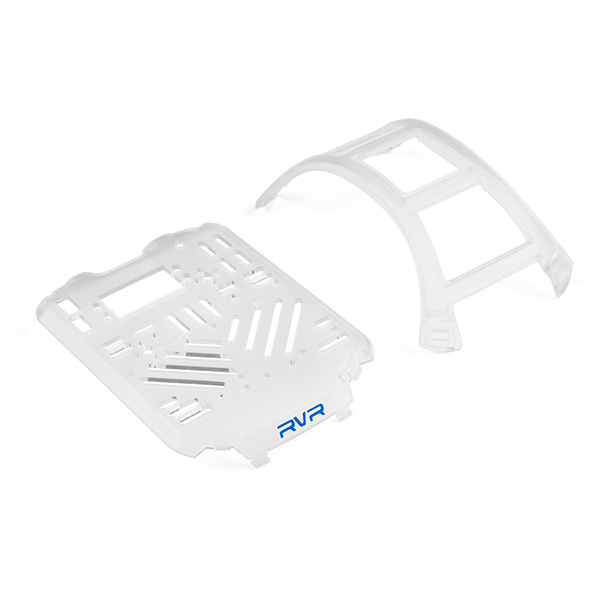
With all of that in mind there was only one option: modify the stock topper plate of the RVR to mount the Jetson Nano.
Planning for Mounting Holes
Before just going at it with a drill and making a few holes here and there, I wanted to be sure that I had all of the clearances needed underneath the build plate. I also needed to figure out what I would need to modify further so that I would have access to the UART/USB port of the RVR for hookup later.
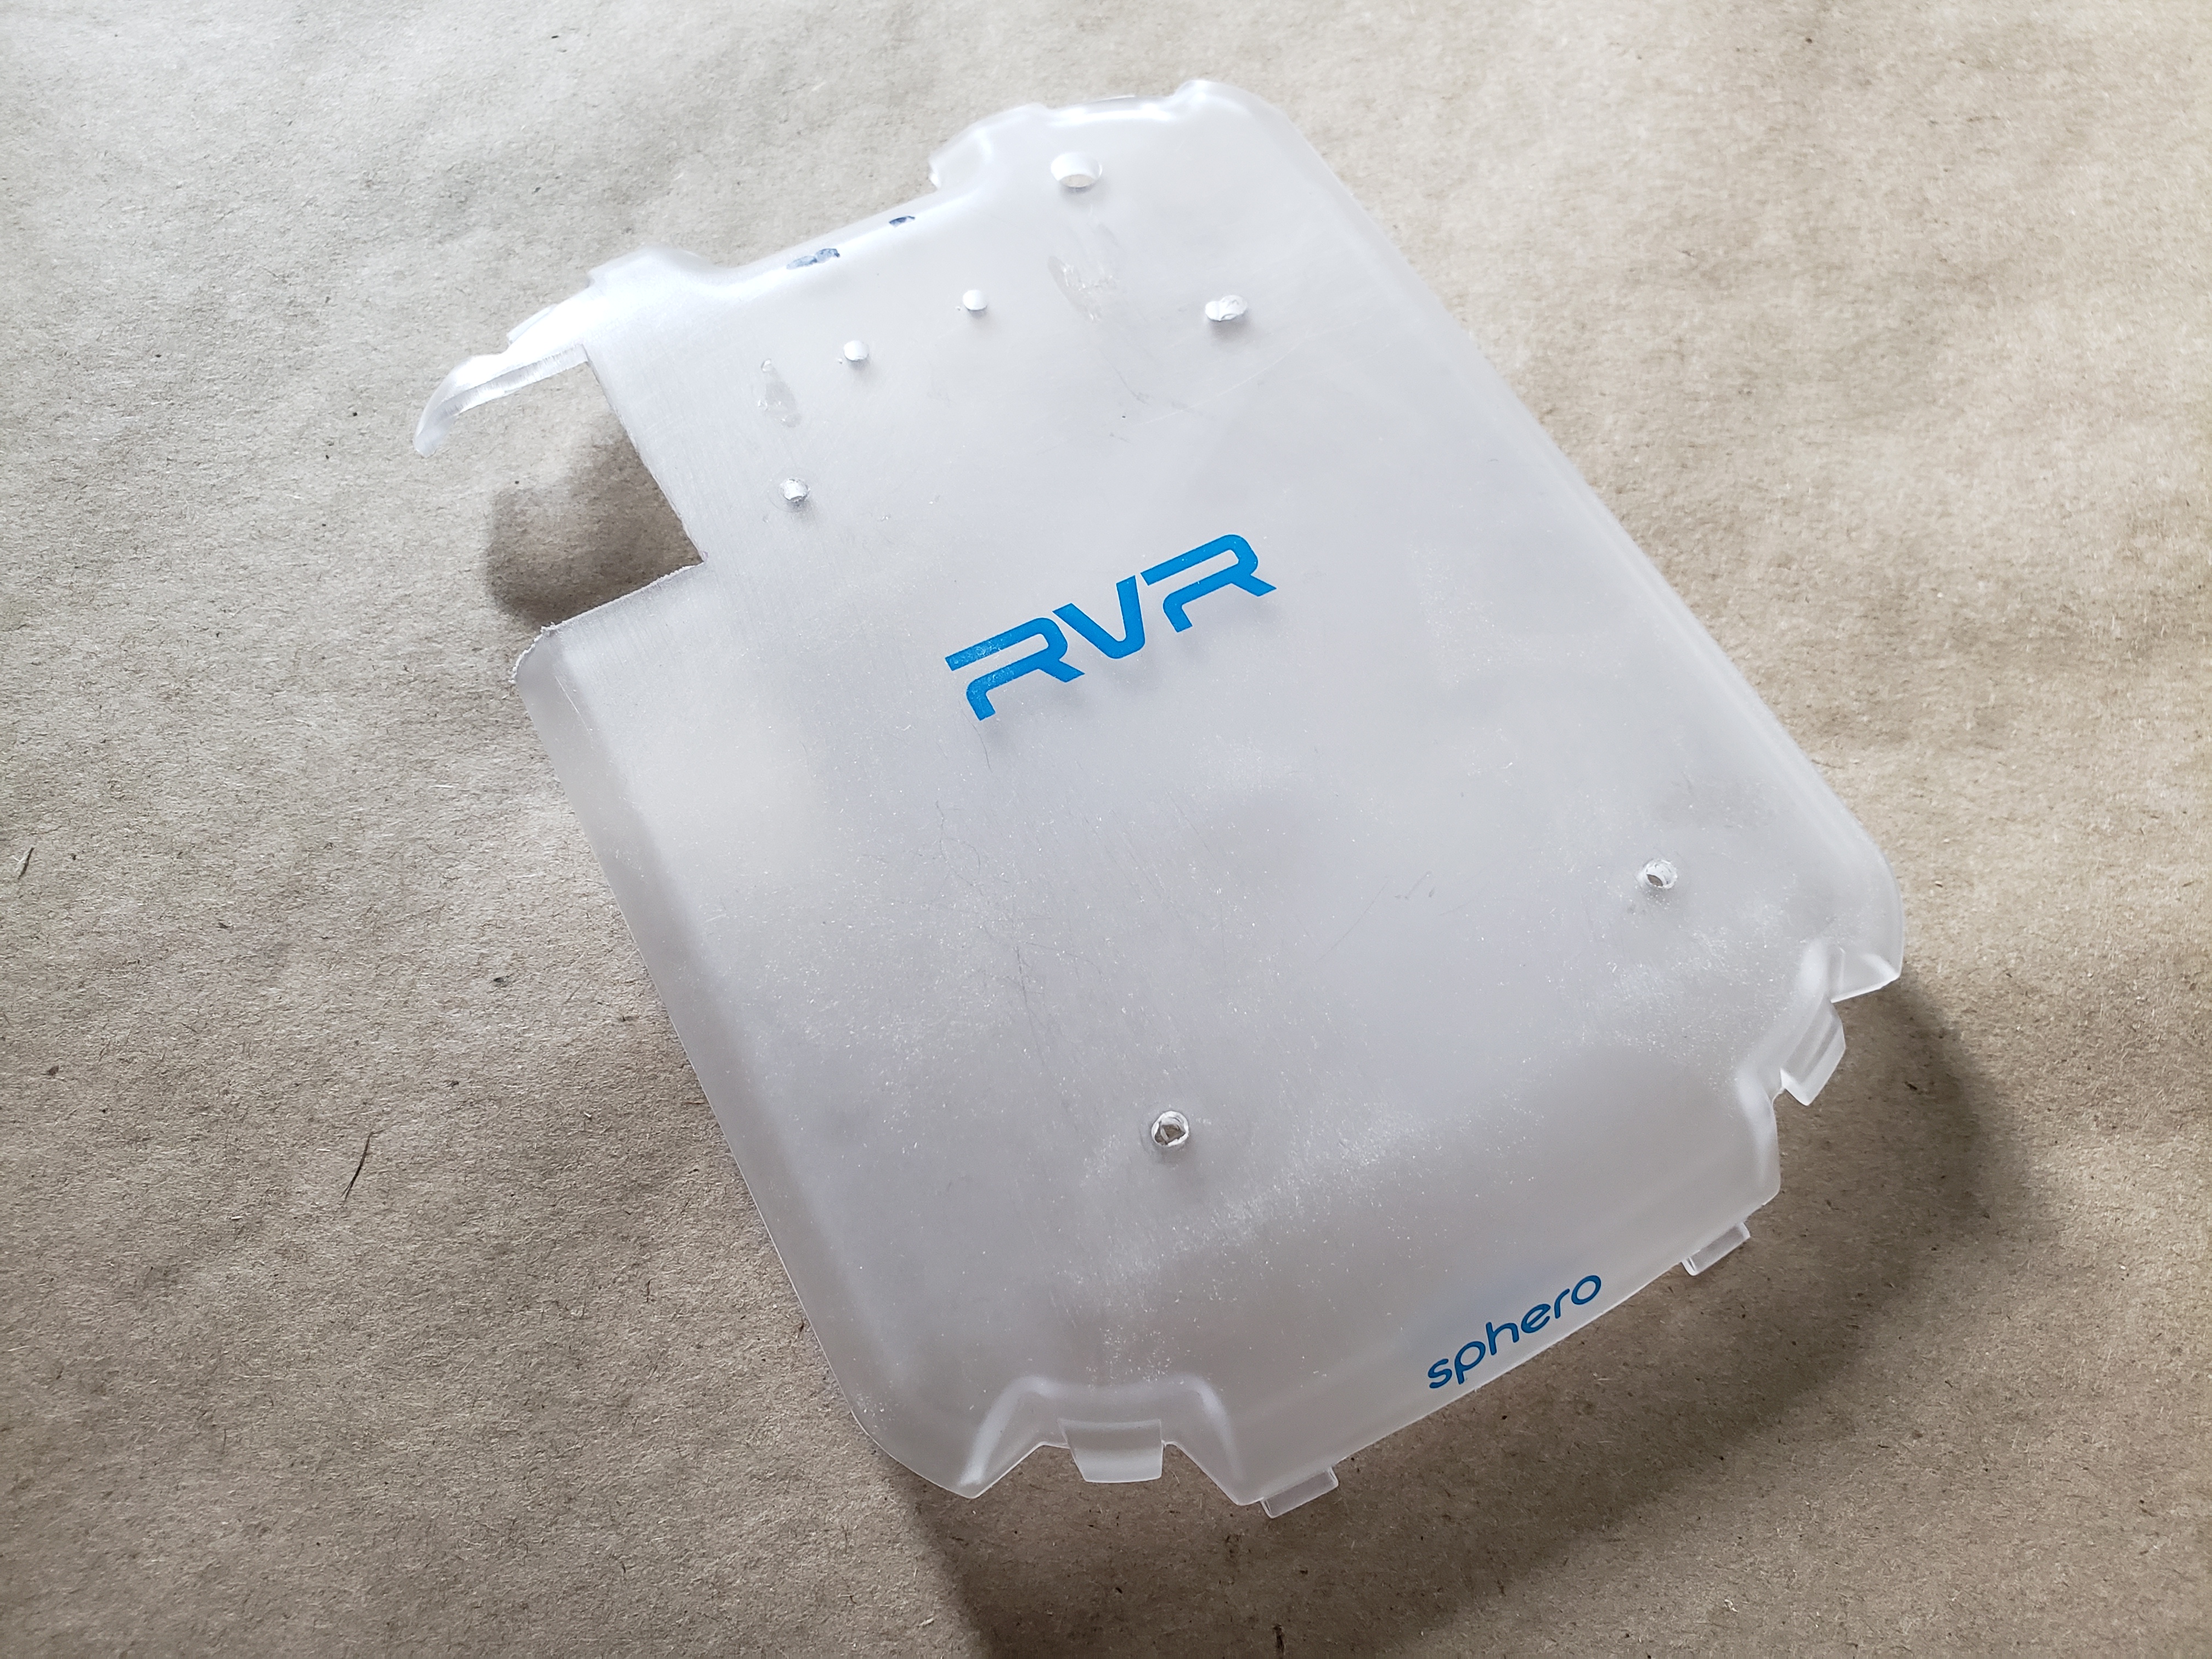
I placed the Jetson Nano on the topper where I wanted it, and using an awl, I carefully marked the locations of the four mounting holes. You can do this with a super fine tip sharpie as well. I used an awl so that the small mark would be used as a pilot for when I drilled the four mounting holes later.
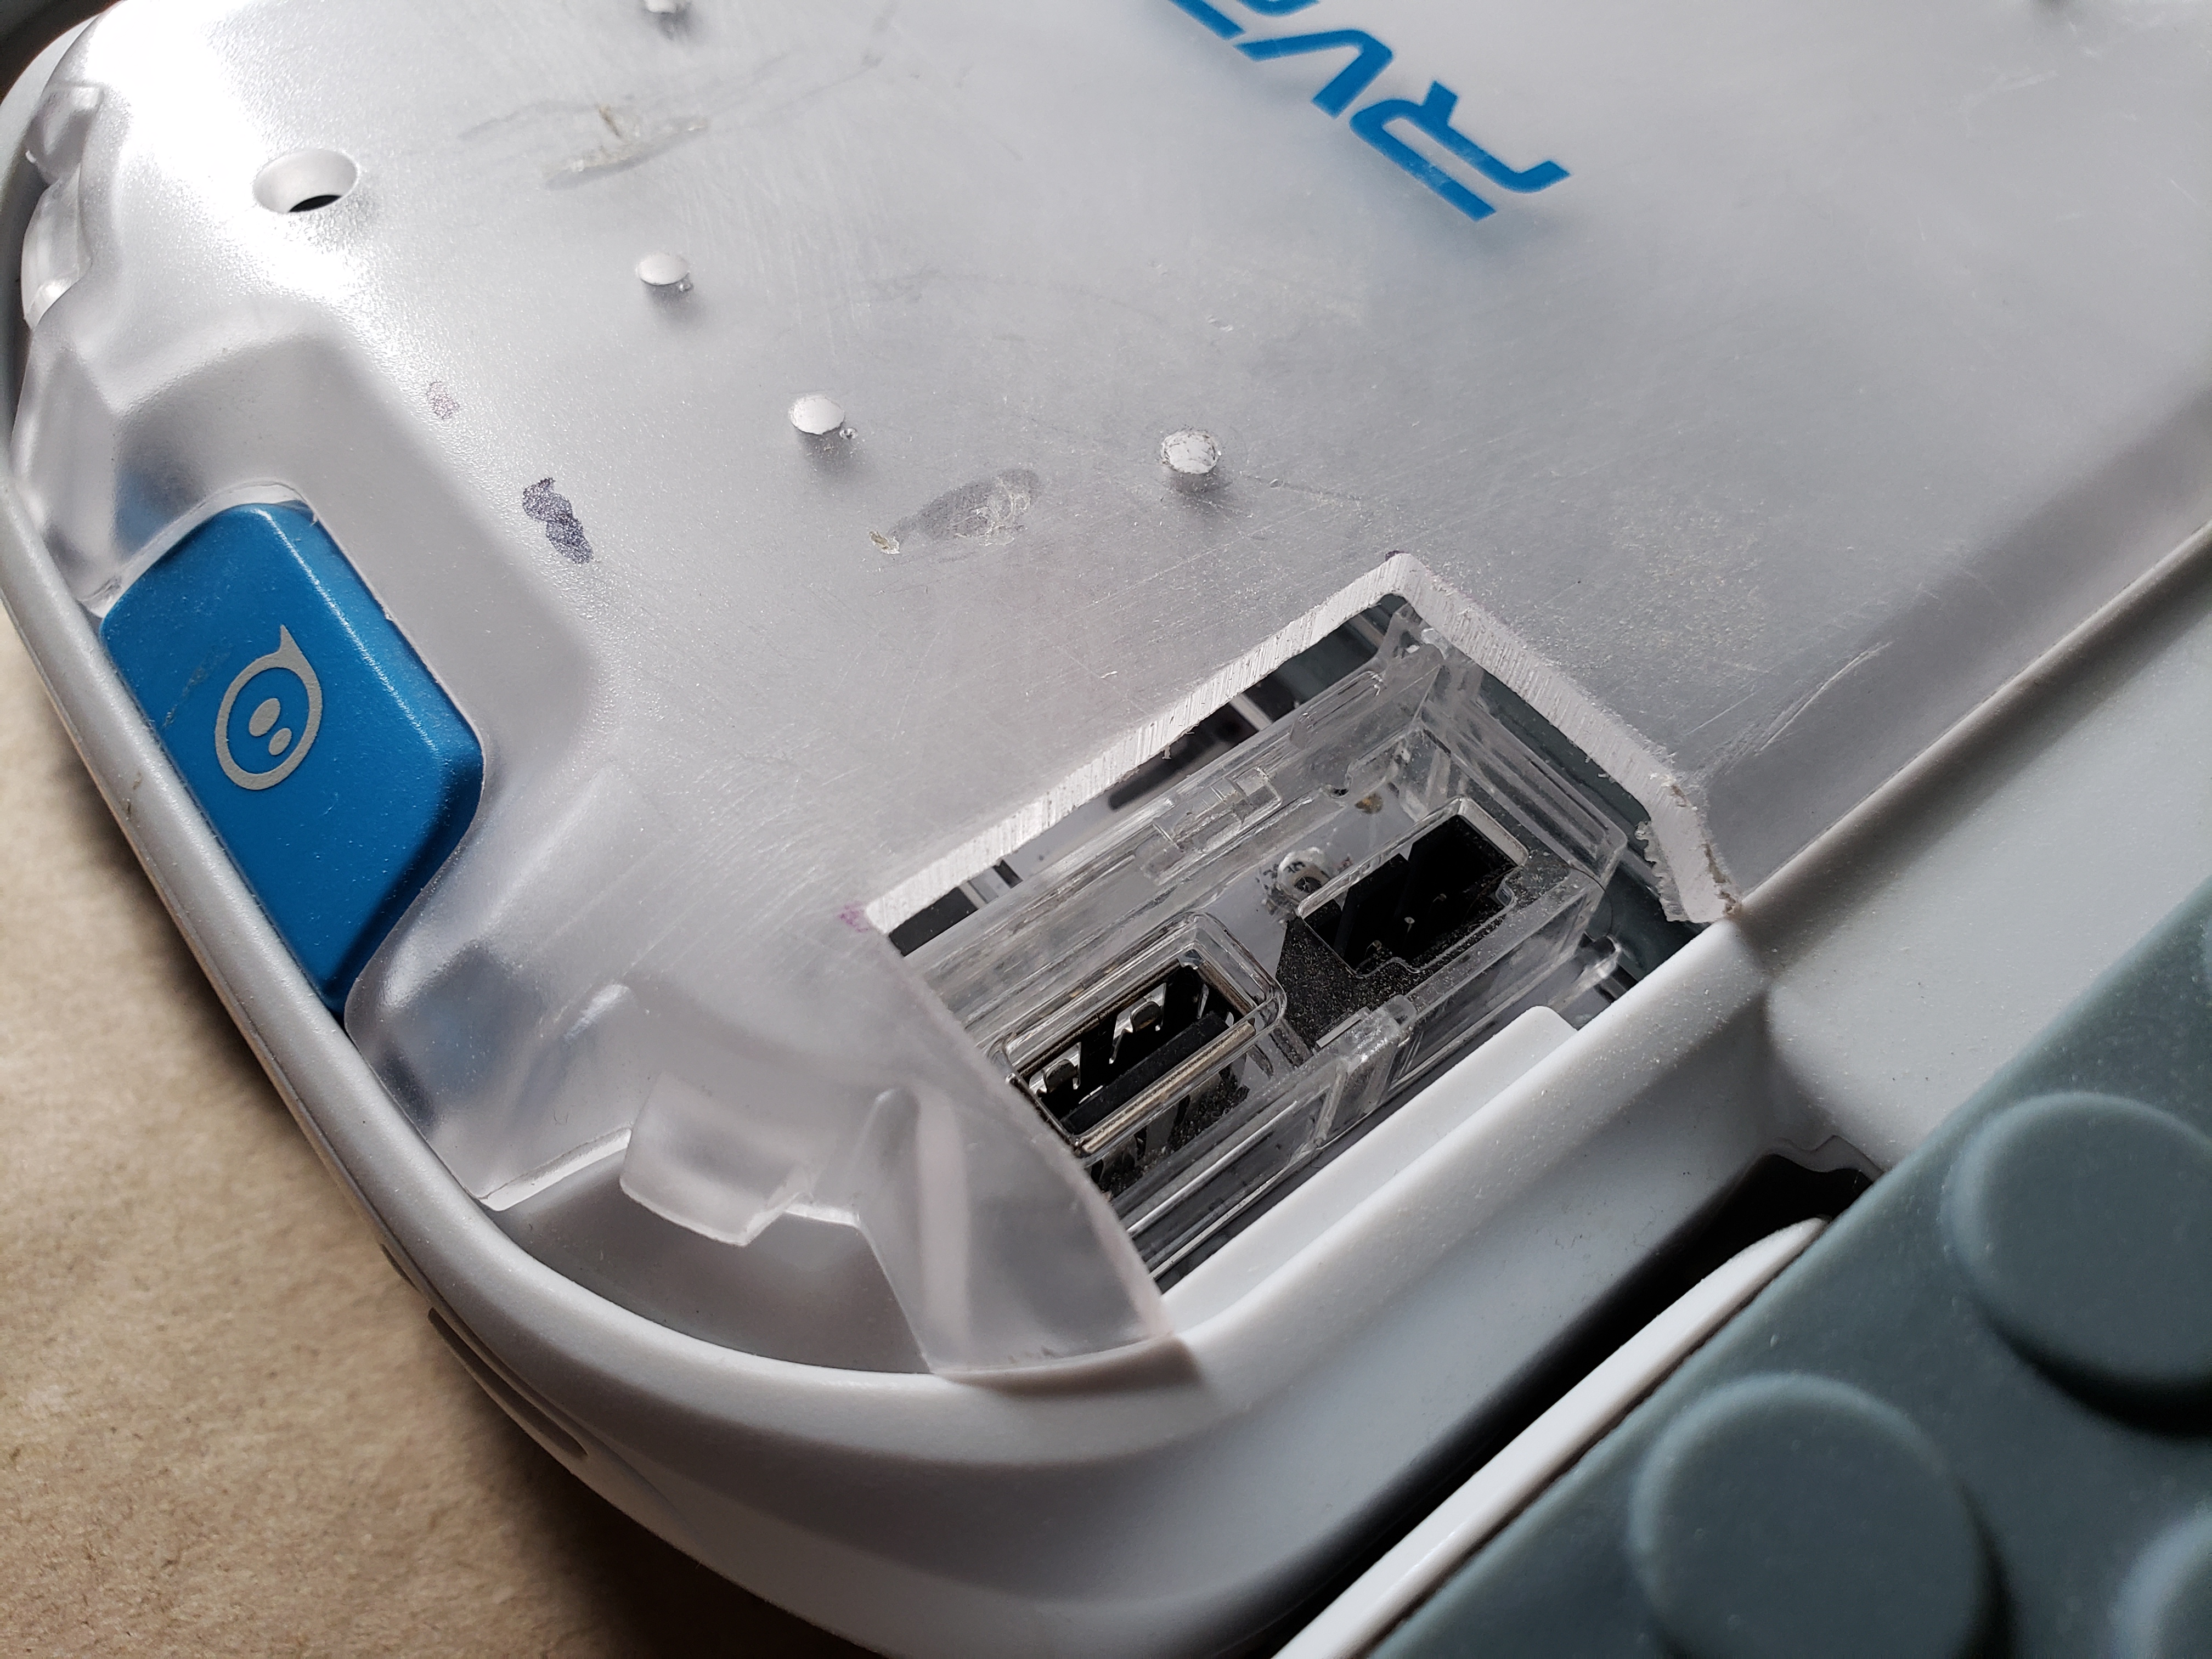
Serial / USB Port Access
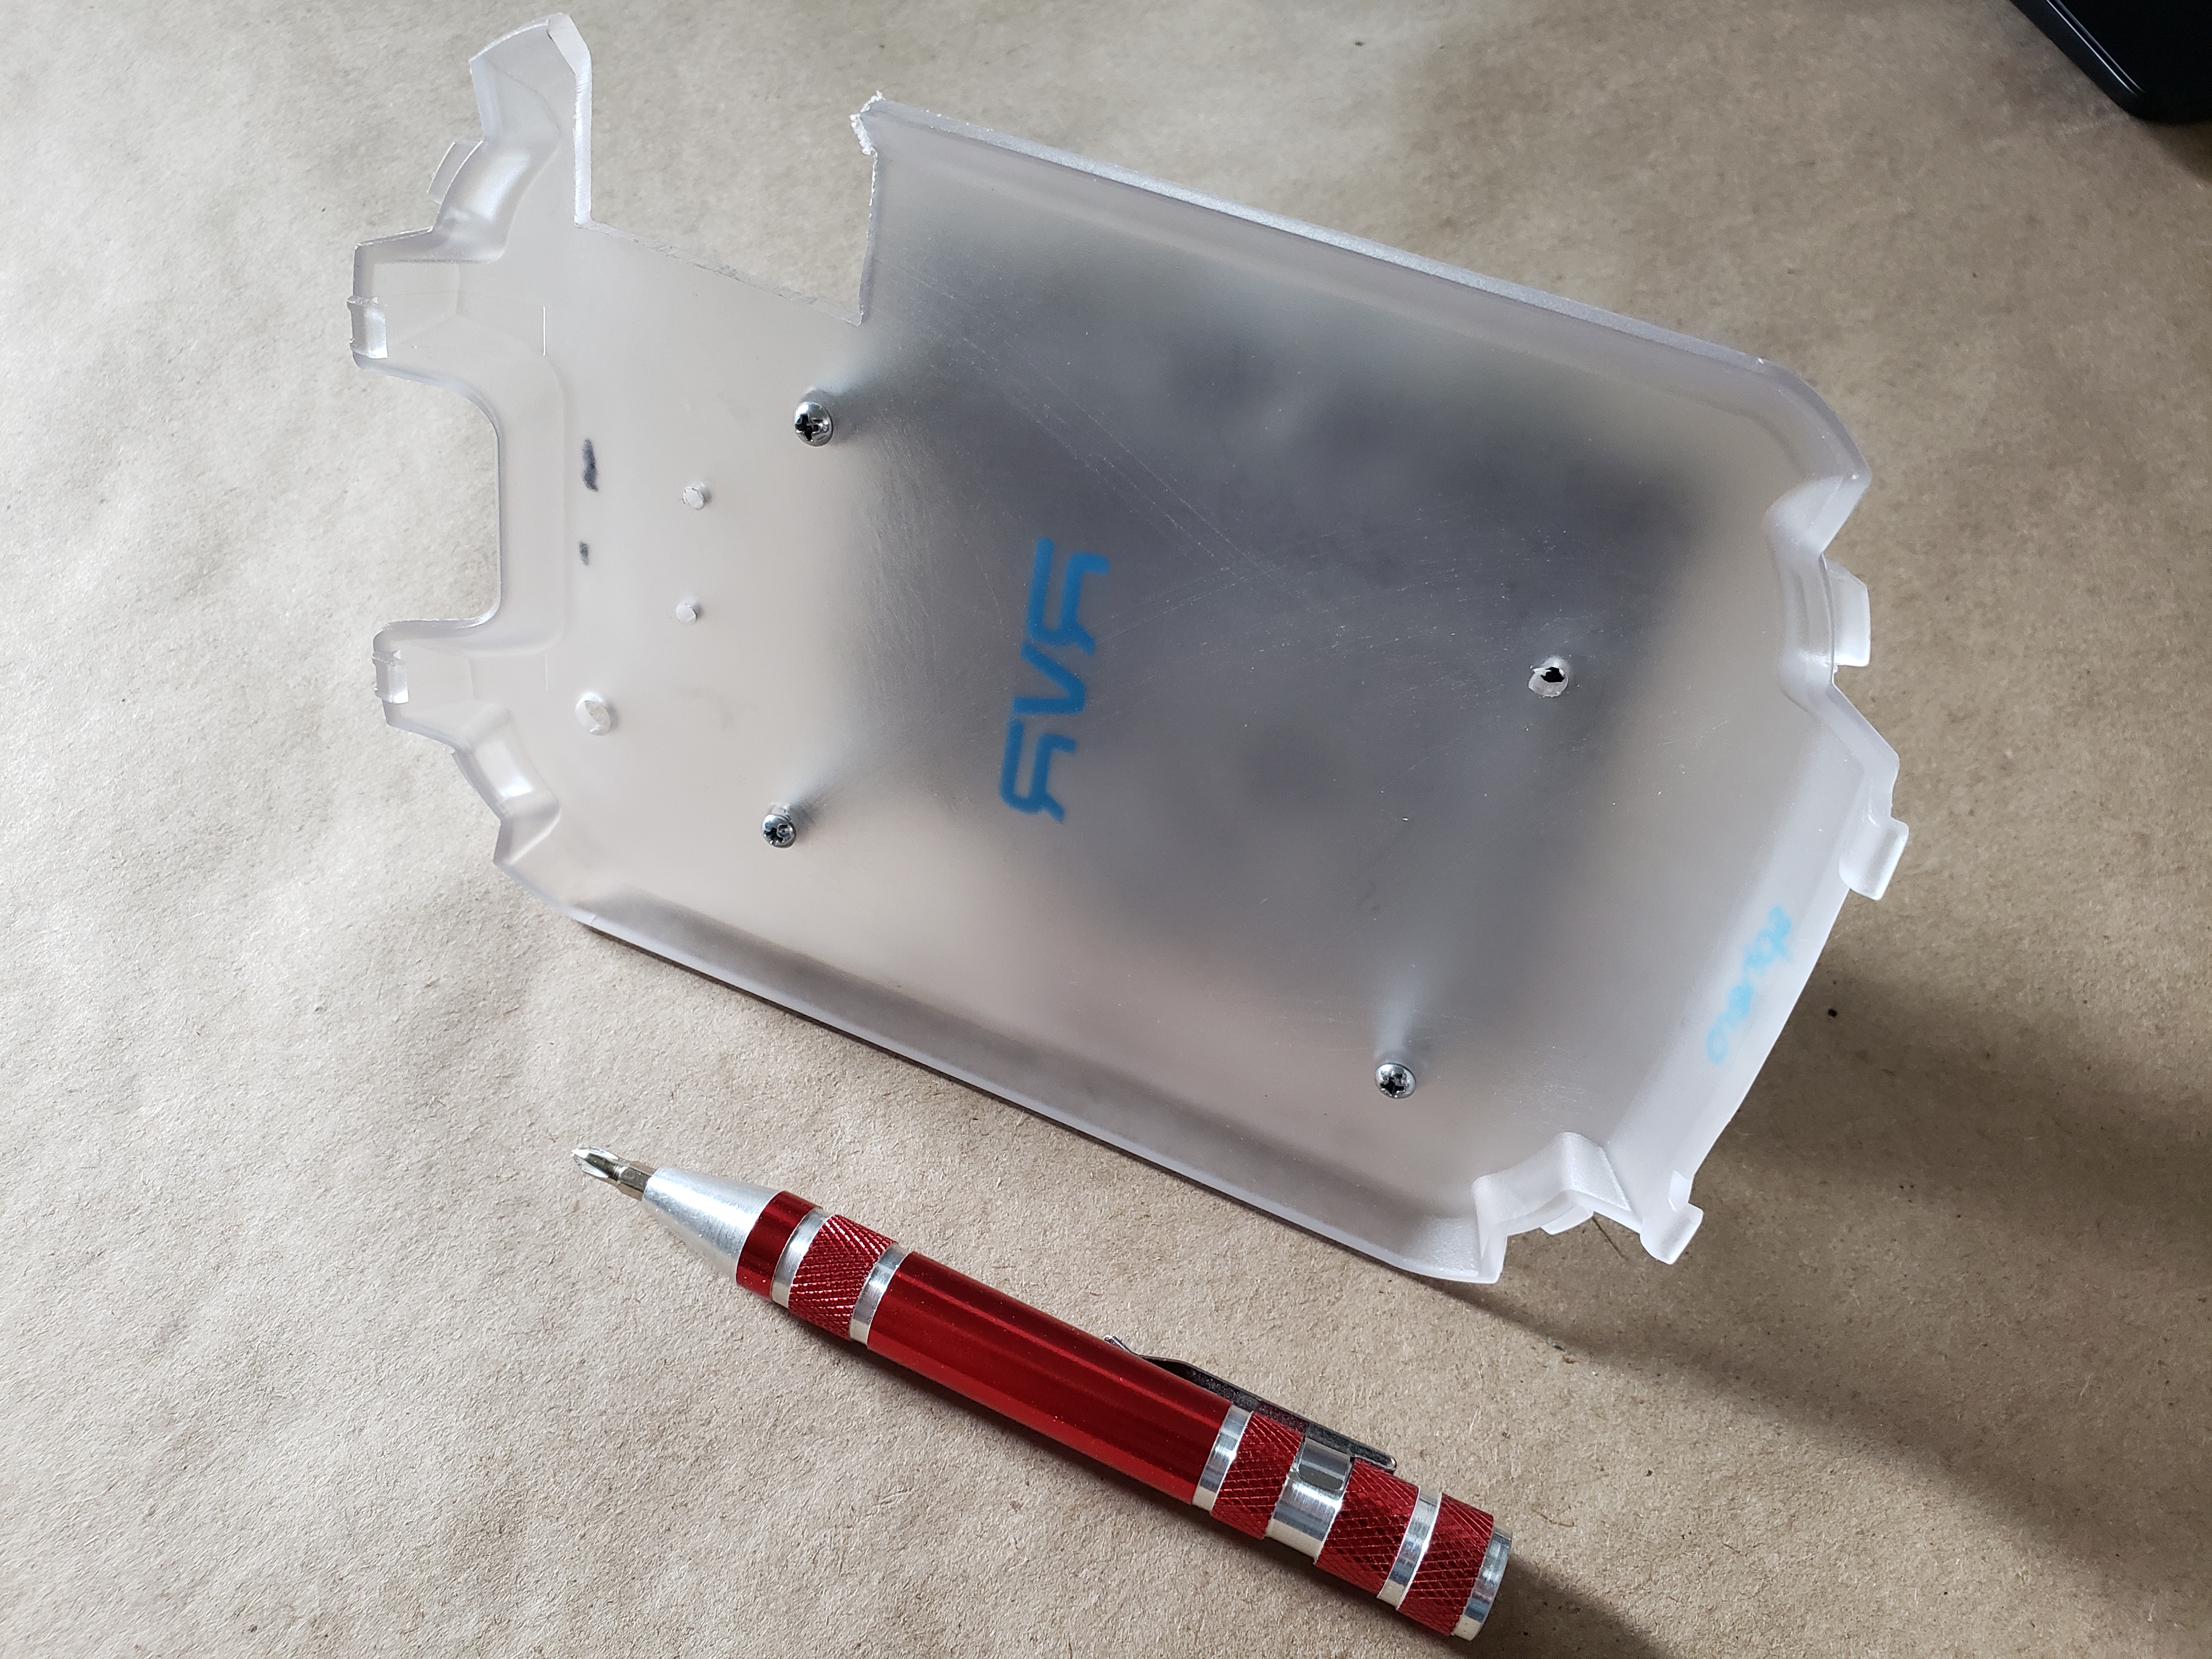
One of the downsides of using the basic topper plate for this project is that it doesn’t have any access to the USB / UART ports on the RVR. So, I had to make my own! With the plate mounted to the RVR, I could see the port through the translucent plastic and needed to cut that section of the topper away to have access to the port.
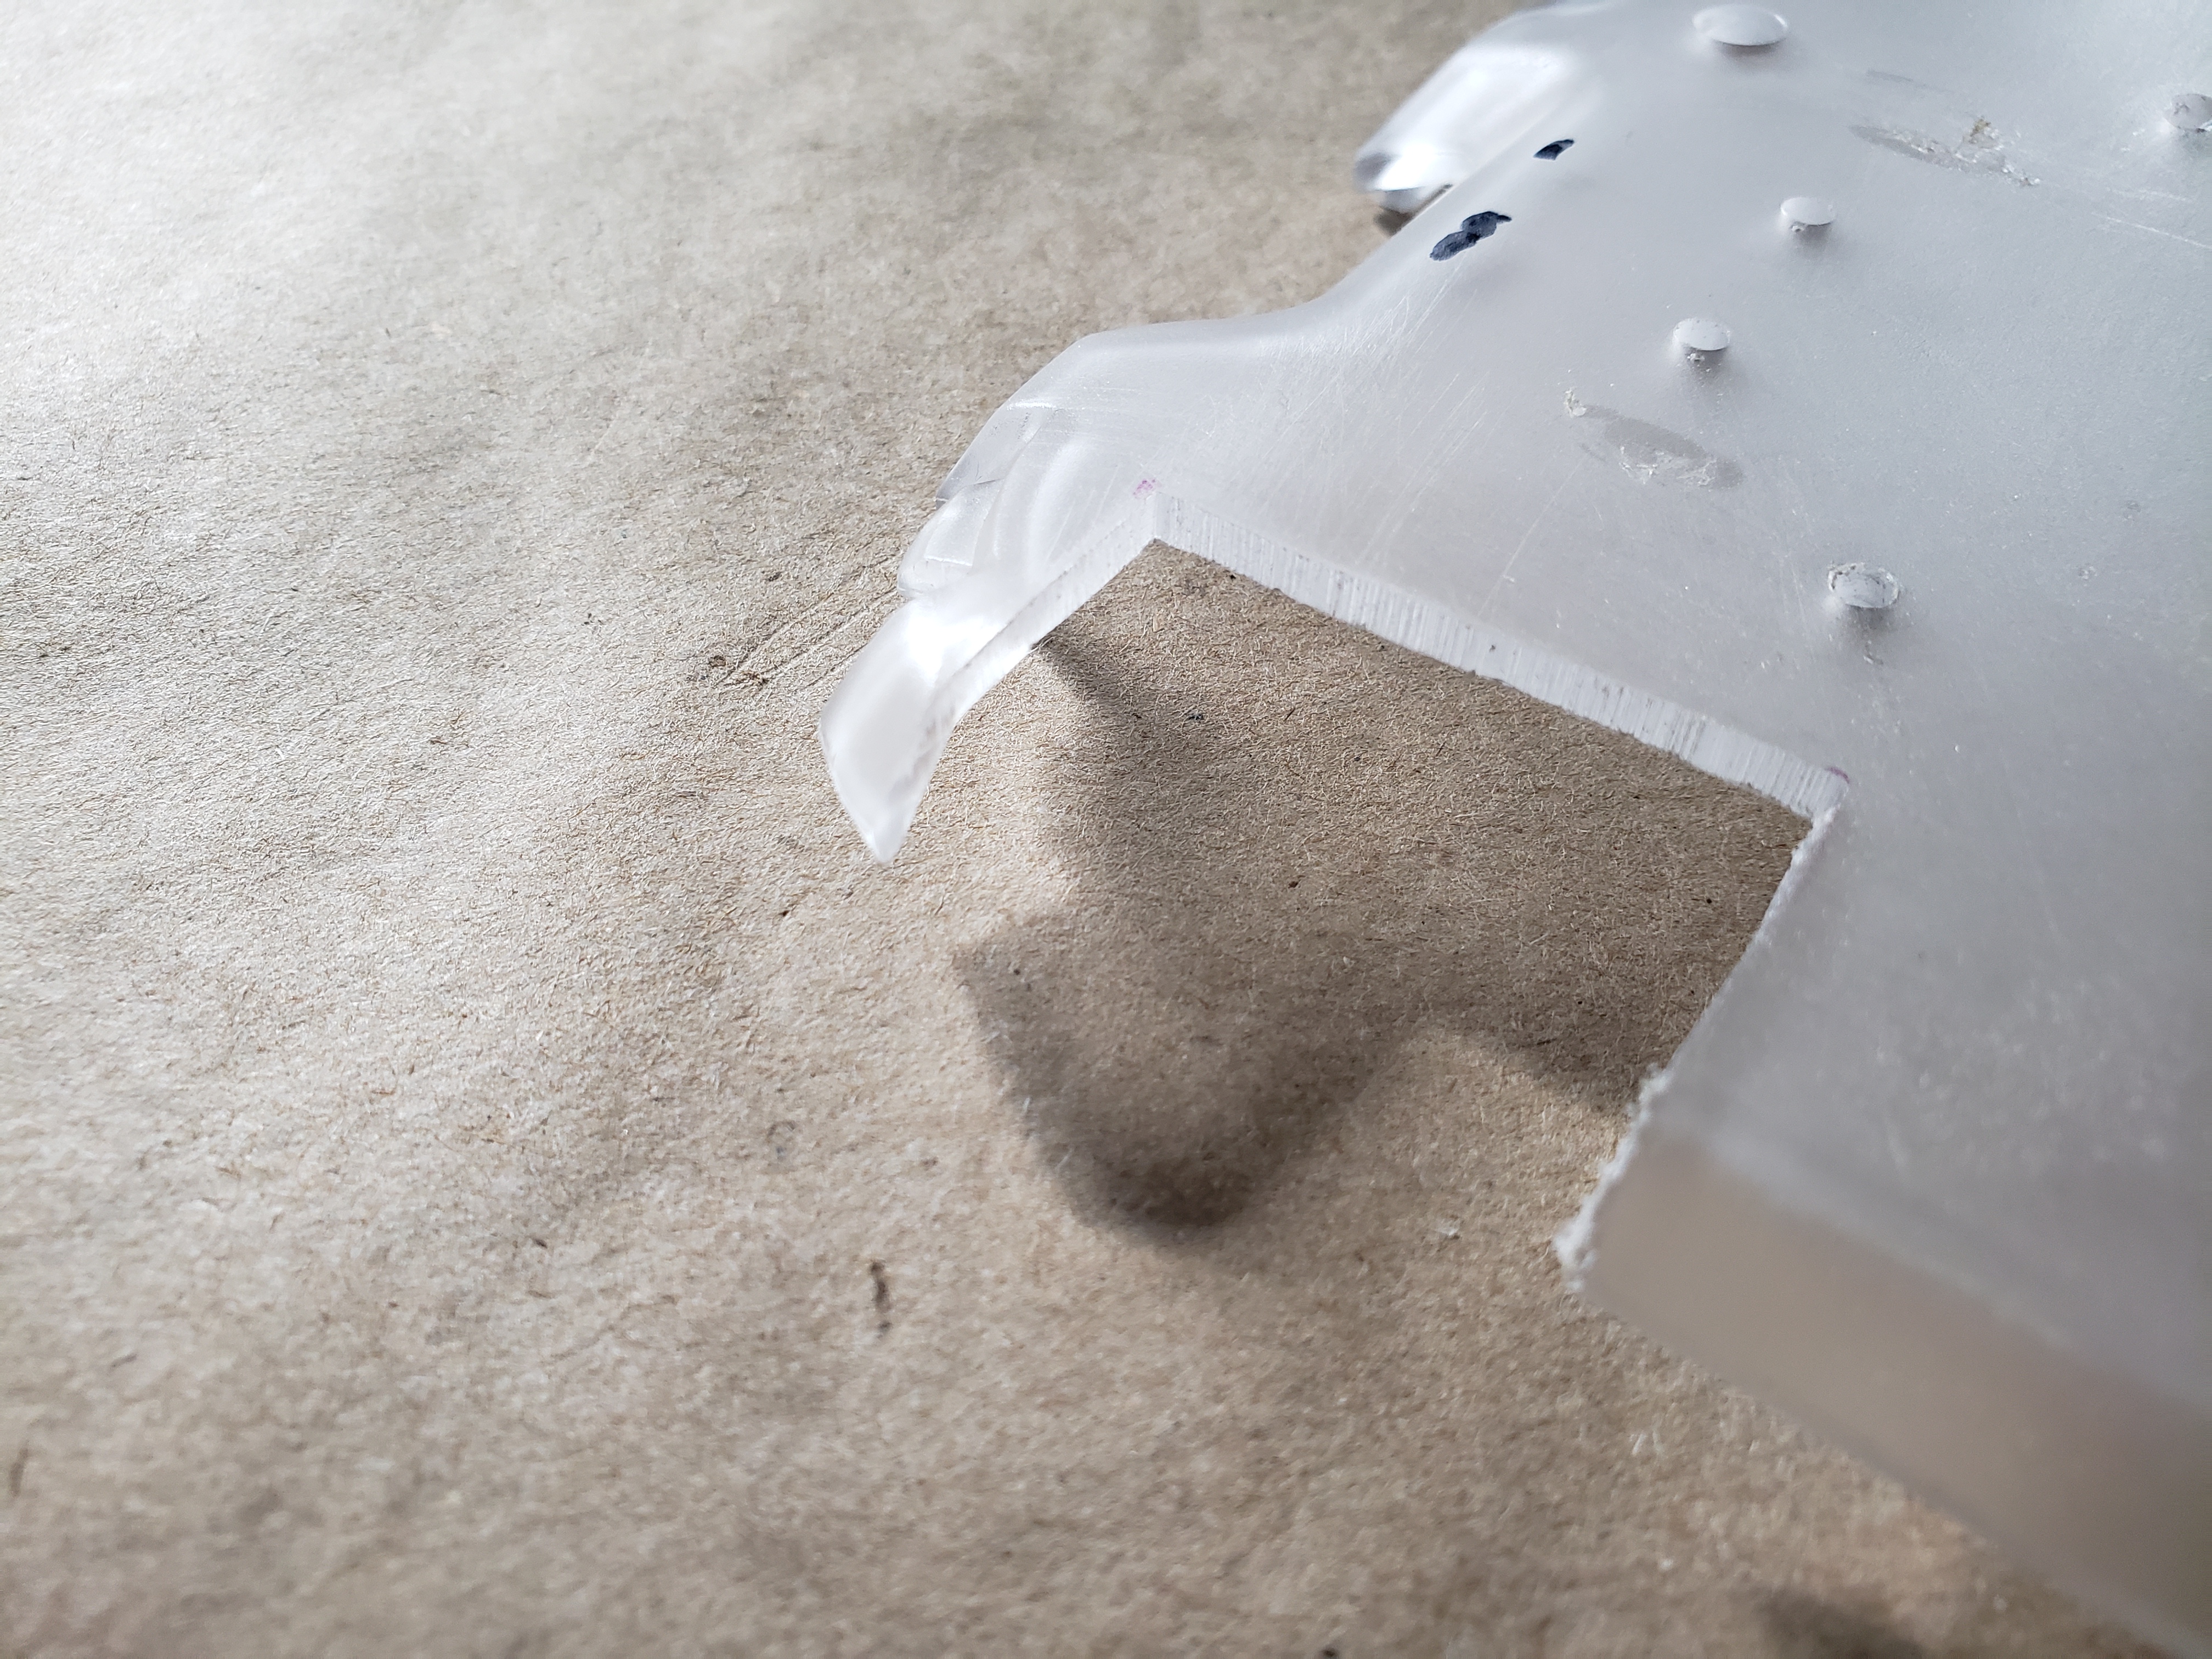
I marked the corners as best as I could and then, using a sharpie, drew a box using the dots as my inside corners of the rectangle that I would cut out using my bandsaw. The final product isn't perfectly square, but it doesn’t need to be!
I then cut away the area for the UART access and drilled the four mounting holes using my drill press.
Adding the Nano
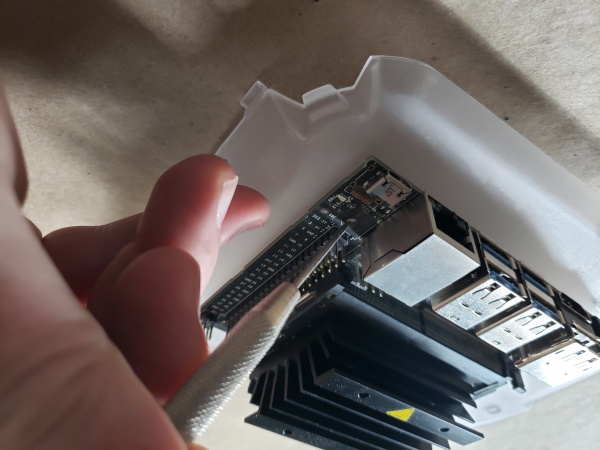
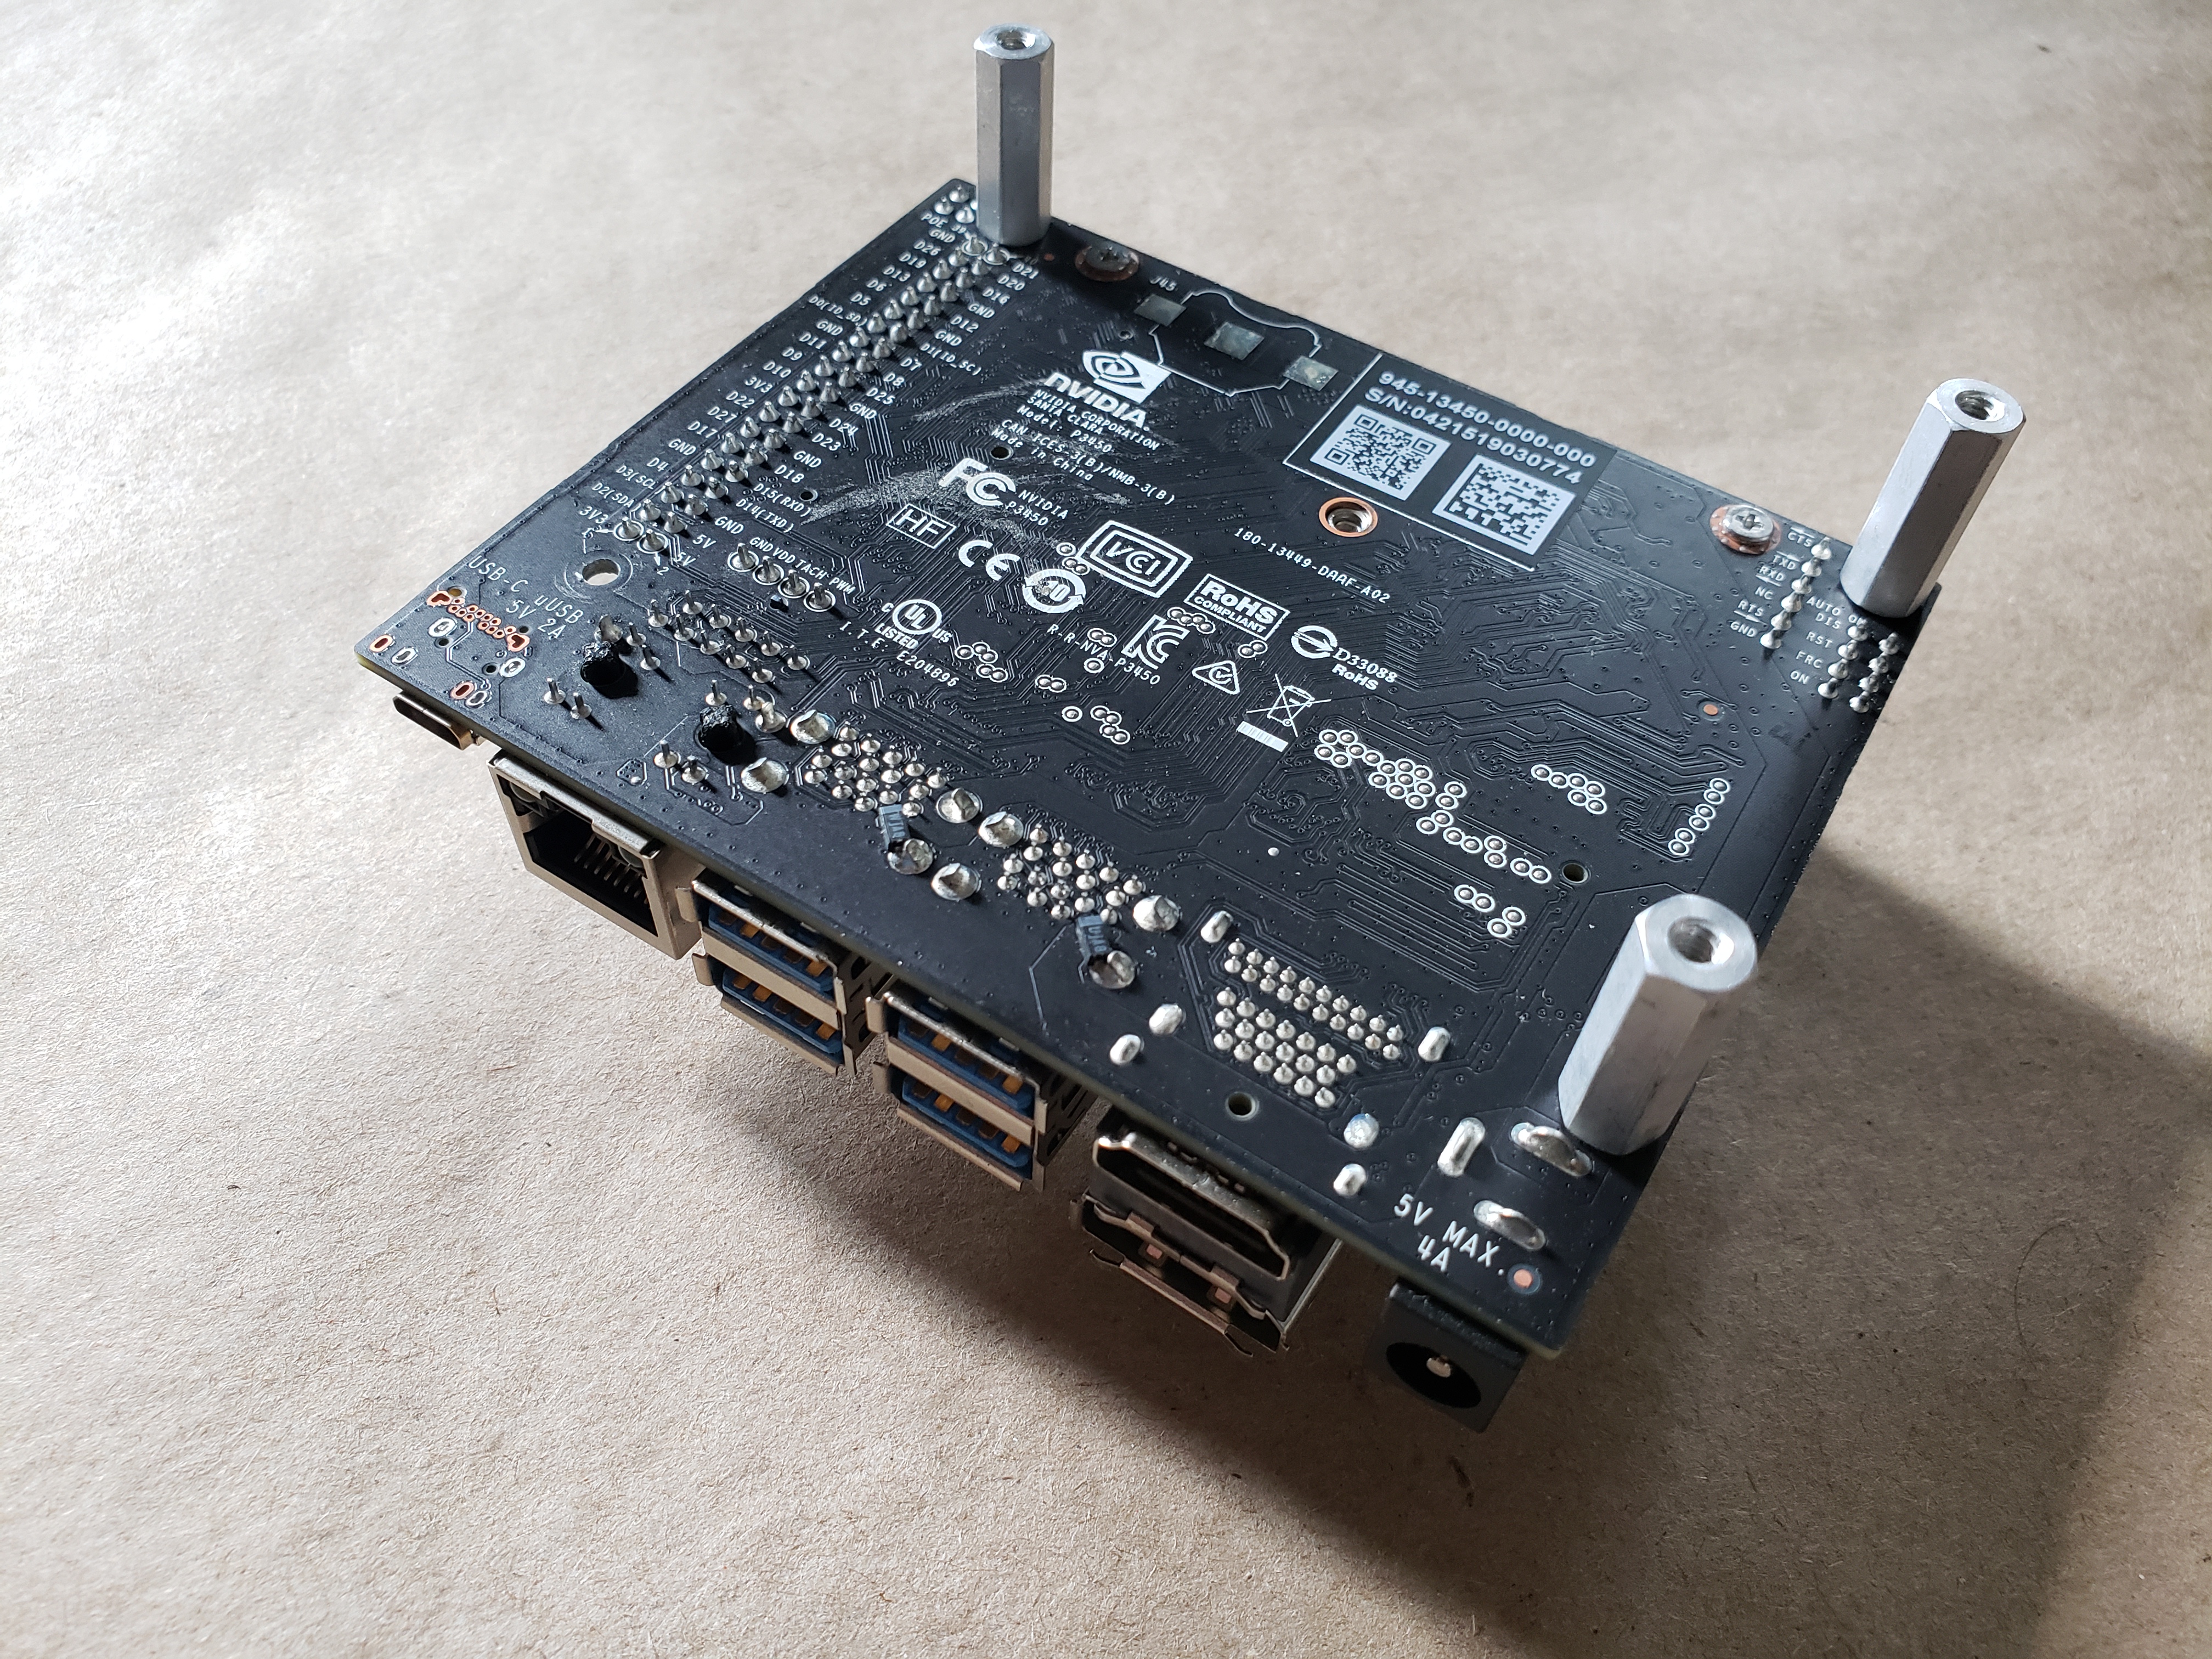
With the holes drilled in the topper plate it was now time to mount the Jetson Nano to it.
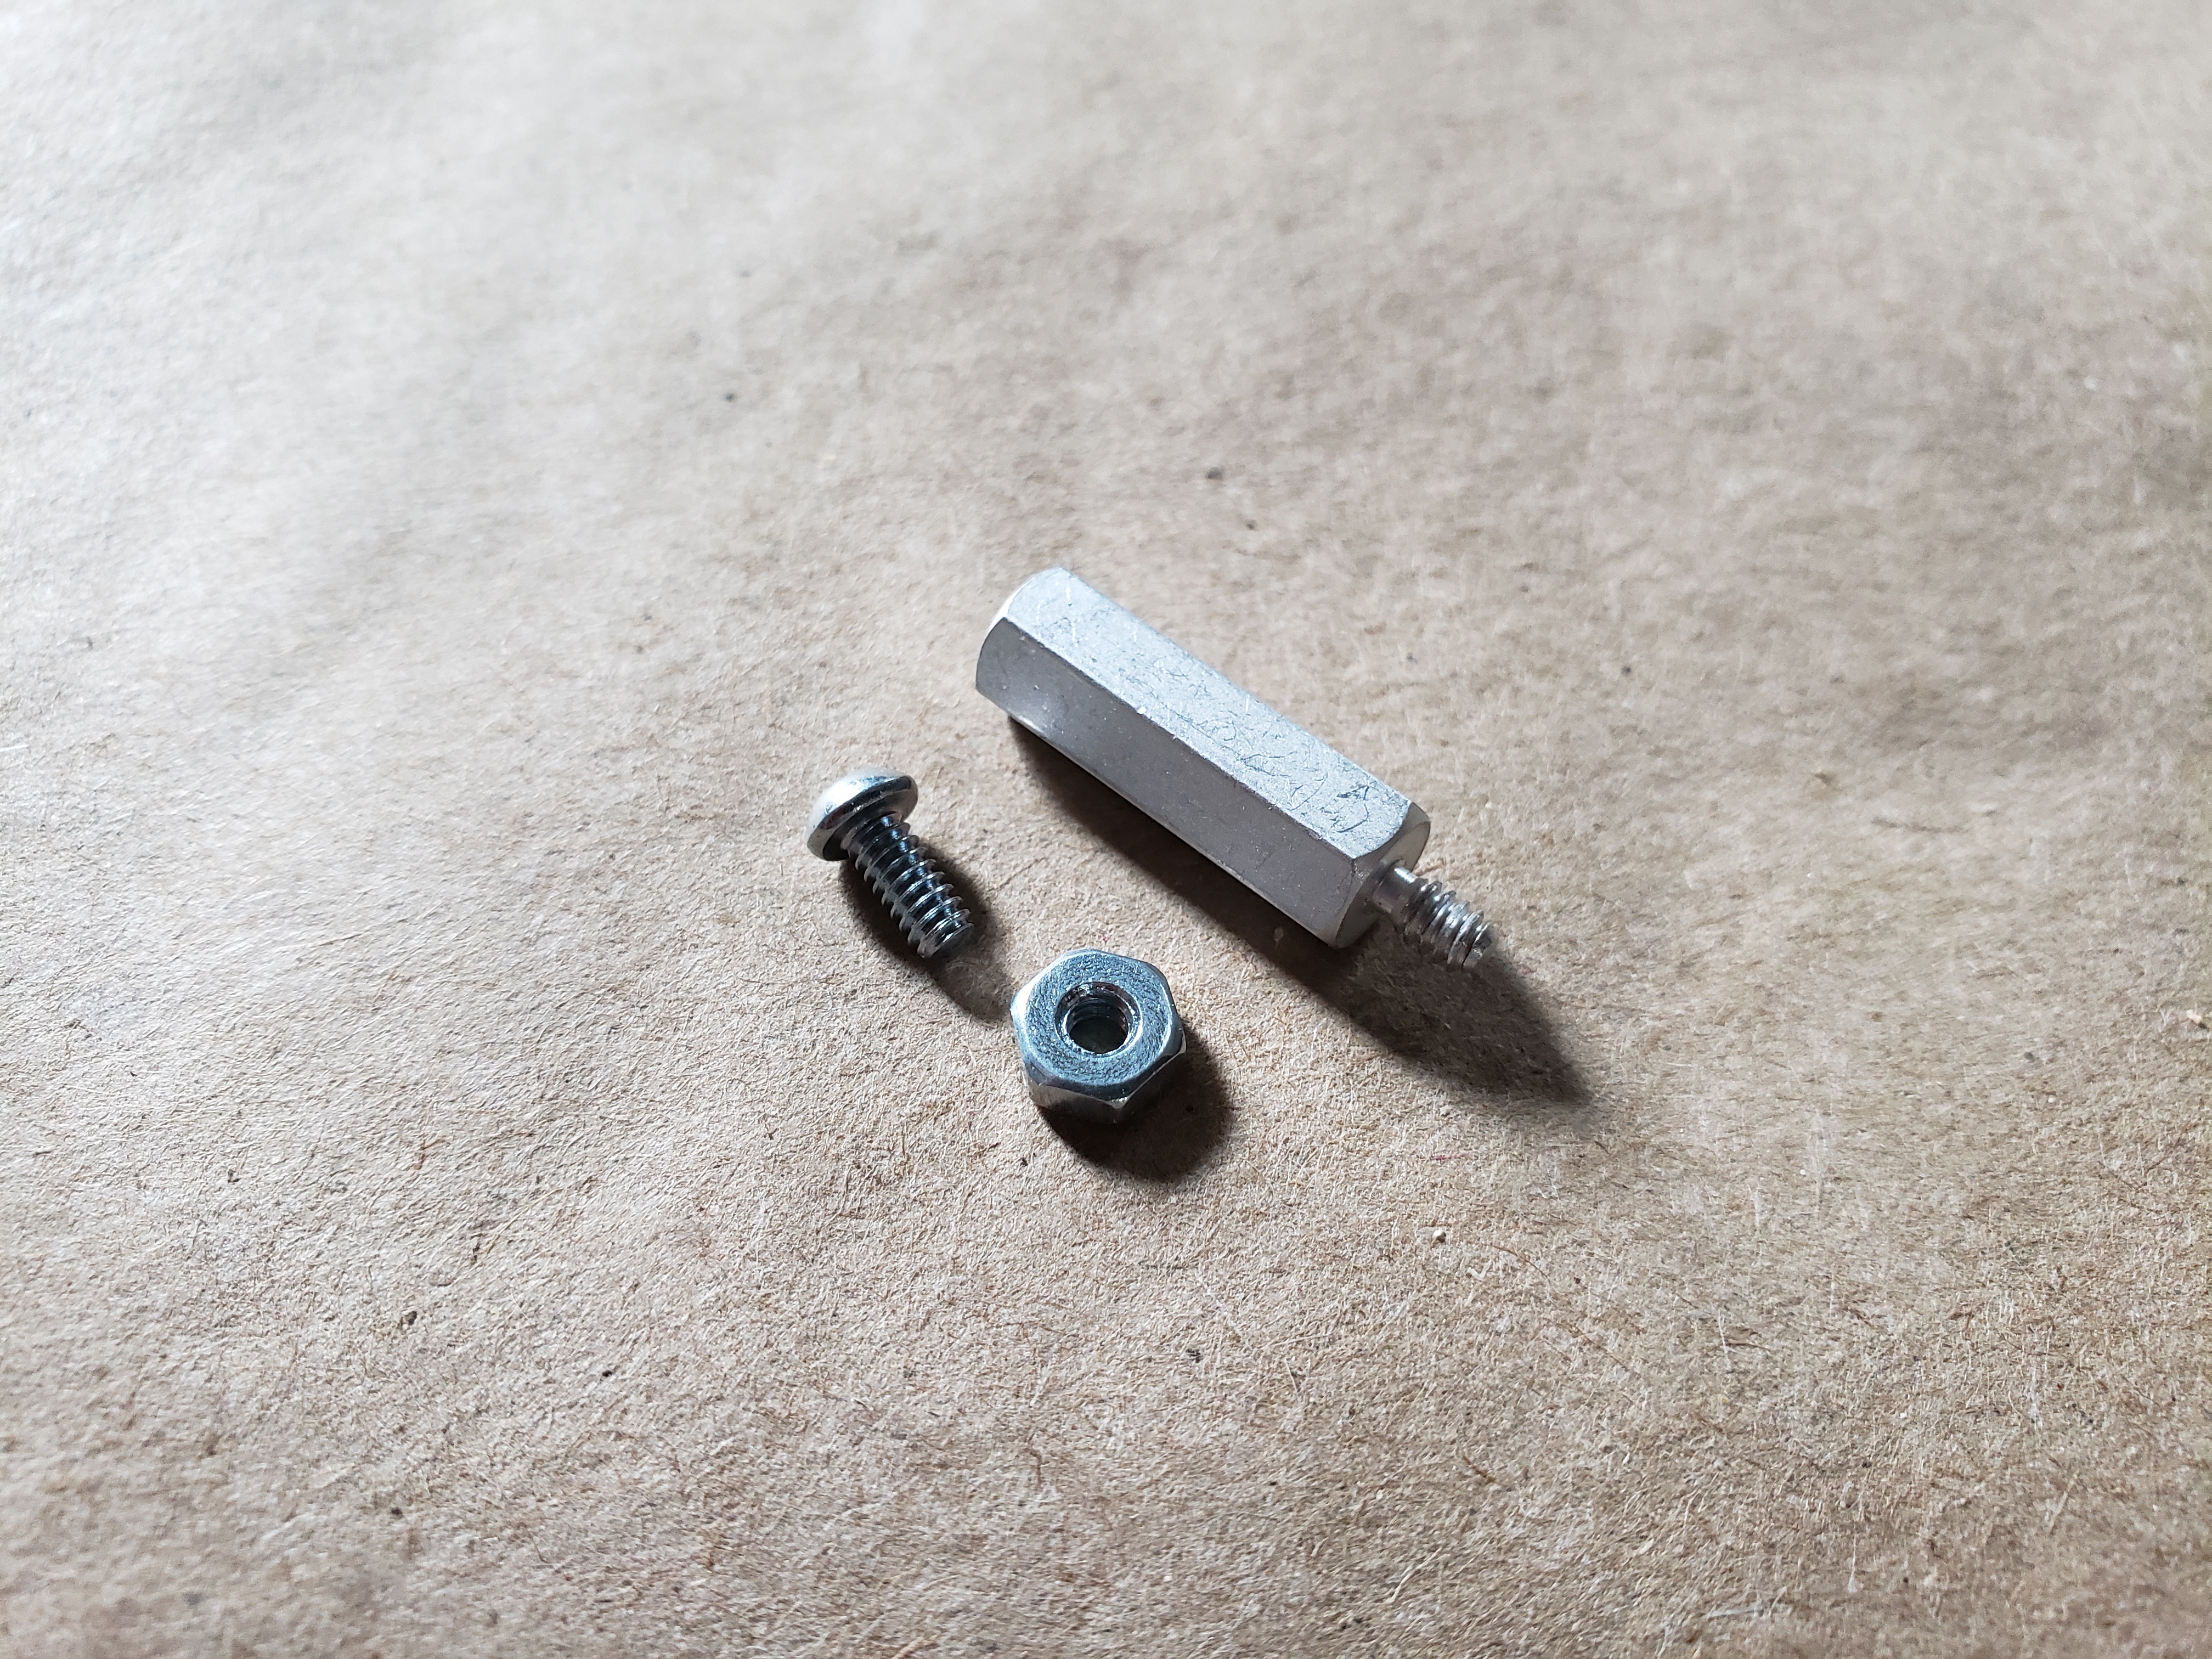
I used the aluminum standoffs from the Autonomous RVR Topper Kit as they give enough height to slide the battery bank under the Developer Kit.
My first inclination was to use a nut from the bottom of the topper plate and use screws from the top so that I could quickly and efficiently remove the Jetson Nano from the topper place without accessing the bottom, but the thickness of the topper plate become an issue for the stud length of the standoff. Instead, I used the screws to come up from the bottom and used nuts to hold the Developer Kit down.
With the Dev Kit mounted to the topper plate I checked the fit with the RVR. Everything seemed to fit just fine and I took a nail file to the edges that I cut in the plate to smooth them out a bit.