How to Use Remote Desktop on the Raspberry Pi with VNC
Enable VNC
You will need to interact with your Pi in order to turn on the VNC server. To do this, you have several options:
- Connect a keyboard, mouse, and monitor. Click the Terminal icon on the top left of the desktop to open a terminal window.
- Follow these instructions to open a terminal window over a Serial connection.
- Follow these instructions to open a terminal window using SSH over Ethernet
- Follow these instructions to open a terminal window using SSH over WiFi
(Optional) Install RealVNC
By default, Raspbian should come with a VNC server (RealVNC) installed. If you are using another operating system, you might need to install RealVNC. With most flavors of Debian (e.g. Raspbian is built on top of Debian), you should be able to use apt-get to install RealVNC. In a terminal, enter the following:
language:shell
sudo apt-get update
sudo apt-get install real-vnc-server
sudo apt-get install real-vnc-client
Enable the VNC Server
You will need to go into the Raspberry Pi configuration tool to turn on the VNC server:
language:shell
sudo raspi-config
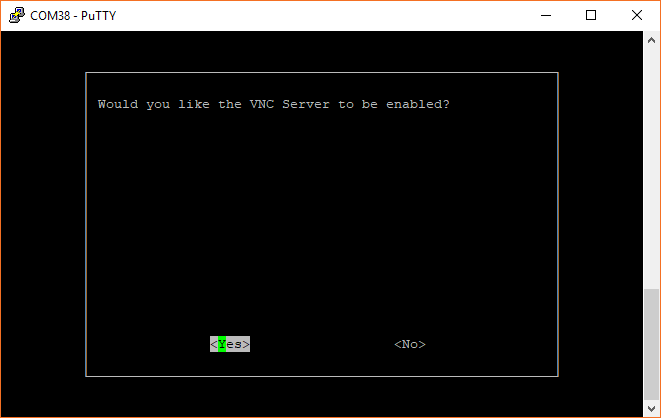
Select Interfacing Option, and then select VNC. On the next screen, select Yes, and press enter to save the changes.
Feel free to make any other changes you might like, including setting a new password and changing the keyboard layout.
Back in the raspi-config homescreen, press right arrow twice to select Finish and press enter.
