Hookup Guide for the Qwiic Motor Driver
Contributors:
Ell C

Resources and Going Further
- Schematic (PDF)
- Eagle Files (ZIP)
- Github (Hardware)
- Github (Arduino Library)
- Serial Controlled Motor Driver DataSheet (PDF)
- Python Module GitHub
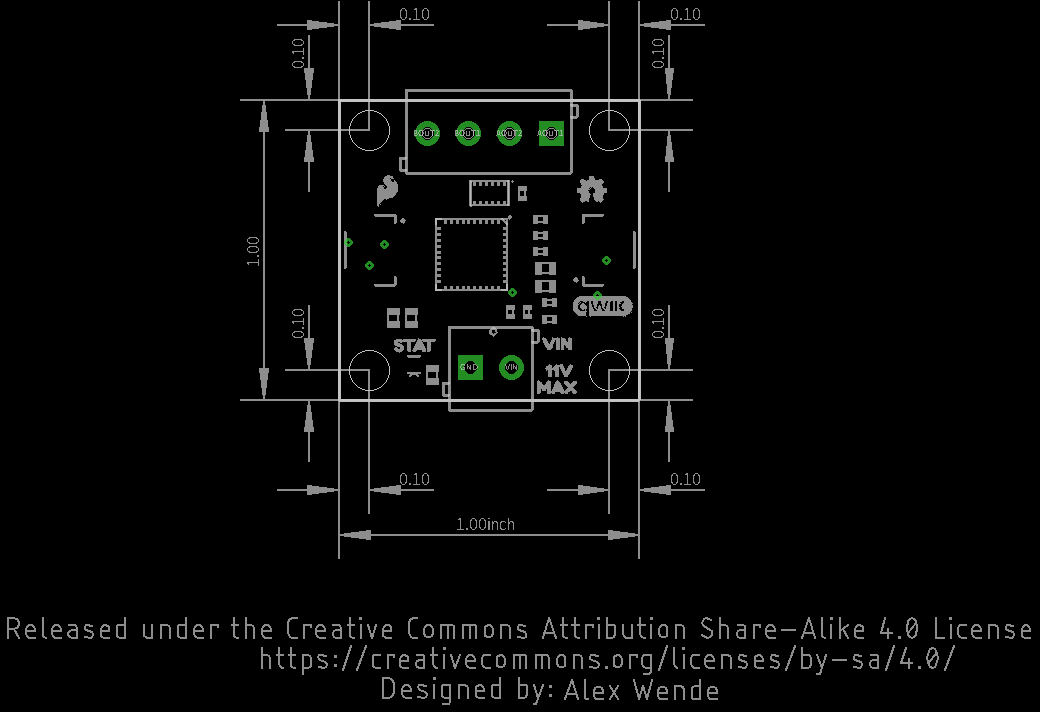
- Qwiic Motor Driver Board Dimensions
Need inspiration? Check out some of the Qwiic or motor related tutorials!
CCS811/BME280 (Qwiic) Environmental Combo Breakout Hookup Guide
Sense various environmental conditions such as temperature, humidity, barometric pressure, eCO2 and tVOCs with the CCS811 and BME280 combo breakout board.
AVR-Based Serial Enabled LCDs Hookup Guide
The AVR-based Qwiic Serial Enabled LCDs are a simple and cost effective solution to include in your project. These screens are based on the HD44780 controller, and include ATmega328P with an Arduino compatible bootloader. They accept control commands via Serial, SPI and I2C (via PTH headers or Qwiic connector). In this tutorial, we will show examples of a simple setup and go through each communication option.
SparkFun Qwiic Button Hookup Guide
A Hookup Guide for the SparkFun Qwiic Button (Red) and SparkFun Qwiic Button Breakout. Goes over connecting the Qwiic Button to an Arduino microcontroller and using it with the Qwiic Button Arduino library.
SparkFun Top pHAT Hookup Guide
The pHAT to sit above your other HATs. Does that make it the "king" of the pHATs?
This guide will help you get started using the Top pHAT with the Raspberry Pi.
How to Build a Remote Kill Switch
Learn how to build a wireless controller to kill power when things go... sentient.
LilyPad Vibe Board Hookup Guide
The LilyPad Vibe Board is a small vibration motor that can be sewn into projects with conductive thread and controlled by a LilyPad Arduino. The board can be used as a physical indicator on clothing and costumes for haptic feedback.
Wireless Motor Driver Shield Hookup Guide
Get started with the SparkFun Wireless Motor Driver Shield!
Assembly Guide for SparkFun JetBot AI Kit V2.0
Assembly Guide for the SparkFun JetBot AI Kit v2.0. This tutorial includes photos & comments to assemble the two-layer chassis & additional components unique to the JetBot kit.
Or check out this blog post for some ideas.