Haptic Motor Driver Hook-Up Guide
Introducing the Haptic Motor Driver
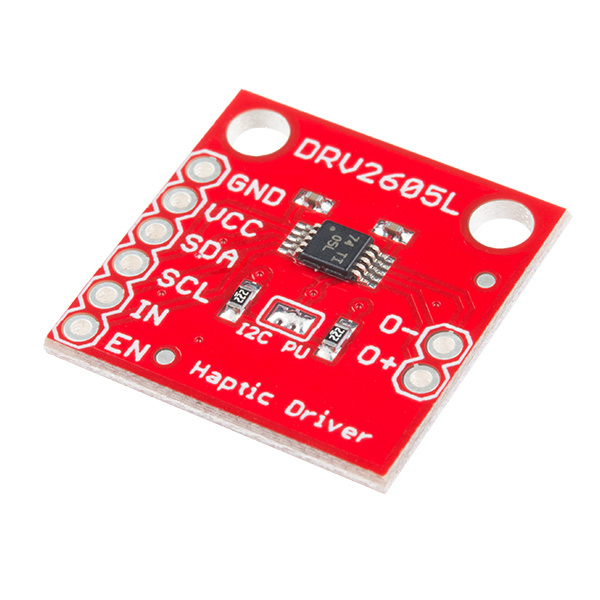
Ready to add some good vibes to your project? Look no further than the Haptic Motor Driver. This board breaks out Texas Instruments' DRV2605L haptic motor driver, which has some seriously cool features. Add meaningful feedback from your devices using the Haptic Motor Driver and an Arduino compatible device. This tutorial will get you up and running, or vibing, in no time with the I2C library for Arduino and example projects that give you the hardware setup and the code for various modes of operation.
Features
- Flexible Haptic and Vibration Driver for both ERM and LRA type motors
- I2C Controlled Digital Playback Engine
- Audio to Vibe
- PWM input with 0% to 100% Duty-Cycle Control Range
- Hardware Trigger Input
- Built-in Waveform Sequencer and Trigger
And that is just to name a few. See the DRV2605L datasheet for a complete list.
Required Materials
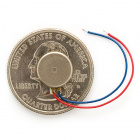
You'll need a handful of extra parts to get the Haptic Motor Driver up-and-running. Below are the basic components used in this tutorial, if you want to follow along.
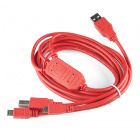
SparkFun Cerberus USB Cable - 6ft
CAB-12016A microcontroller that supports I2C is required to communicate with the DRV2605L and relay the data to the user by means of vibration. The SparkFun RedBoard or Arduino Uno are popular options for this role, but just about any microcontroller development board should work. (The firmware examples use an Arduino library, if that serves as any extra motivation to use an Arduino.)
Suggested Reading
The DRV2605L is designed for a handful of uses. The Technical Documents provided by Texas Instruments includes application notes, user guides, literature and blogs. The DRV2605L communicates over I2C. We’ve got a great library to make it easy to use. We’re going to be using a breadboard to connect the breakout board to the RedBoard. If these subjects sound foreign to you consider browsing through these tutorials before continuing on.
