Contributors:
 Toni_K
,
 MTaylor
 Introduction
The Teensy line is a collection of microcontrollers from PJRC based around several different powerful ICs. This basic getting started guide will help you start using the Teensy that's best for your project.
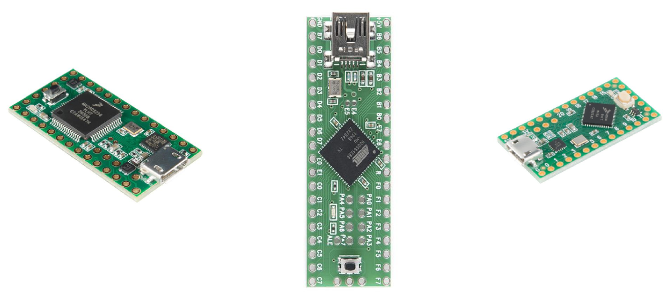
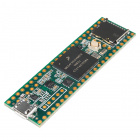
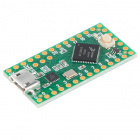
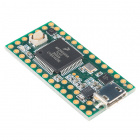
The Teensy 3.1, the Teensy++ 2.0, and the Teensy LC.
Required Materials
To follow along with this tutorial, you will need the following materials. You may not need everything though depending on what you have. Add it to your cart, read through the guide, and adjust the cart as necessary. You will need the appropriate USB cable for the Teensy board with which you are working. The following boards work with the micro-USB cable:
DEV-15583
Teensy 4.0 is the latest Teensy, offering the fastest microcontroller and powerful peripherals in the Teensy 1.4 by 0.7 inch …
DEV-16771
The Teensy 4.1 features an ARM Cortex-M7 processor at 600MHz, four times larger flash memory than the 4.0, and optional locat…
CAB-10215
USB 2.0 type A to Micro-B 5-pin. This is a new, smaller connector for USB devices. Micro-B connectors are about half the heig…
DEV-14057
The Teensy 3.6 is larger, faster and capable of more complex projects, especially with its onboard micro SD card port and upg…
Retired
DEV-14055
The Teensy 3.5 is larger, faster and capable of more projects, especially with its onboard micro SD card port.
Retired
DEV-13305
The Teensy LC is a 32 bit microcontroller board that provides you with an uncomplicated option to get started with Teensy wit…
Retired
DEV-13736
The Teensy 3.2 is a breadboard-friendly development board with loads of features in a, well, teensy package.
Retired
The Teensy++ 2.0 works with the mini-USB cable:
CAB-11301
This is a USB 2.0 type A to Mini-B 5-pin cable. You know, the mini-B connector that usually comes with USB Hubs, Cameras, MP3…
DEV-11781
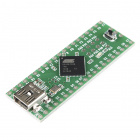
The Teensy++ 2.0 breaks out all of the IO available on the AT90USB1286 to breadboard-friendly 0.1" spaced headers so you can …
Retired
You will also need the appropriate headers for your project. There are several different options available. Below are a few common headers used with the boards.
PRT-17152
These headers are made to work with the Teensy 4.1, Teensy 3.6, and Teensy 3.5 development boards.
PRT-13925
Each kit of headers makes your Teensy 4.0, 3.2, and LC breadboard compatible and will allow for stacking a Teensy and Teensy-…
PRT-00116
A row of headers - break to fit. 40 pins that can be cut to any size. Used with custom PCBs or general custom headers.
PRT-00115
Single row of 40-holes, female header. Can be cut to size with a pair of wire-cutters. Standard .1" spacing. We use them exte…
Tools
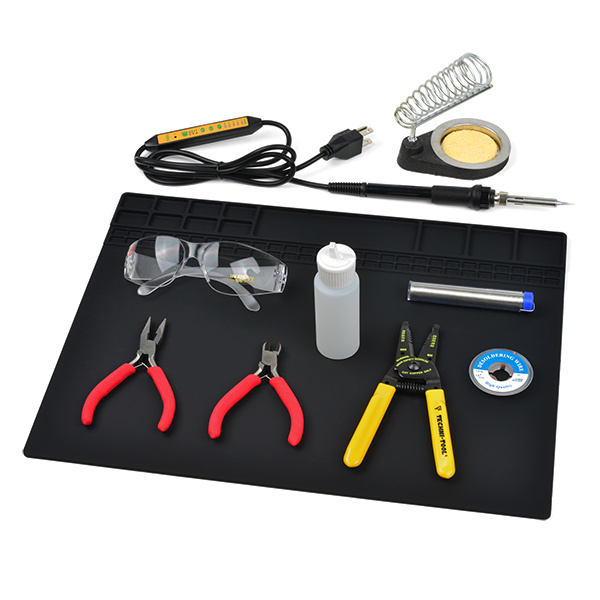
You will need a soldering iron, solder, and general soldering accessories. We recommend the beginner Tool Kit for soldering any of the Teensy boards.
TOL-14681
This assortment of tools is great for those of you who need a solid set of tools to start your workbench on the right foot!
Retired
Alternatively, if you are planning on doing a lot of intense soldering, you can also use the following wishlist as a guide.
Suggested Reading
If you aren't familiar with the following concepts, we recommend reading these articles first before continuing with this getting started guide.
Serial Communication
Asynchronous serial communication concepts: packets, signal levels, baud rates, UARTs and more!
Installing an Arduino Library
How do I install a custom Arduino library? It's easy! This tutorial will go over how to install an Arduino library using the Arduino Library Manager. For libraries not linked with the Arduino IDE, we will also go over manually installing an Arduino library.
Installing Arduino IDE
A step-by-step guide to installing and testing the Arduino software on Windows, Mac, and Linux.
Logic Levels
Learn the difference between 3.3V and 5V devices and logic levels.
I2C
An introduction to I2C, one of the main embedded communications protocols in use today.
Suggested Viewing
Check out some of the related videos.
