Getting Started with the Teensy
Soldering Options
When it comes to soldering your Teensy, there are many different options available to you. IF you have not soldered before, make sure to check out the following tutorial!
How to Solder: Through-Hole Soldering
Solder Directly Into Your Circuit
We generally recommend against soldering directly between any two boards you want to connect -- if something burns out or is connected incorrectly, you've set yourself up for a lot of annoying rework (and the danger of ripping a pad off of the board).
One benefit of soldering directly to your circuit however is that it gives a very small profile for the project. If you plan on doing this, we recommend testing your circuit design with Alligator clips or Pig-tail cables before hand to verify functionality.
Solder Headers
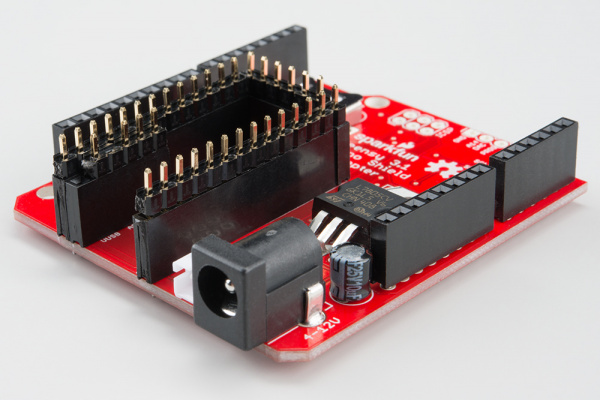
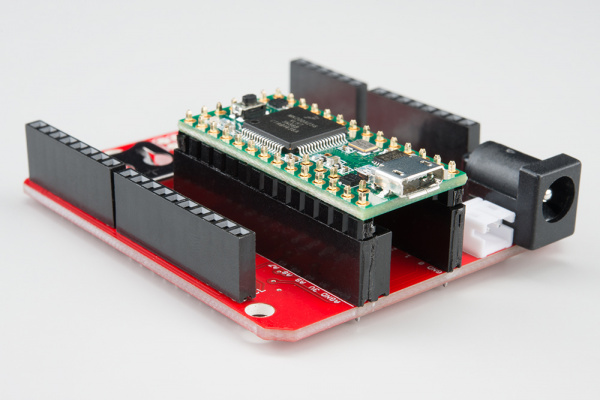
Most users prefer using male headers on the Teensy and matching female headers on other boards into which the Teensy fits.
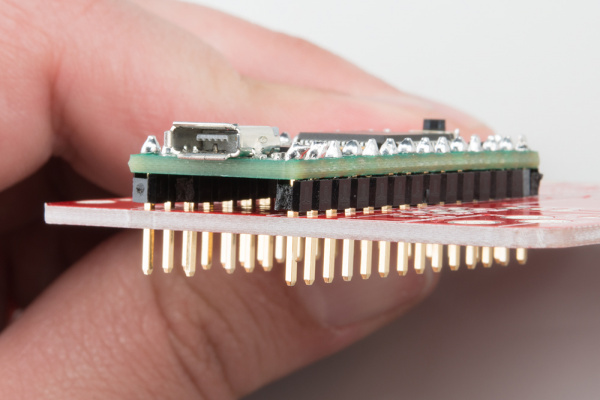
If you plan on using this method, you must ensure you solder the headers on straight, otherwise you're going to have a hard time inserting or removing the Teensy from other boards.
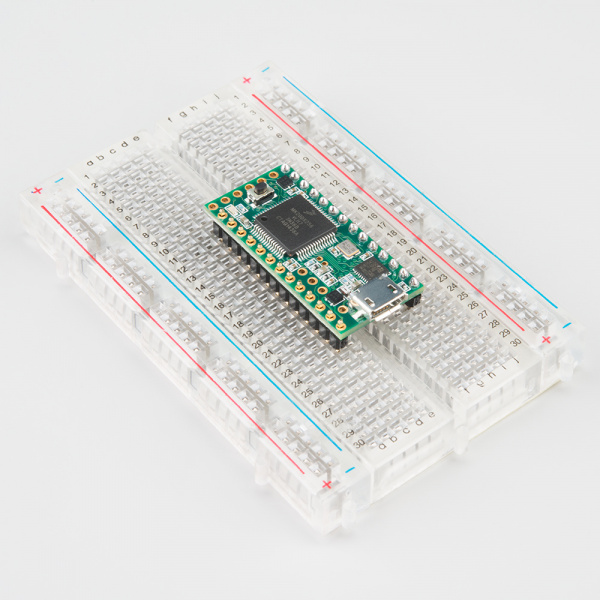
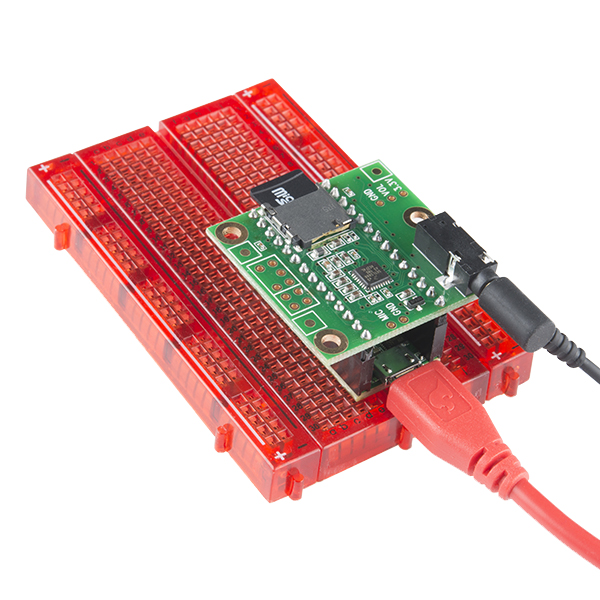
We recommend inserting headers into a breadboard and soldering the Teensy on from there.
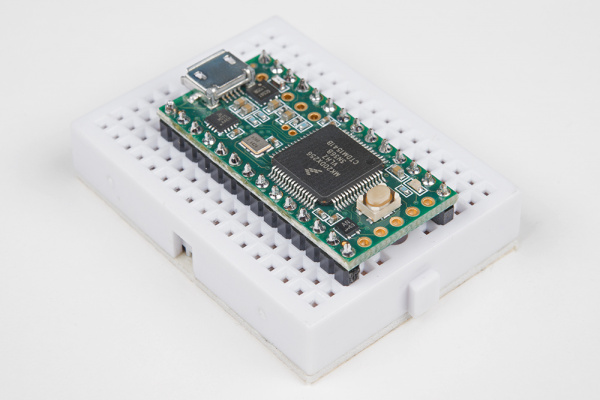
After you finish soldering the headers along the length of the board, your Teensy may look similar to the image below depending on your project.
Using male headers with the Teensy allows you to solder the headers on nice and straight, preventing crooked header insertion. As you can see from the images above however, if you intend to use the Teensy LC or Teensy 3.1+ on a breadboard, you cannot solder all of the headers.
If you've already soldered together a board that works with the Teensy LC/3.1, you can simply line your headers up in that board to hold them straight while soldering to the Teensy.
Once the headers are lined up straight, it's easy to simply 'plug' the Teensy into the headers and solder everything together.
You can also solder female headers or stackable headers onto the top of the board, allowing other boards to be plugged into the top of the Teensy.
If you do solder your headers on like this, keep in mind it may limit your access to the push button on board, requiring you to break out the reboot/reset signal from the header pin.
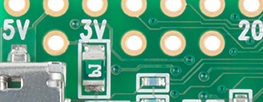
What about Those Additional Headers on the LC/3.1+?
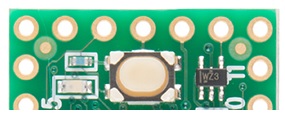
Inner Headers
There are a few options to work with these pins. You can:
a) Leave them unconnected (boring!)
b) Solder wires to the pins as you find uses for them
c/d) Solder headers on the top/bottom
If you go for options c or d, there's an easy way to solder connectors on there without driving yourself crazy attempting to solder a lonely pin by itself.
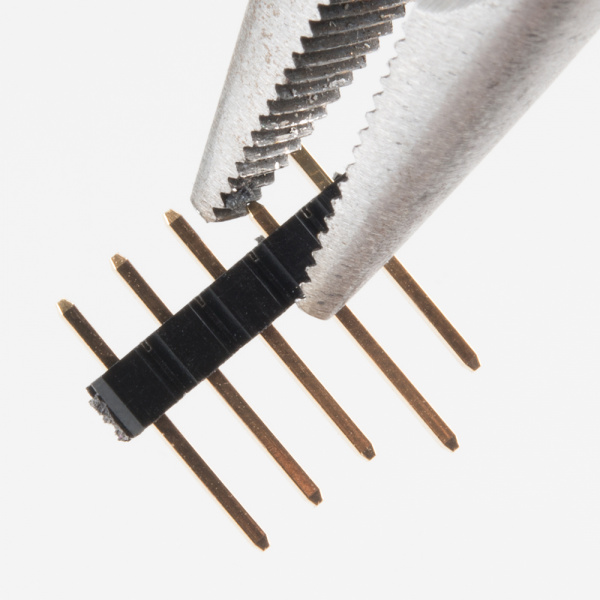
If you are using male headers, you can use pliers to push/pull one of the pins out. This will allow you to use the spacer to hold the pins straight, but will remove the non-compatible pin.
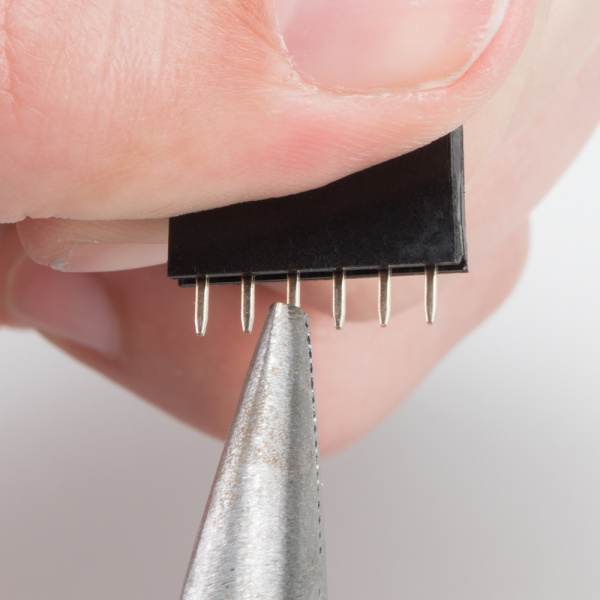
If you are using female headers, this method won't work, but you can still use the pliers to pull out the unnecessary pins.
Once the header strip has been modified, simply line it up with those holes, and solder them.
SMD Headers
Both the 3.1+ and LC Teensy boards have SMD pins on the board bottom that you can solder to. If you know you will need access to these pins, we recommend that you solder the headers onto the top side of your Teensy.
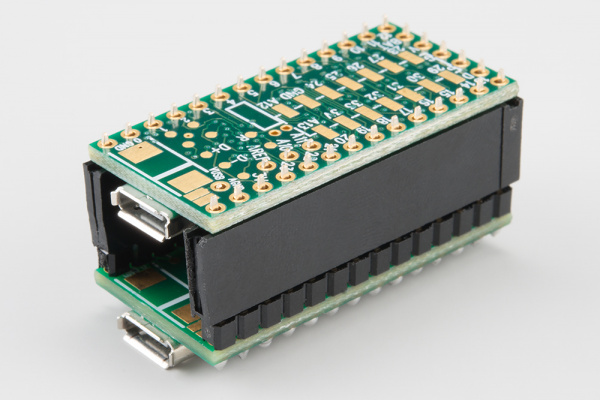
If you already have another Teensy soldered, you can use this as a soldering jig to keep the headers straight, as shown below.
With the headers soldered onto the Teensy this way, the user has access to all of the SMD pads on the bottom of the board. Keep in mind however, this does minimize access to the pushbutton, so balance that with your project needs.
If you need help with soldering to the SMD pads on the bottom of the board, please check out our tutorial here.
You can also check out this video for SMD soldering tips and tricks.
