Getting Started with the micro:bit
 D___Run___, Ell C
Hooking It Up
The micro:bit uses a microUSB cable to hook up to your computer or Chromebook. It is as simple as plugging the cable into your micro:bit and the other end into an open USB port.
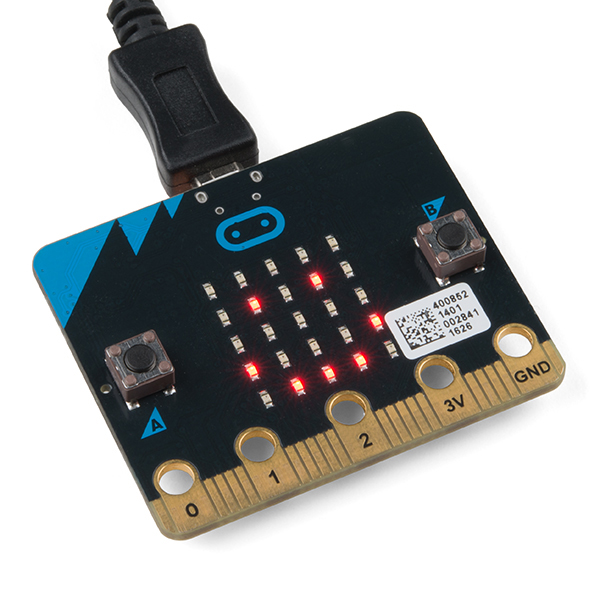
Once you plug your board in, you should see the small yellow LED on the back of your micro:bit light up and possibly blink a few times. Then whatever existing program that was put on the micro:bit will start running. If this is your first time plugging your micro:bit in, go ahead and play around with it a bit --- push buttons, shake it, and you will get a bit of an Easter egg.
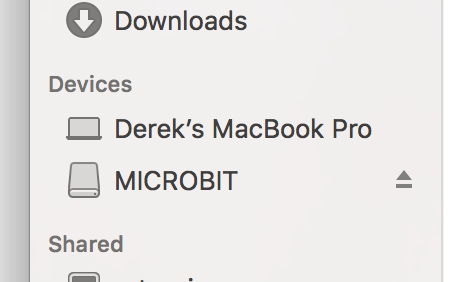
Once your micro:bit boots up, check out your Finder if you are on a Mac, or your My Computer Drives if you are on a PC. The micro:bit should show up as an external storage device with two files stored in it.
If you are on a Chromebook, when you plug your micro:bit in you will be greeted with a dialog box to open the drive. Feel free to do so to make sure it works!
Let's get programming!