Getting Started with Chibi Chip and Clip
Contributors:
 bboyho
bboyho 
Introduction
Note: Content and images courtesy of Chibitronics.
Looking to add more functionality to your paper circuits? This tutorial goes over the how to assemble the Chibi Chip programmable microcontroller with the Chibi Clip to add more functionality to your paper circuits! We will also go over how to program your Chibi Chip microcontroller board by writing code (block-based and text-based) in a browser-based code editor and then transmit code through sound to your board.
Ready? Let’s get started!
Required Materials
To follow along with this tutorial, you will need the following materials. You may not need everything though depending on what you have. Add it to your cart, read through the guide, and adjust the cart as necessary.
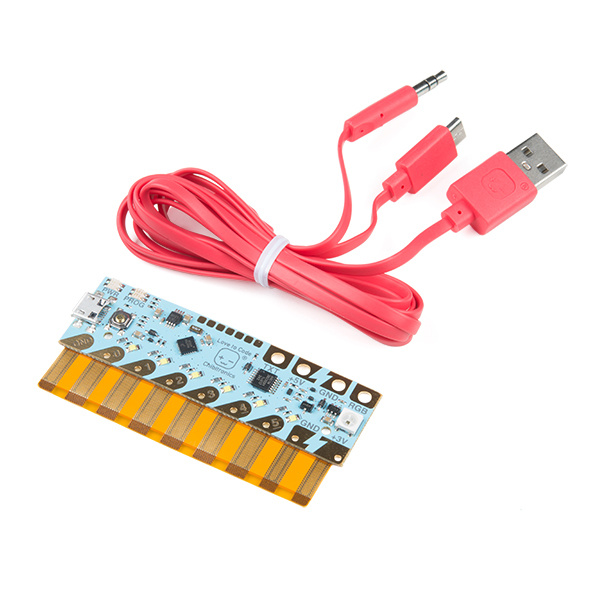
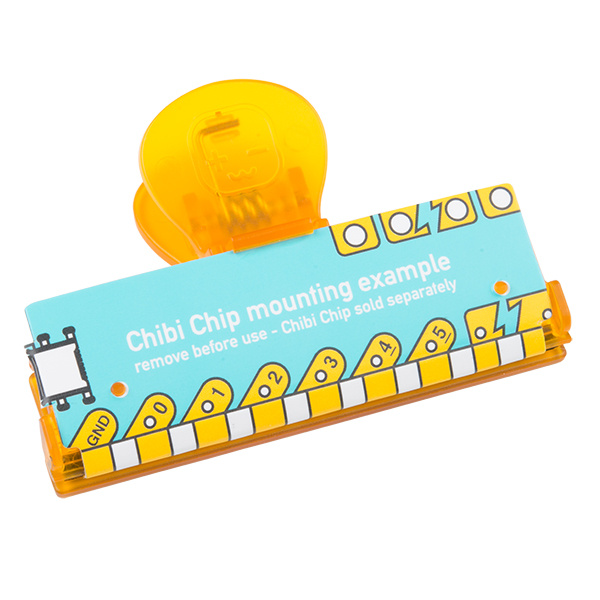
- Chibi Chip Programmable Microcontroller Board
- Chibi Clip Mounting Accessory
- Programming Cable with USB and Audio Connectors
- USB Power Supply
- (i.e. Computer, Wall Plug or Portable USB Battery Charger)
- Programming Device with 3mm Audio Jack
- (i.e. Computer, Phone, or Tablet)
- Internet Connection
Suggested Videos
Suggested Reading
You may need to know the following concepts before working with one of these boards:
What is a Circuit?
Every electrical project starts with a circuit. Don't know what a circuit is? We're here to help.
Voltage, Current, Resistance, and Ohm's Law
Learn about Ohm's Law, one of the most fundamental equations in all electrical engineering.
Polarity
An introduction to polarity in electronic components. Discover what polarity is, which parts have it, and how to identify it.
The Great Big Guide to Paper Circuits
Let's take a look at different materials we can use to combine paper crafting and electronics.