Getting Started with Chibi Chip and Clip
 bboyho
Assemble Your Chibi Clip
The following will show you how to connect the Chibi Chip programmable board into a reusable clip to add more functionality to your paper circuits!
Suggested Viewing
Hardware Hookup
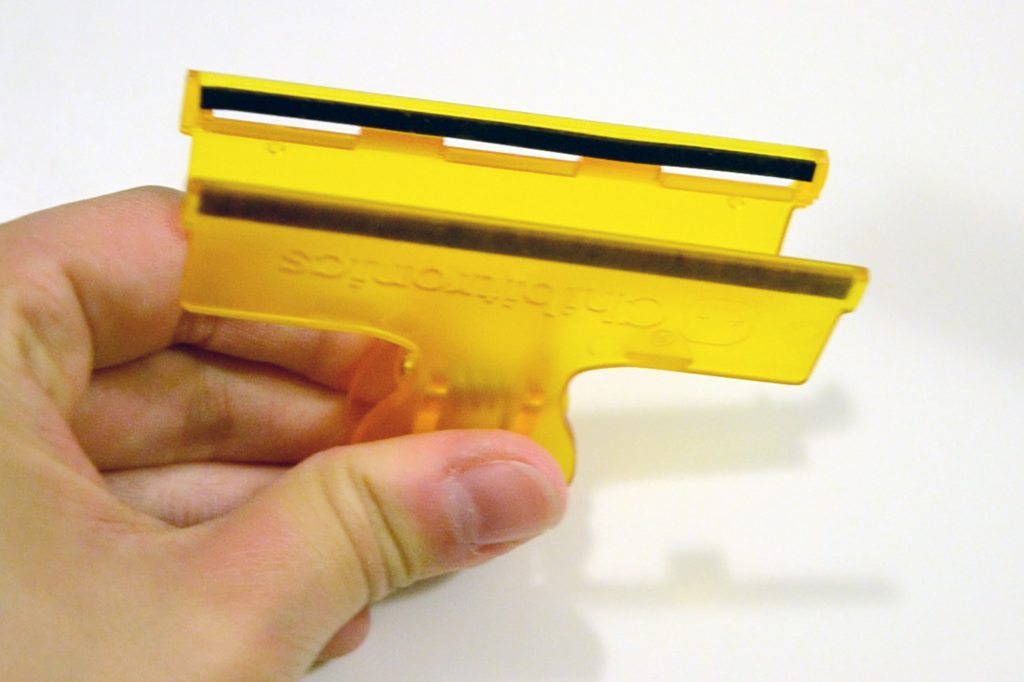
Remove example paper insert.

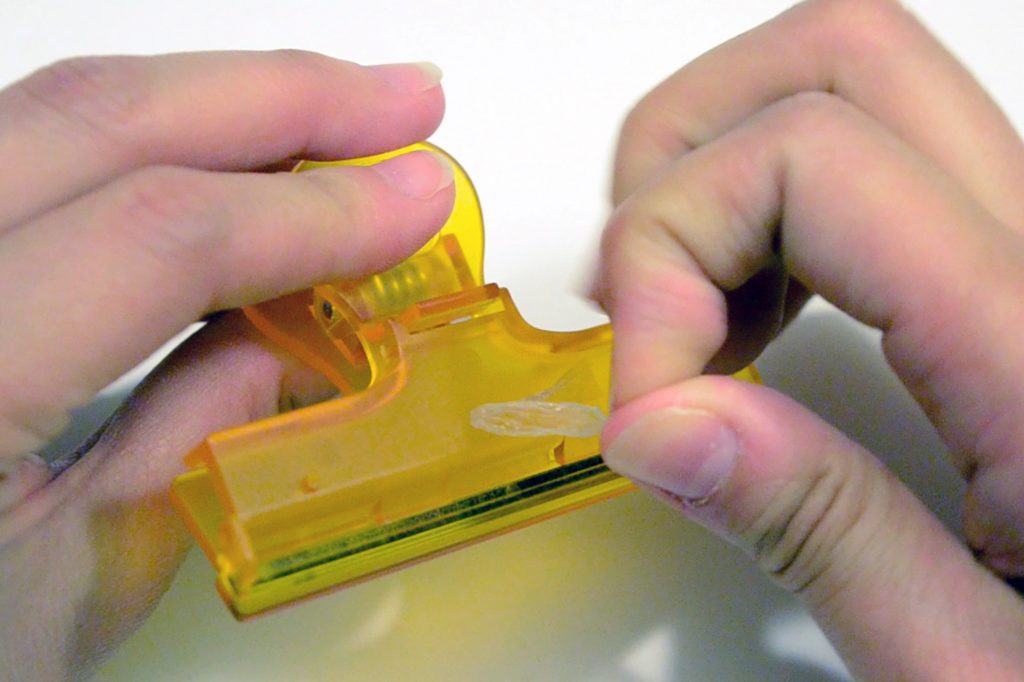
Remove the adhesive tape from your clip holder.
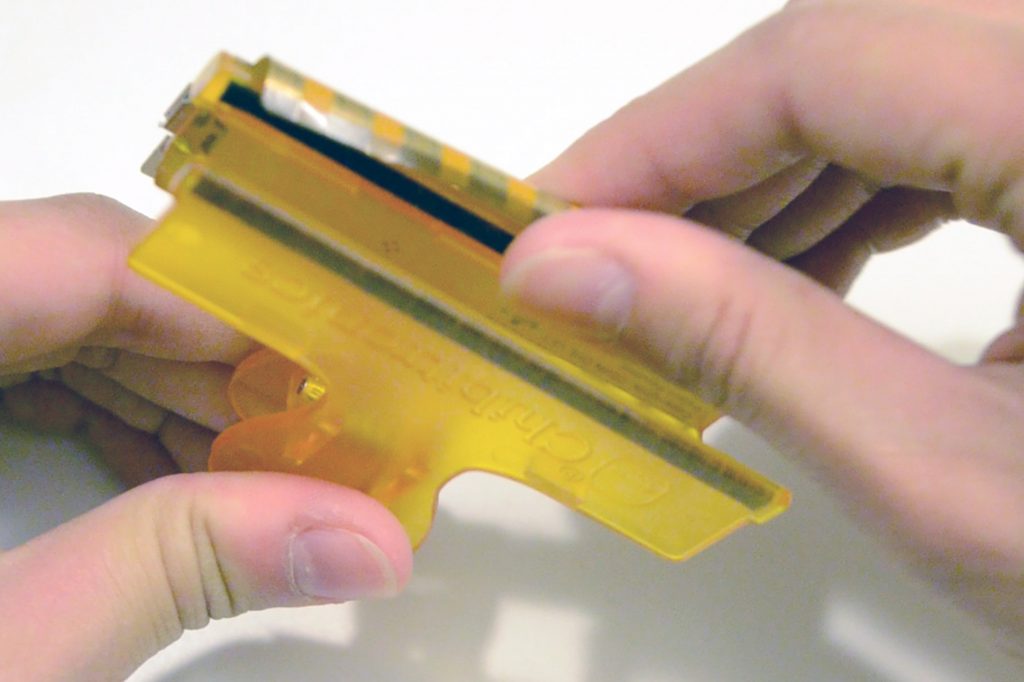
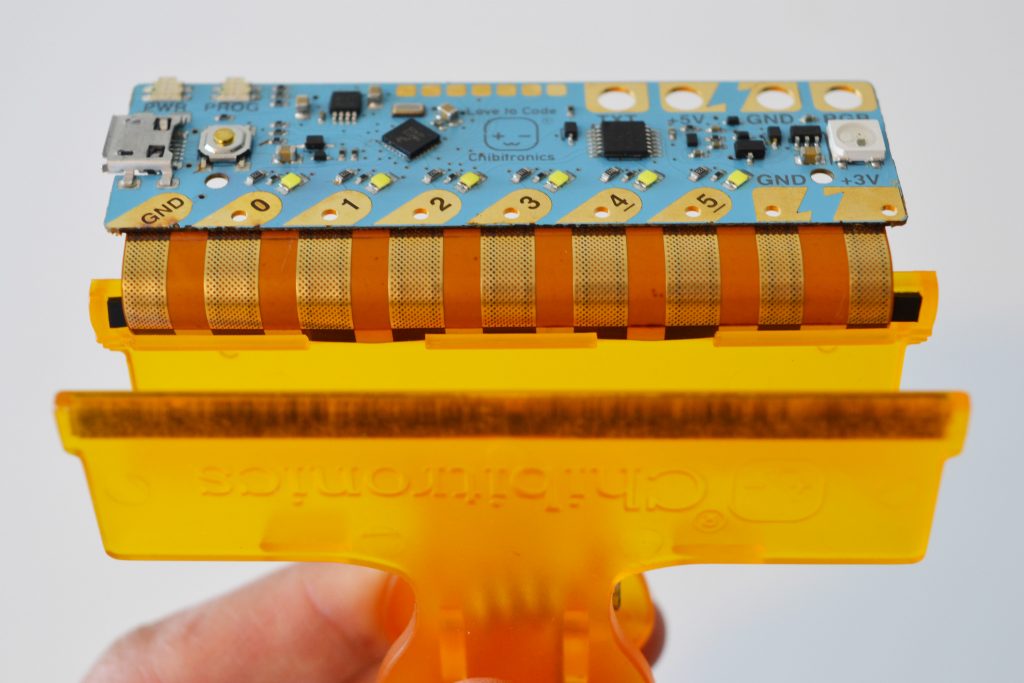
Flip the clip over so that the flat side showing “Chibitronics” faces up and open the clip.
Hold your Chibi Chip with flat side facing up and insert the flexible part into the three notches on the mouth of the clip.
 |
 |
Close the clip and gently bend the board up over the clip.
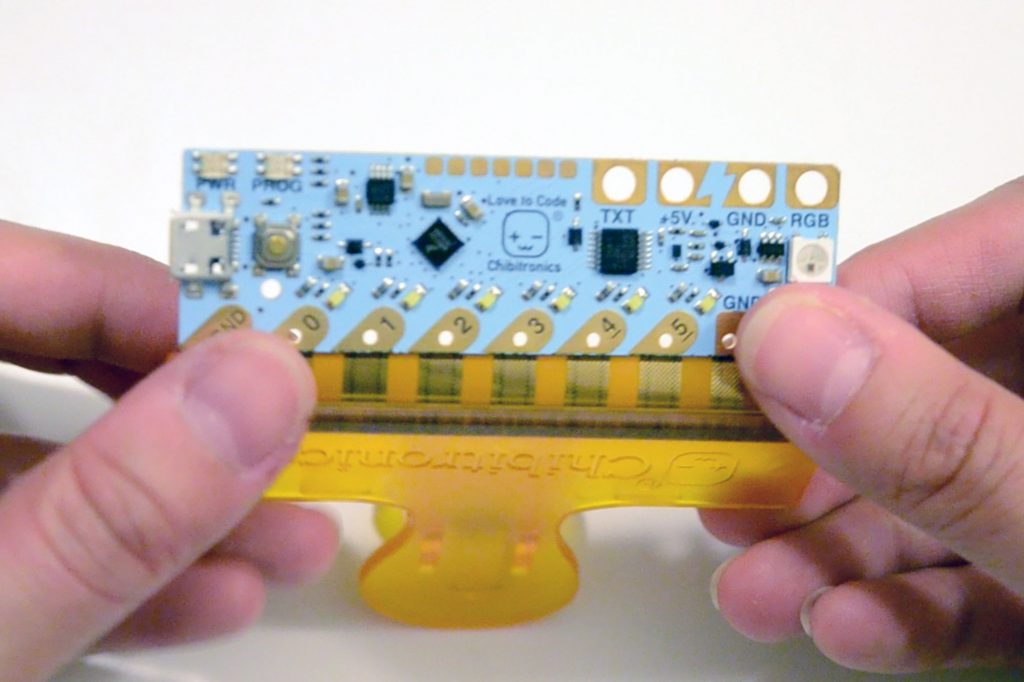
Slide the rigid board into the hook at the top of your clip.
You’re done! Now you can open and close the clip with your Chibi Chip attached.
 |
 |
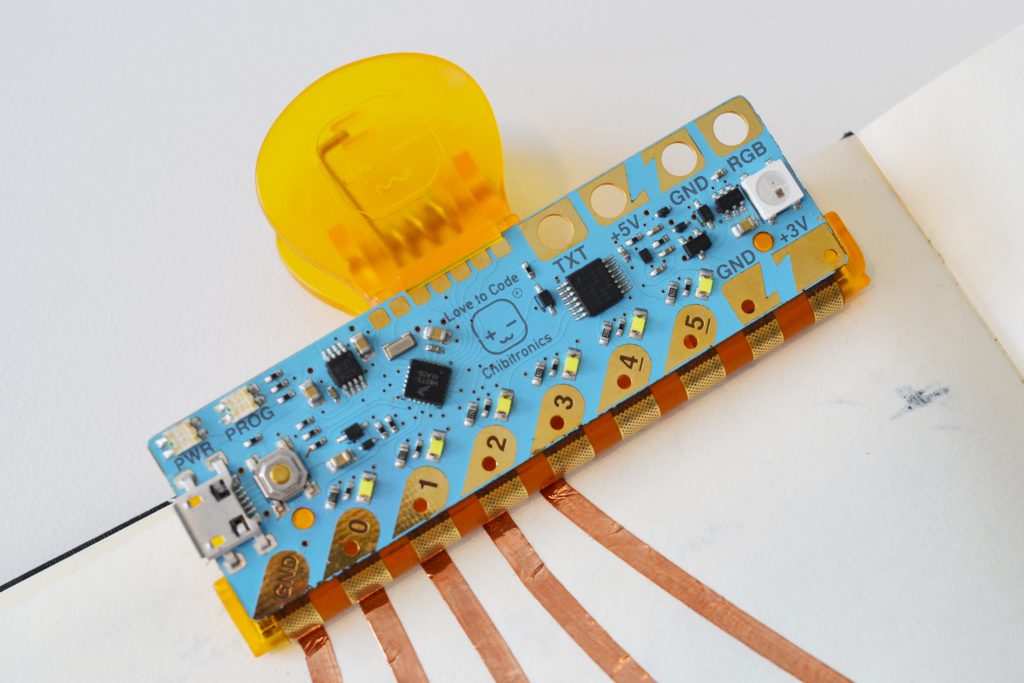
Try creating a simple circuit with one LED and traces that align to the Chibi Chip and clip's tabs.
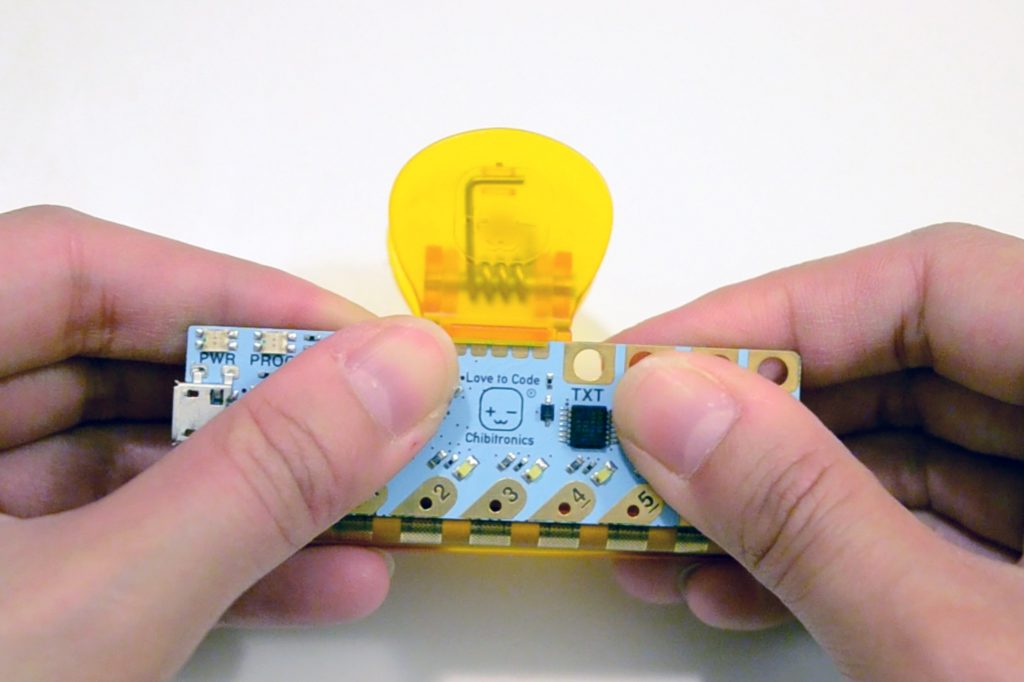
Removing Chibi Chip from Clip
If you need to remove the Chibi Chip from your clip, slide out the flexible part from the clip and the rest of the board will slide off.