Getting Started with Chibi Chip and Clip
Upload Your Block-Based Code
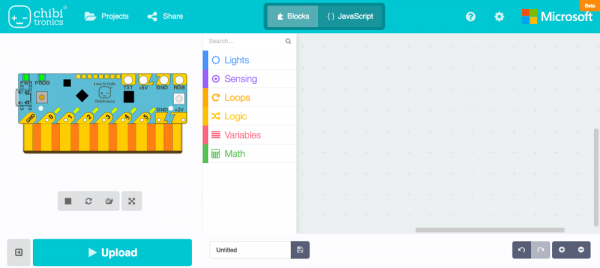
Once you head over to MakeCode, click on the "+ New Project". You can also follow along by clicking on "Get Started! > Start Tutorial" to guide you this tutorial.
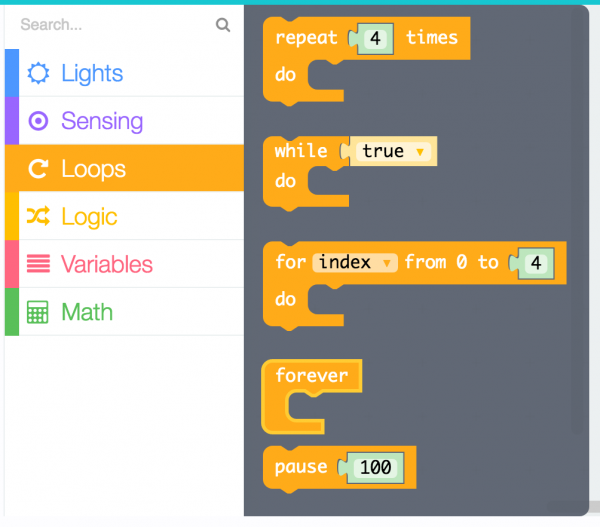
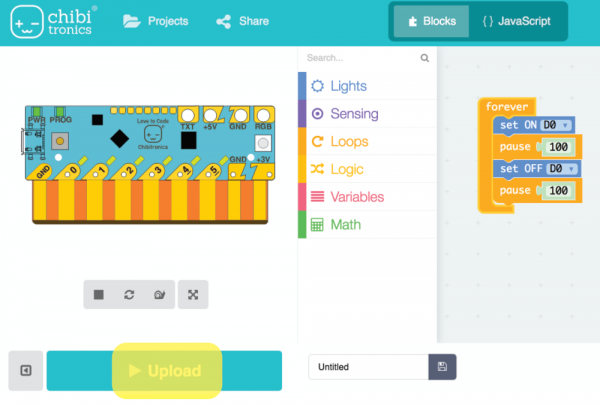
Then drag and drop the forever and pause code blocks in the Control category.
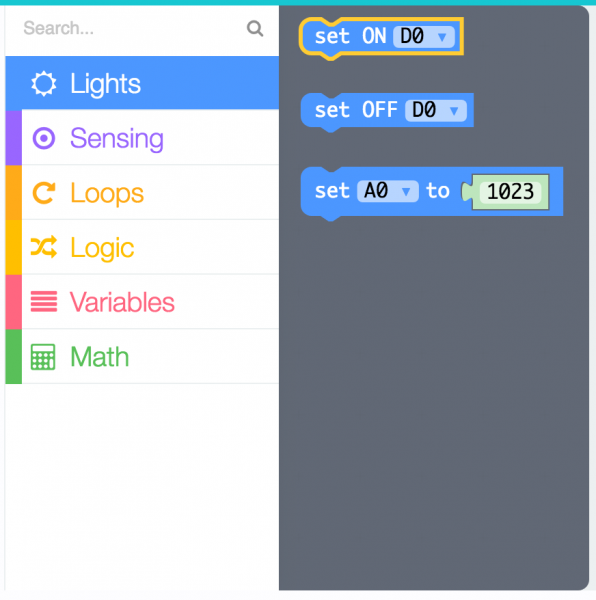
Then drag and drop two set D0 to ON blocks of the Lights category. Change one of the blocks to OFF.
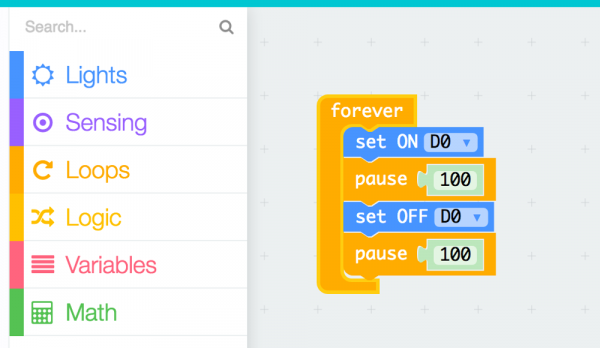
Link the blocks together to blink the LED like so.
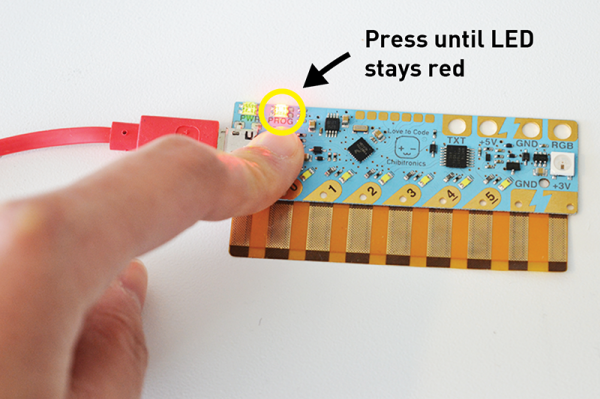
Check to see that the PROG light on your board is red. If it isn’t, press the PROG button until the light stays red.
Then press the Upload button at the bottom of the page.
Now you should see this sound animation appear on the screen. When the sound animation stops, the code is finished uploading. Congrats! You’ve uploaded your code!
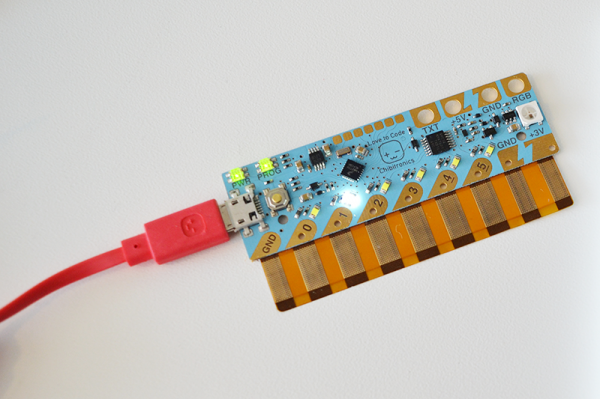
Now your board should have a blinking light.
Now that you have your first program uploaded. Try playing with the code and creating your own light and blink patterns!
