Getting Started with Chibi Chip and Clip
 bboyho
Upload Your Text-Based Code
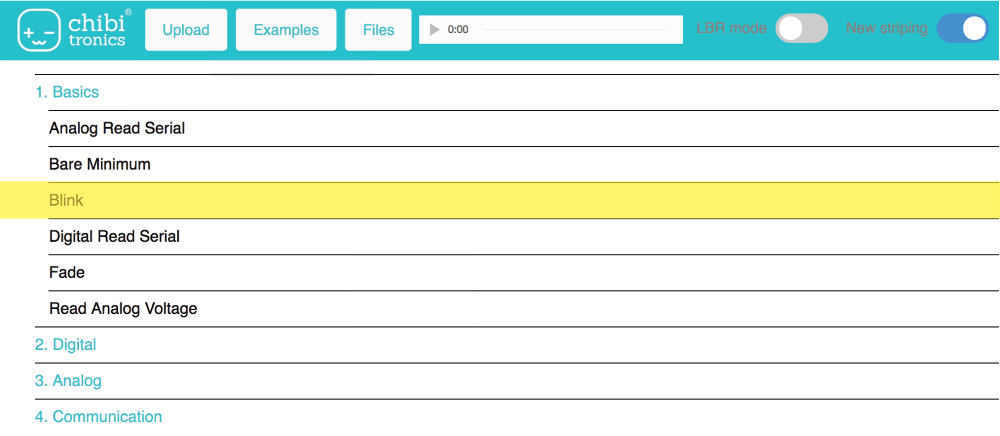
After heading to ChibiScript, click on Examples > 1. Basics > Blink to open up the blink example code. It should look similar to the image below.
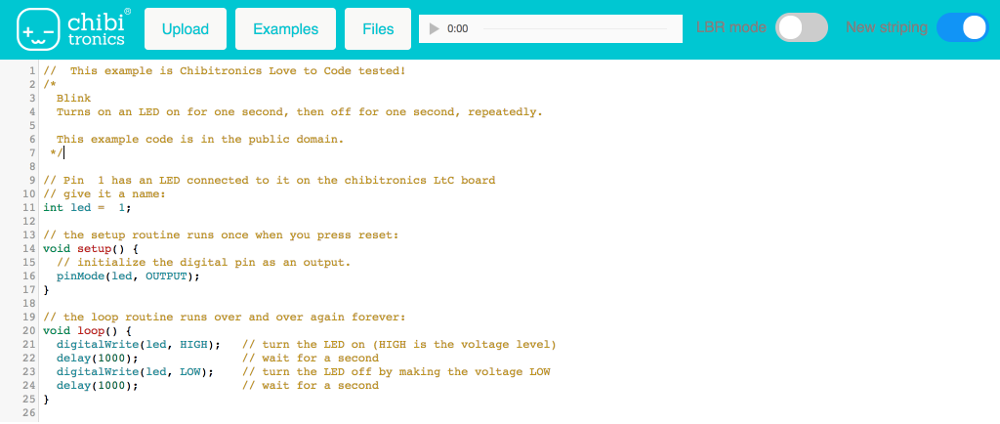
Once the blink example is open, you should see an example of how to blink the LED connected to pin 0 similar to the image below. Let's change the pin by replacing "0" to "1".
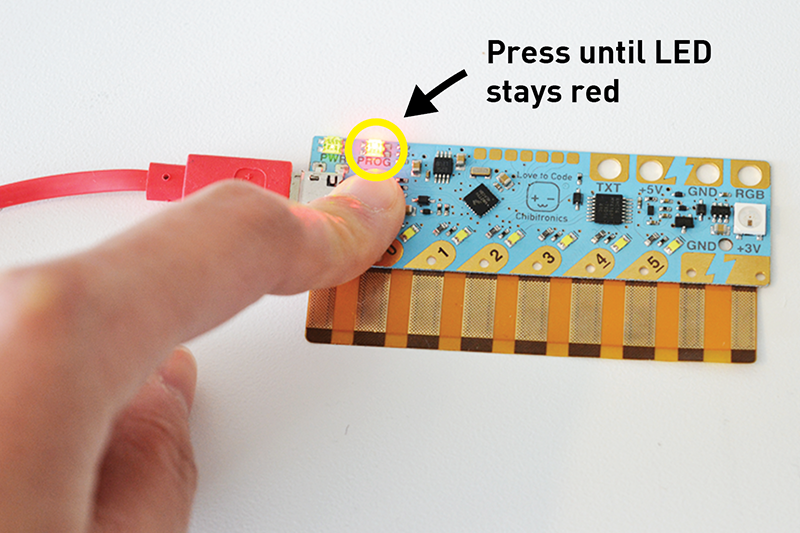
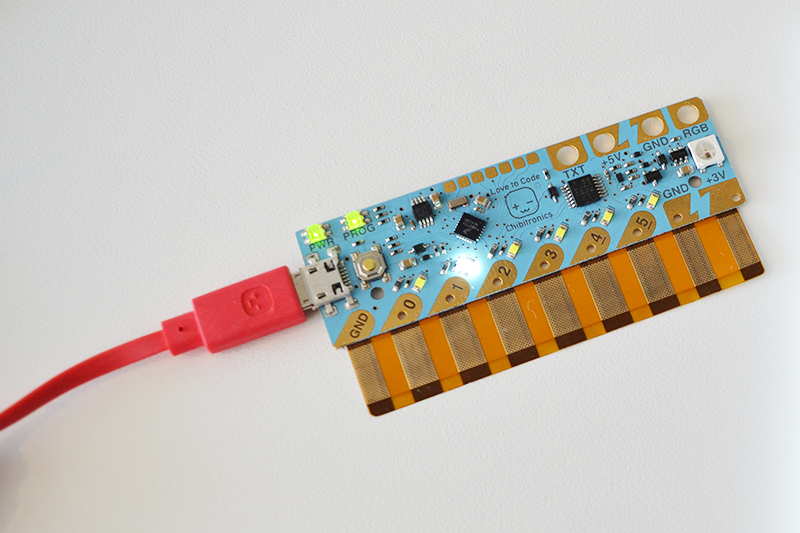
Check to see that the PROG light on your board is red. If it isn’t, press the PROG button until the light stays red.
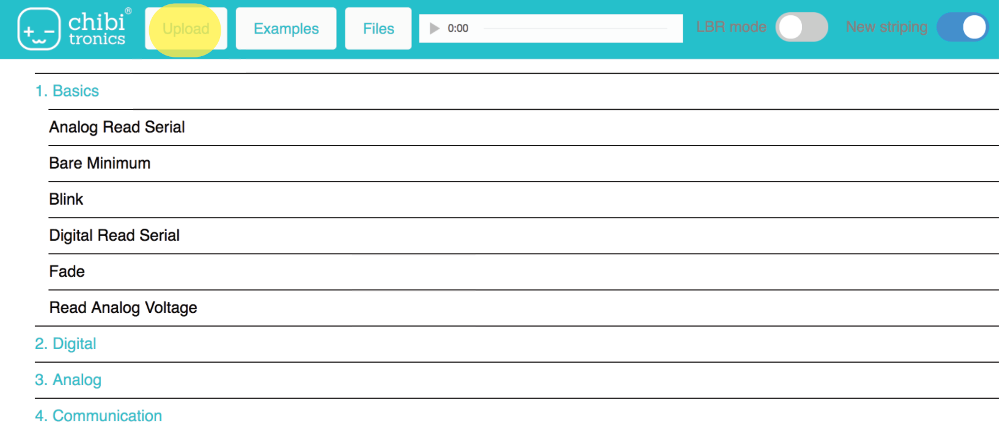
Finally, click the Upload button to play the code to your Chibi Chip!
You will see a sound animation appear on the bottom of the screen.
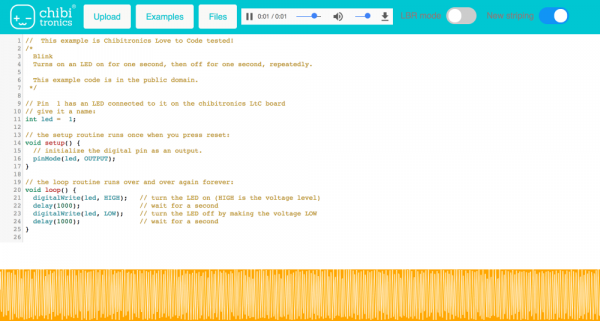
That means the code is being uploaded! When the code is done uploading, the red PROG light on your board will turn back to green to let you know that programming is done successfully. Now you should see your LED blink on the defined pin. Congrats! You’ve uploaded your code. Your Chibi Chip should now have a light blinking!
Now that you have your first program uploaded. Try playing with the code and creating your own light and blink patterns!