Galileo Getting Started Guide
This Tutorial is Retired!
This tutorial covers concepts or technologies that are no longer current. It's still here for you to read and enjoy, but may not be as useful as our newest tutorials.
 jimblom
Updating Firmware
Updating the Galileo firmware is a good first step to take after driver installation. It helps to prove that your software and drivers are set up correctly, and it prepares your Galileo board with the most up-to-date firmware available. Follow the steps below to update your Galileo board's firmware.
Step 1: Reboot the Galileo (No SD Cards!)
To reboot the Galileo, first unplug the USB cable. Then unplug the 5V adapter from the board. If there is an SD card in the Galileo, remove it before powering the board back up.
To power the board back up, make sure you plug the 5V cable in first, then plug in a USB cable into the USB Client port.
Step 2: Set Up the Arduino Galileo IDE
Open up the Galileo-specific Arduino software you downloaded earlier. Mac users can double-click the application file, Windows users should run the Arduino.exe file at the top level of the unzipped folder.
Serial Port Selection
Double-check that the title of the Window has Arduino 1.5.3 at the top. Then the first step is to select the serial port. Go to the Tools menu, then hover over Serial Port. On a Windows machine, select the COM port you saw earlier in the Device Manager. On a Mac machine, select the /dev/cu.usbmodemXXXX (make sure it's the cu option) that matched what you found in the System Information panel.

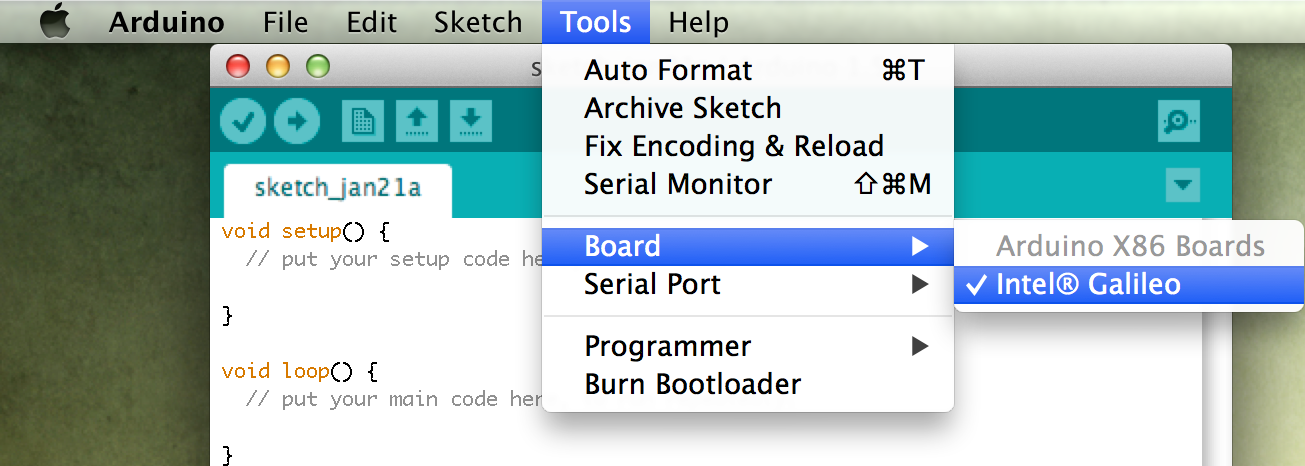
Board Selection
Under the Tools > Board menu, make sure Intel (R) Galileo is selected. (Not that you have any other choice.)
Step 3: Firmware Update
Last, but not least, to update the board firmware go to Help > Firmware Update. Then click Yes to proceed.
The software will attempt to communicate with your board, and read the current version of the firmware. On the next window that pops up, select Yes to acknowledge that you'd like to upgrade the firmware, and the process will begin.
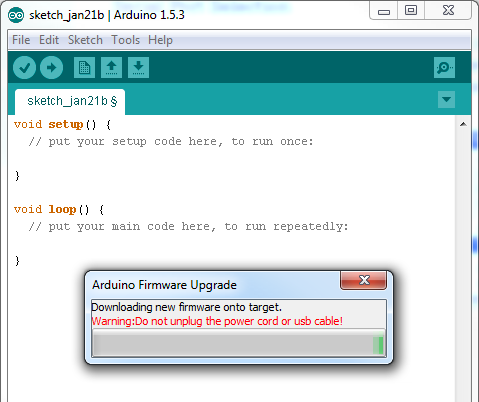
While the progress bar zooms across your screen, make sure you don't unplug either power or USB from the Galileo. As the pop-up says, the update procedure will take about five minutes. A Target Firmware Upgraded Successfully pop-up will appear after the update completes.