Galileo Getting Started Guide
This Tutorial is Retired!
This tutorial covers concepts or technologies that are no longer current. It's still here for you to read and enjoy, but may not be as useful as our newest tutorials.
 jimblom
Software Download/Setup
On this, and the next few pages, we'll overview the steps that you'll need to follow in order to upload Arduino code to the Galileo. As usual, it all starts with downloading software. Unfortunately, the Galileo won't work with the standard Arduino IDE (integrated development environment), so we'll have to download and install a specialized version.
Download the Arduino IDE for Galileo
The Arduino Galileo is so wildly different from any other Arduino platform -- it's x86-based, and most commands are sent via the Linux terminal. As such, an entirely re-purposed version of the software is required to upload an Arduino sketch to the board. Click the link below to download the Galileo-ized Arduino IDE:
Download Arduino for Galileo
Make sure you grab the option that matches your operating system -- there are versions available for Windows, Mac OS X, and Linux (32 or 64-bit).
The download is about 100MB, and comes as an archived (zip or tgz) file. The next step, "installing", amounts to unzipping the folder properly.
Install the Arduino IDE for Galileo
Both Mac and Windows versions of the IDE software are delivered in a ZIP format. You'll need to unzip that archive in order to use the software, but be careful where and how you unzip it!
Windows Install
Windows users should unzip the file to the top directory of your drive (e.g. C:/). You can leave the unzipped directory as named (arduino-1.5.3), or rename it to something descriptive, just make sure there are no spaces in the name of the directory.
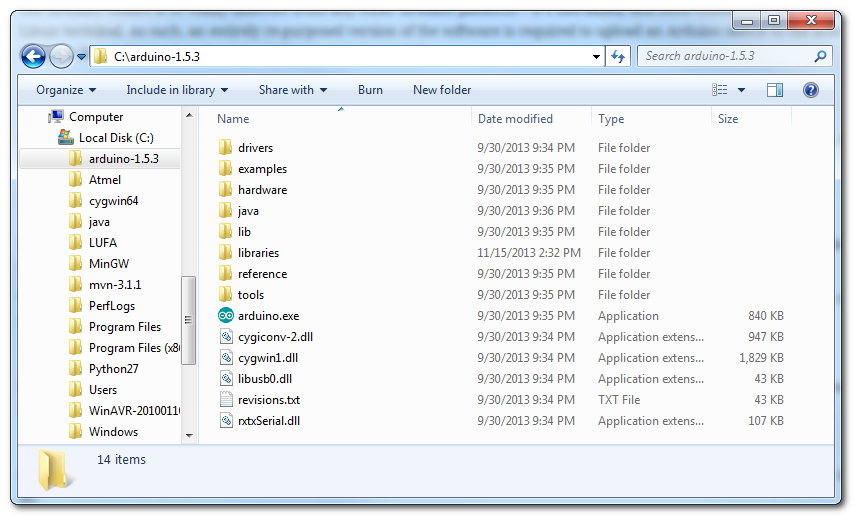
Double-click, or run Arduino.exe to open up the Arduino IDE for Galileo.
Mac OS X Install
Mac users should unzip application and move it into your Applications folder. You can rename the application (to differentiate it from any other Arduino installs), but make sure there are no spaces in the name.
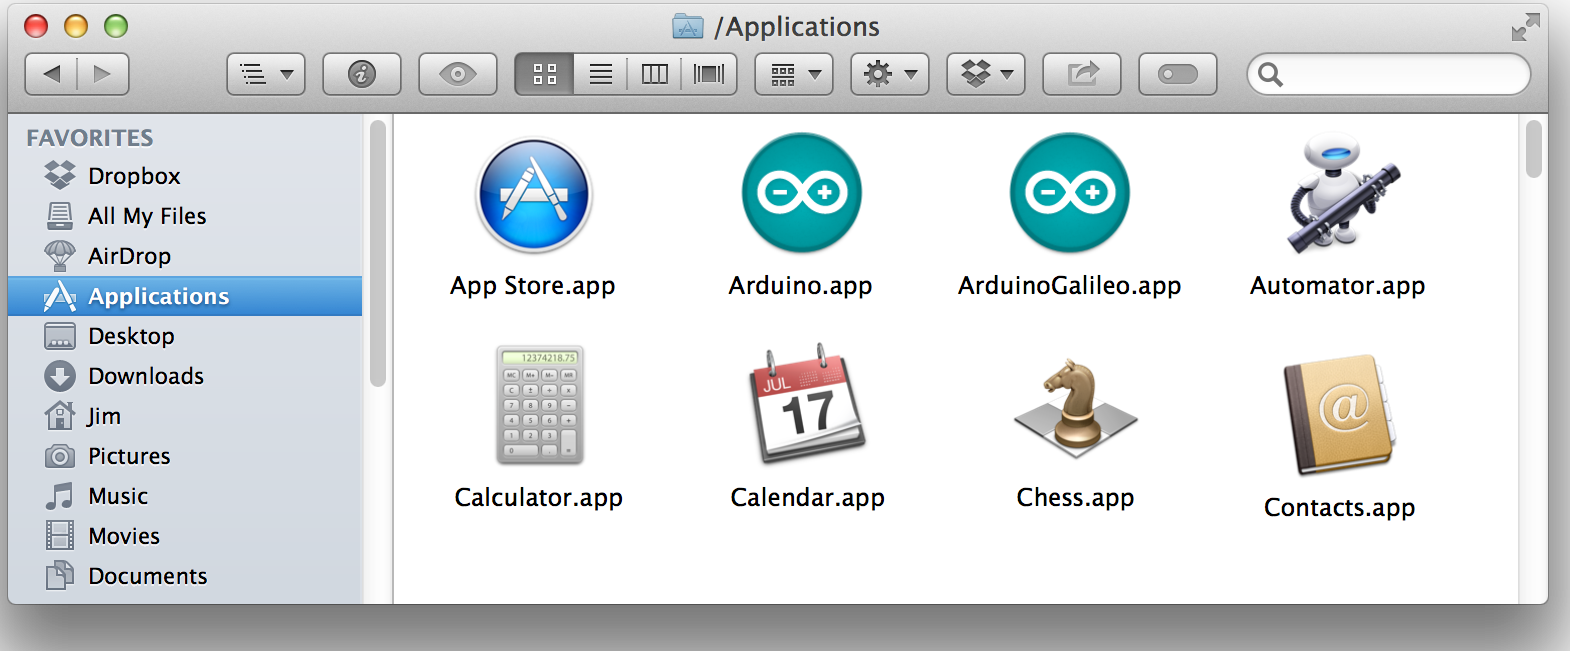
Double-click your newly downloaded Arduino application to run the IDE.
Linux Install
Linux users need to use the tar tool to extract the tar.gz file. A command like tar -zxvf arduino-1.5.3-linux32.tar.gz should do.
It's also necessary to disable the modem manager on most Linux distributions, to enable uploading to the board. This will vary by distro, but something like sudo apt-get remove modemmanager will work.
Once installed, run the arduino file in the extracted directory. From a terminal, you can enter ./arduino to run it.